
Moisture Management When Insulating an Older Home
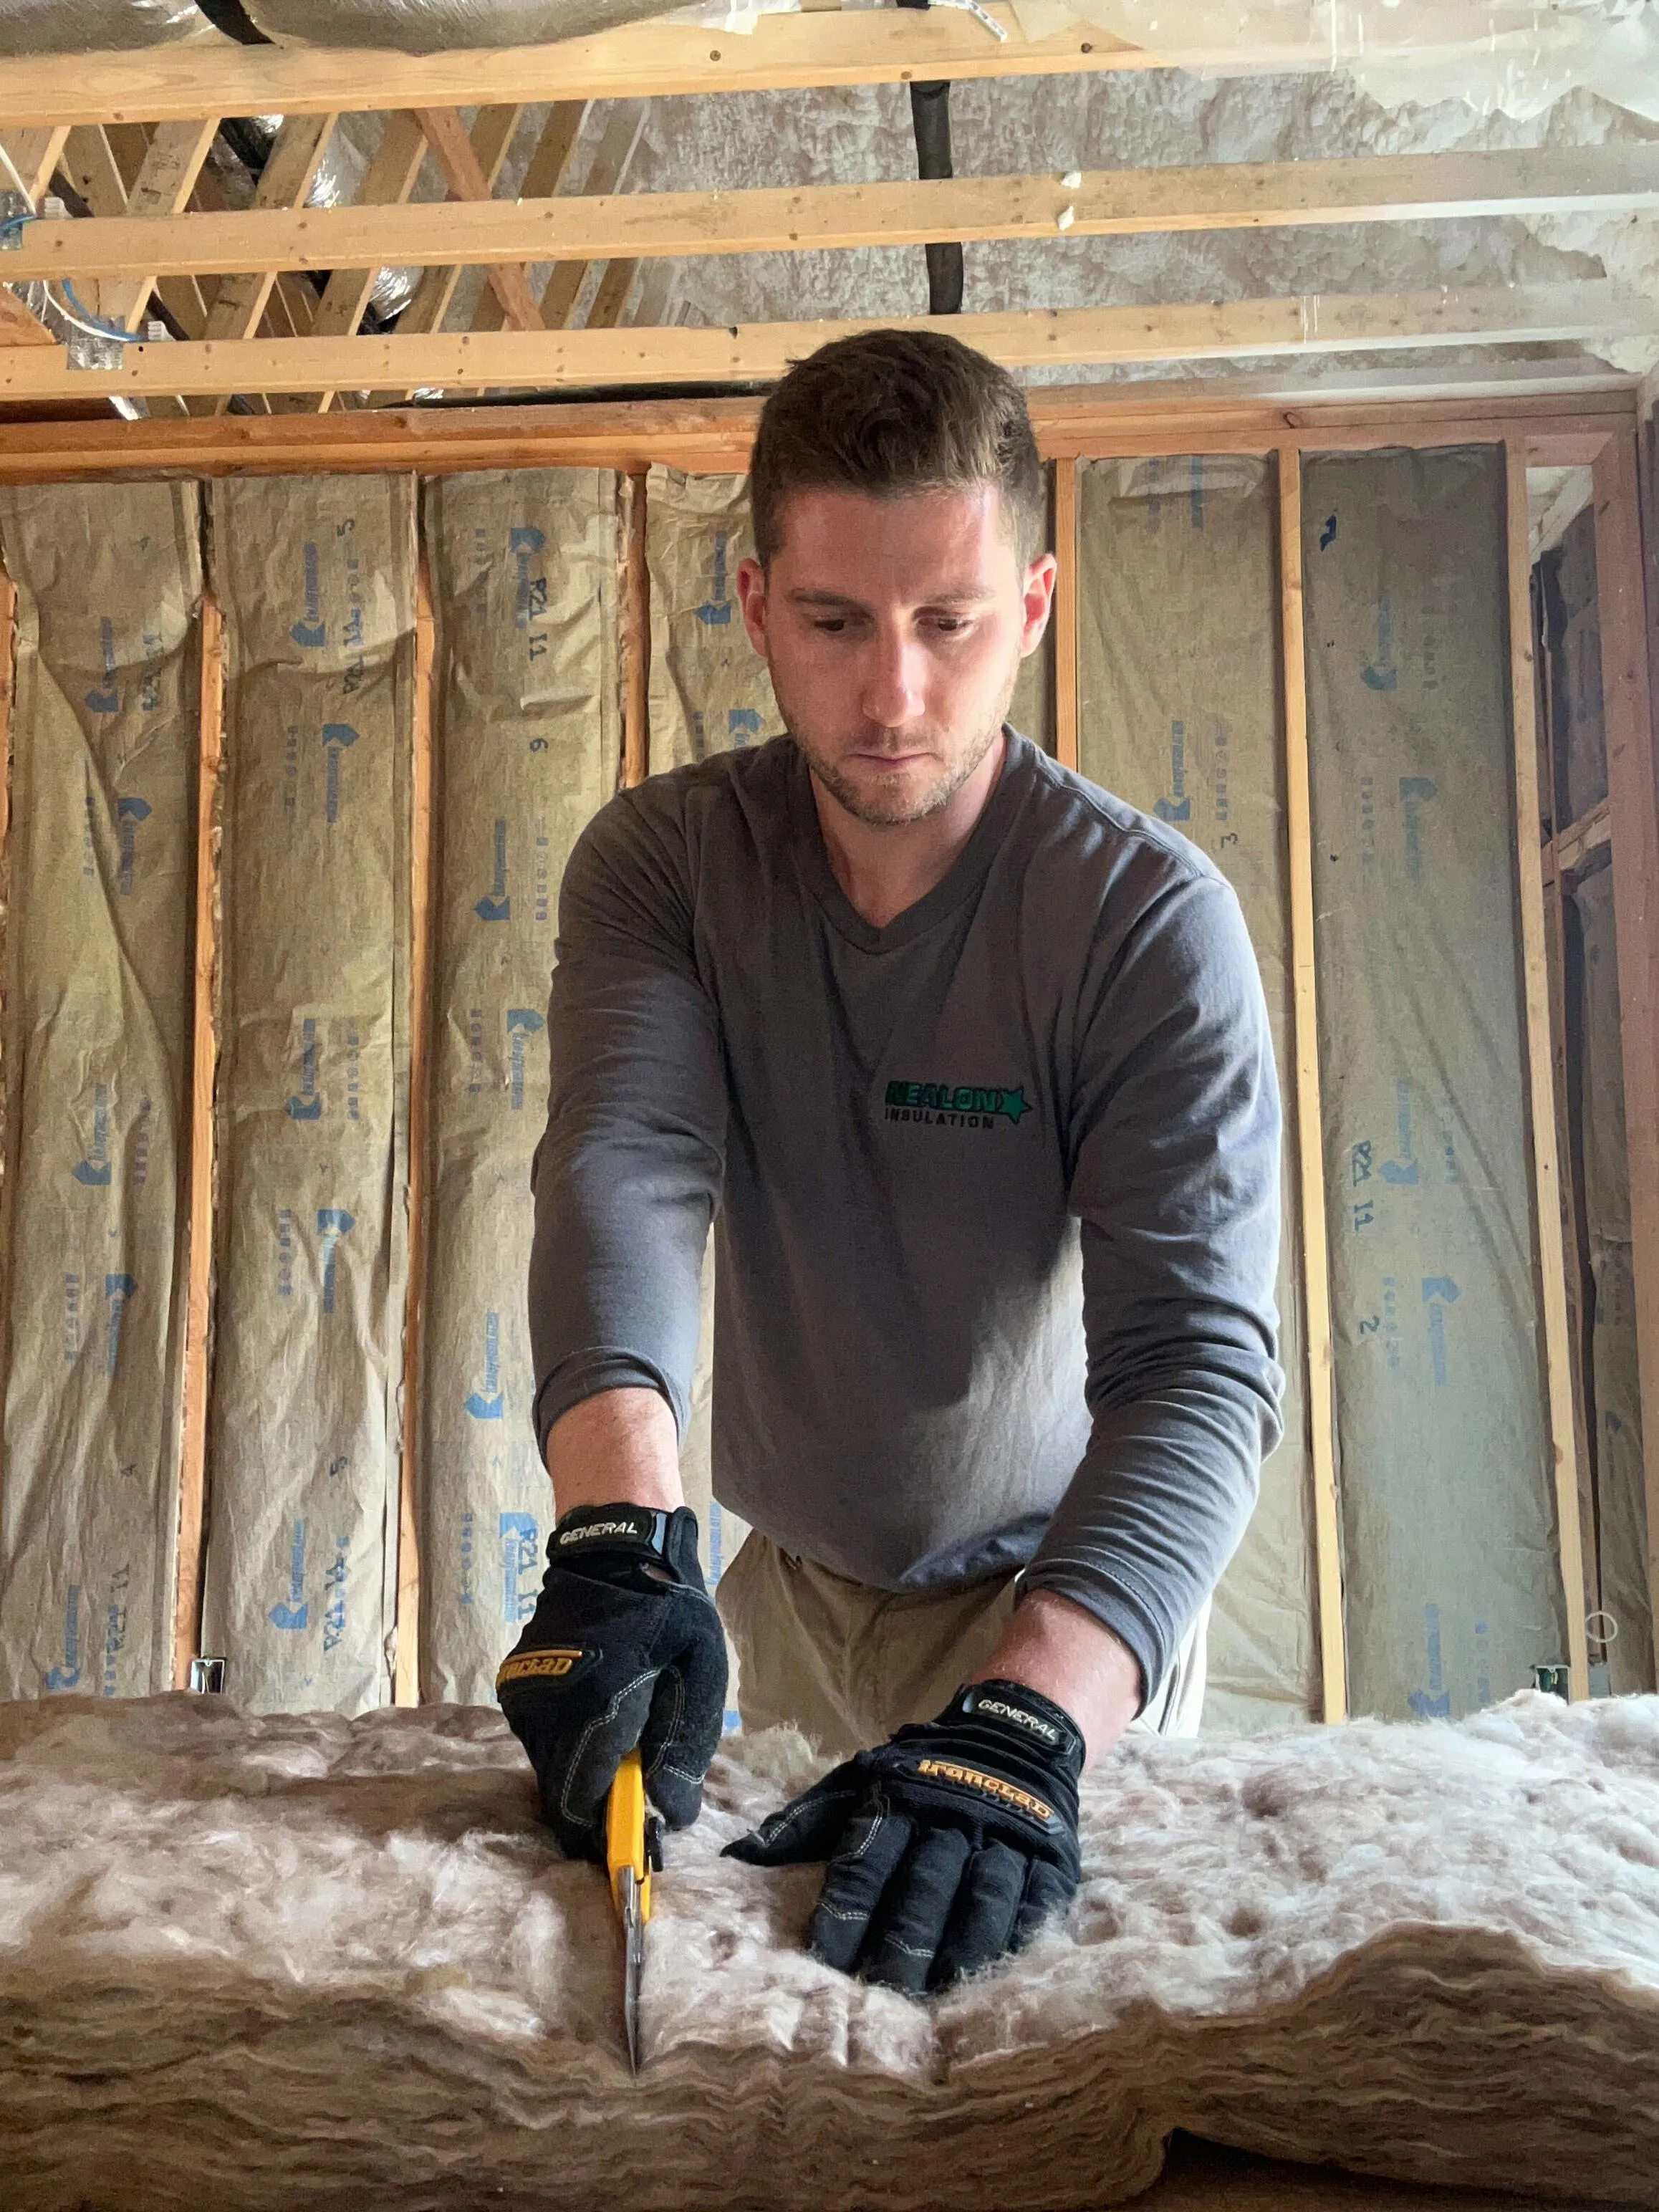

You finally insulated the old house to kill the drafts and knock down the oil bill, and now something feels off. The basement smells musty in a way it didn't before. The windows sweat on cool mornings. A patch of paint is bubbling on a north-facing wall. That is not bad luck, and it is usually not bad insulation. It is what happens when you tighten up a house that was never built to be tight.
Connecticut is hard on older homes this way. We get muggy, humid summers and long, cold winters (Climate Zone 5A), and a lot of our housing stock went up before anyone thought about vapor barriers or air sealing. When you add insulation to a home like that without a moisture plan, you can turn a house that always dried itself out into one that quietly traps water inside its walls, attic, and crawl space. This post covers why older homes behave differently, how to catch trouble before it starts, and what you can handle yourself versus what genuinely needs a pro.
What Counts as an "Older Home" in Connecticut?
In Connecticut, an older home usually means anything built before 1980, and the moisture concerns get sharper for homes built before 1971, when the state's first building code took effect. Age is the fastest tell, but how a house was built matters more than the year on the deed. Plenty of homes from the 1950s and 60s were framed and finished in ways that make moisture a real factor the moment you insulate.
Not sure whether your house qualifies? The quick self-check below covers the traits that matter most for moisture: homes built before 1980 and especially before 1971, plaster-and-lath walls, fieldstone or rubble foundations, dirt-floor crawl spaces, balloon framing, knob-and-tube wiring, and walls with no vapor barrier. Tick the ones that apply to see how much moisture management your project needs.
If you are not sure what is behind your walls, our guide to understanding your older home's insulation needs is a good starting point. The more traits you check off, the less optional moisture management becomes. It stops being an afterthought and turns into the part of the job that protects the house.
Why Older Homes Handle Moisture Differently Than New Ones
Older homes were built to leak, and that leaking is exactly how they stayed dry for a hundred years. They dealt with water by never holding onto it. New homes control moisture with engineered layers. Old ones controlled it with constant airflow, and that difference changes everything once you insulate.
The "Breathing" House Wasn't a Myth
A drafty old house dries itself out in both directions, inside and out. There are no vapor barriers, the plaster walls pass water vapor freely, and air moves constantly through gaps around framing, chimneys, and sills. Water got in, water got out, and nothing sat still long enough to rot. It wasted a staggering amount of energy, but it rarely trapped moisture.
What Changes When You Tighten It Up
Insulating and air sealing move the dew point, and that is where the trouble starts. When you fill a wall cavity and seal the leaks, warm, moist indoor air stops escaping. In winter it pushes toward the cold side of the wall or the cold attic and meets a surface cold enough to make it condense. In an old leaky house that air blew right through the assembly and out. In a tightened house it can turn into liquid water inside the wall, where you will not see it until there is a stain or a smell.
Trying to decide whether to air seal or insulate first in an older home?
How Insulating an Older Home Can Trap Moisture
Insulating an older home traps moisture in three main ways: condensation inside the assembly, sealing in water that was already there, and putting the wrong material in the wrong spot. That last one is common enough that we broke it down in how the wrong insulation can lead to moisture problems. The table below shows where each one usually turns up.
Worried a crew will seal existing moisture problems behind your new insulation?
Warning Signs Your Older Home Has a Moisture Problem
You can catch most older-home moisture problems yourself with your eyes, your nose, and a cheap meter. Walk the house and look for these:
- A musty, earthy smell in the basement, crawl space, or closets
- Condensation or frost on windows, pipes, ducts, or the underside of the roof
- Staining, bubbling, or peeling paint, especially on exterior walls and ceilings
- Cupping, buckling, or new gaps in hardwood floors
- White, chalky residue (efflorescence) on basement or foundation walls
- Insulation that looks matted, discolored, or damp
One caution on the smell. That musty odor comes from both mold and ordinary soil bacteria called actinomycetes, so it is a reason to investigate, not proof you have mold. Do not panic, but do not ignore it either.
The one tool worth owning is a hygrometer, a humidity meter that runs about $10 to $15. Put one in your basement or crawl space and one in your living space. You want indoor relative humidity sitting between 30% and 50%. Ride above 60% for any length of time and you are in the zone where mold and dust mites get comfortable, and wood that stays above roughly 20% moisture content starts inviting rot.
Want a quick read on your own risk? Run through the six-question check below.
Found insulation that's already damp or matted in your older home?
Moisture Management Before and During Insulation
Good moisture management follows an order: stop the water, control the vapor, then insulate. Skip the order and you are just sealing problems inside the walls.
Control Bulk Water First
Fix the water you can see before you close anything up. Clean the gutters and extend the downspouts well away from the foundation, slope the soil so it drains away from the house, and chase down any obvious leaks. Bulk water is the biggest moisture source in most older homes, and no vapor barrier on earth outruns a downspout dumping against the foundation. This part is cheap and DIY-friendly.
Get the Air and Vapor Strategy Right
The air and vapor control layer is what keeps moist air out of your assemblies, and it is the part most worth having a pro design. Depending on the wall, the right answer might be an air and vapor barrier, better attic ventilation so the roof deck can dry, or closed-cell foam in specific spots. In tight or oddly shaped cavities, spray foam insulation can double as the air and vapor control layer when it is placed correctly. The wrong barrier in the wrong spot can make things worse, which is exactly why this is not a guess-and-check job.
Handle Crawl Spaces and Basements
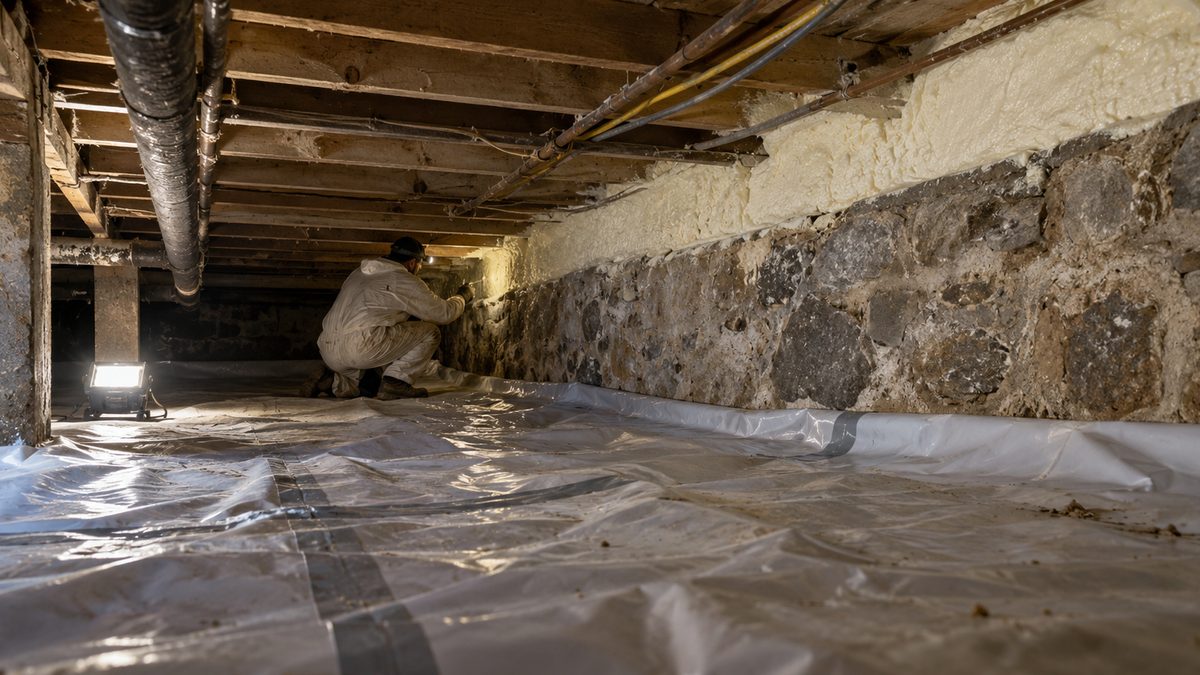
Crawl spaces and basements are where older-home moisture problems hide the longest. Sealing a damp or dirt-floor crawl space with a full vapor barrier system, called crawl space encapsulation, is often the real fix. In Connecticut, encapsulation typically runs $6,000 to $18,000 depending on the size of the space, how much water you are fighting, and whether you need a dehumidifier or sump added.
See how we solved attic moisture buildup in a real Connecticut home.
What You Can Handle Yourself vs. When to Call a Pro
You can handle the diagnosis and the water management yourself, but the vapor strategy and any hidden moisture are where a pro earns the money.
You can do this yourself:
- Run a hygrometer and track indoor humidity for a week or two
- Clean gutters, extend downspouts, and fix the grading
- Improve basic drainage around the basement or crawl space
- Watch for and photograph the warning signs above
- Make sure bath and kitchen fans vent outside, not into the attic
Bring in a pro for:
- Finding moisture already hidden inside walls, floors, or the attic
- Designing the right air and vapor barrier for your specific walls
- Installing or correcting attic ventilation so the roof deck can dry
- Crawl space encapsulation and active mold treatment
- Choosing and placing insulation so it does not trap water
The honest line is this: if it involves water you can see and reach, it is usually a homeowner job. If it involves water you cannot see, or a barrier that has to be designed for your exact wall, get someone who does this for a living. Sealing insulation over a hidden moisture problem is one of the most expensive mistakes we get called in to undo.
What to Do Next
Before you insulate an older home, take three cheap steps that make everything downstream easier:
- Measure. Put a hygrometer in your basement or crawl space for a week and note how often you sit above 50% humidity.
- Photograph. Take pictures of any staining, damp insulation, sweating windows, or peeling paint so you have a baseline.
- Get it assessed. Book an Energize CT Home Energy Solutions audit, which carries a $40 copay as of April 1, 2026. The technician checks your envelope and moisture picture before anyone blows in insulation, and it is the same visit that starts your insulation rebate paperwork.
That order matters. Insulation is the reward for getting moisture under control, not the other way around.
Conclusion
Insulating an older Connecticut home is one of the best upgrades you can make, but only if you respect how the house already handles water. These homes stayed dry for decades by breathing. The moment you tighten them up, you take over that job, and the moisture that used to blow through now needs somewhere to go. Stop the bulk water, get the vapor and air strategy right, and check your humidity before you ever add a single inch of insulation.
The takeaway is simple. In an older home, moisture management is not a separate project from insulation. It is the part that decides whether your insulation protects the house or slowly wrecks it.
👉 Contact Nealon Insulation to get your older home's moisture and vapor plan sorted before new insulation goes in, so the house dries out instead of trapping water.
Frequent Questions About Moisture Management in Older Homes
Will adding insulation to my old house cause mold?
Adding insulation causes mold only when it traps moisture that was never managed, not on its own. Mold needs a surface that stays above roughly 60% relative humidity or wood that stays above about 20% moisture content. If you control the bulk water, keep indoor humidity between 30% and 50%, and use the right vapor strategy, insulation makes an older home more comfortable without feeding mold. The problems show up when a crew seals a damp crawl space or a wet wall without dealing with the water first.
Do older homes need a vapor barrier when you insulate them?
Older homes usually need some form of air and vapor control, but not always a traditional plastic vapor barrier. The right approach depends on the wall type and where the moisture is coming from. In Climate Zone 5A, the wrong barrier in the wrong spot can trap water, so this is worth having a pro assess rather than defaulting to sheet plastic. Options range from smart vapor retarders to closed-cell foam that acts as its own air and vapor control layer.
How much does it cost to fix moisture problems before insulating in Connecticut?
It ranges widely, from almost nothing to five figures. Cleaning gutters, extending downspouts, and fixing grading can cost under a few hundred dollars if you do it yourself. Crawl space encapsulation typically runs $6,000 to $18,000 depending on the size of the space and how much water you are fighting. A hygrometer to track humidity is about $10 to $15, and the Energize CT Home Energy Solutions audit that checks your moisture picture carries a $40 copay.
Can I insulate an older home myself, or do I need a contractor?
You can safely handle the water management and monitoring yourself, but hidden moisture and vapor design are contractor territory. Cleaning gutters, fixing grading, and tracking humidity with a hygrometer are all DIY. Finding moisture inside walls, designing the right vapor barrier, correcting attic ventilation, and encapsulating a crawl space are jobs where a mistake gets expensive. If you can see and reach the water, it is usually a homeowner job. If you cannot, call a pro.
How do I know if my older home already has a moisture problem before I insulate?
Look for the signs and measure your humidity for a week before you insulate. Musty smells, sweating windows, peeling exterior paint, cupping floors, chalky residue on basement walls, and matted or damp insulation are all red flags. Put a hygrometer in the basement or crawl space and watch whether it sits above 50% relative humidity. If you are seeing signs or high readings, handle the moisture first and add insulation second.
Related Articles
Let's Work Together
Ready to transform your home into an energy-efficient haven? Schedule your free energy assessment today and experience the Nealon difference for yourself.