
Insulating a Historic CT Home Without Damaging Finishes
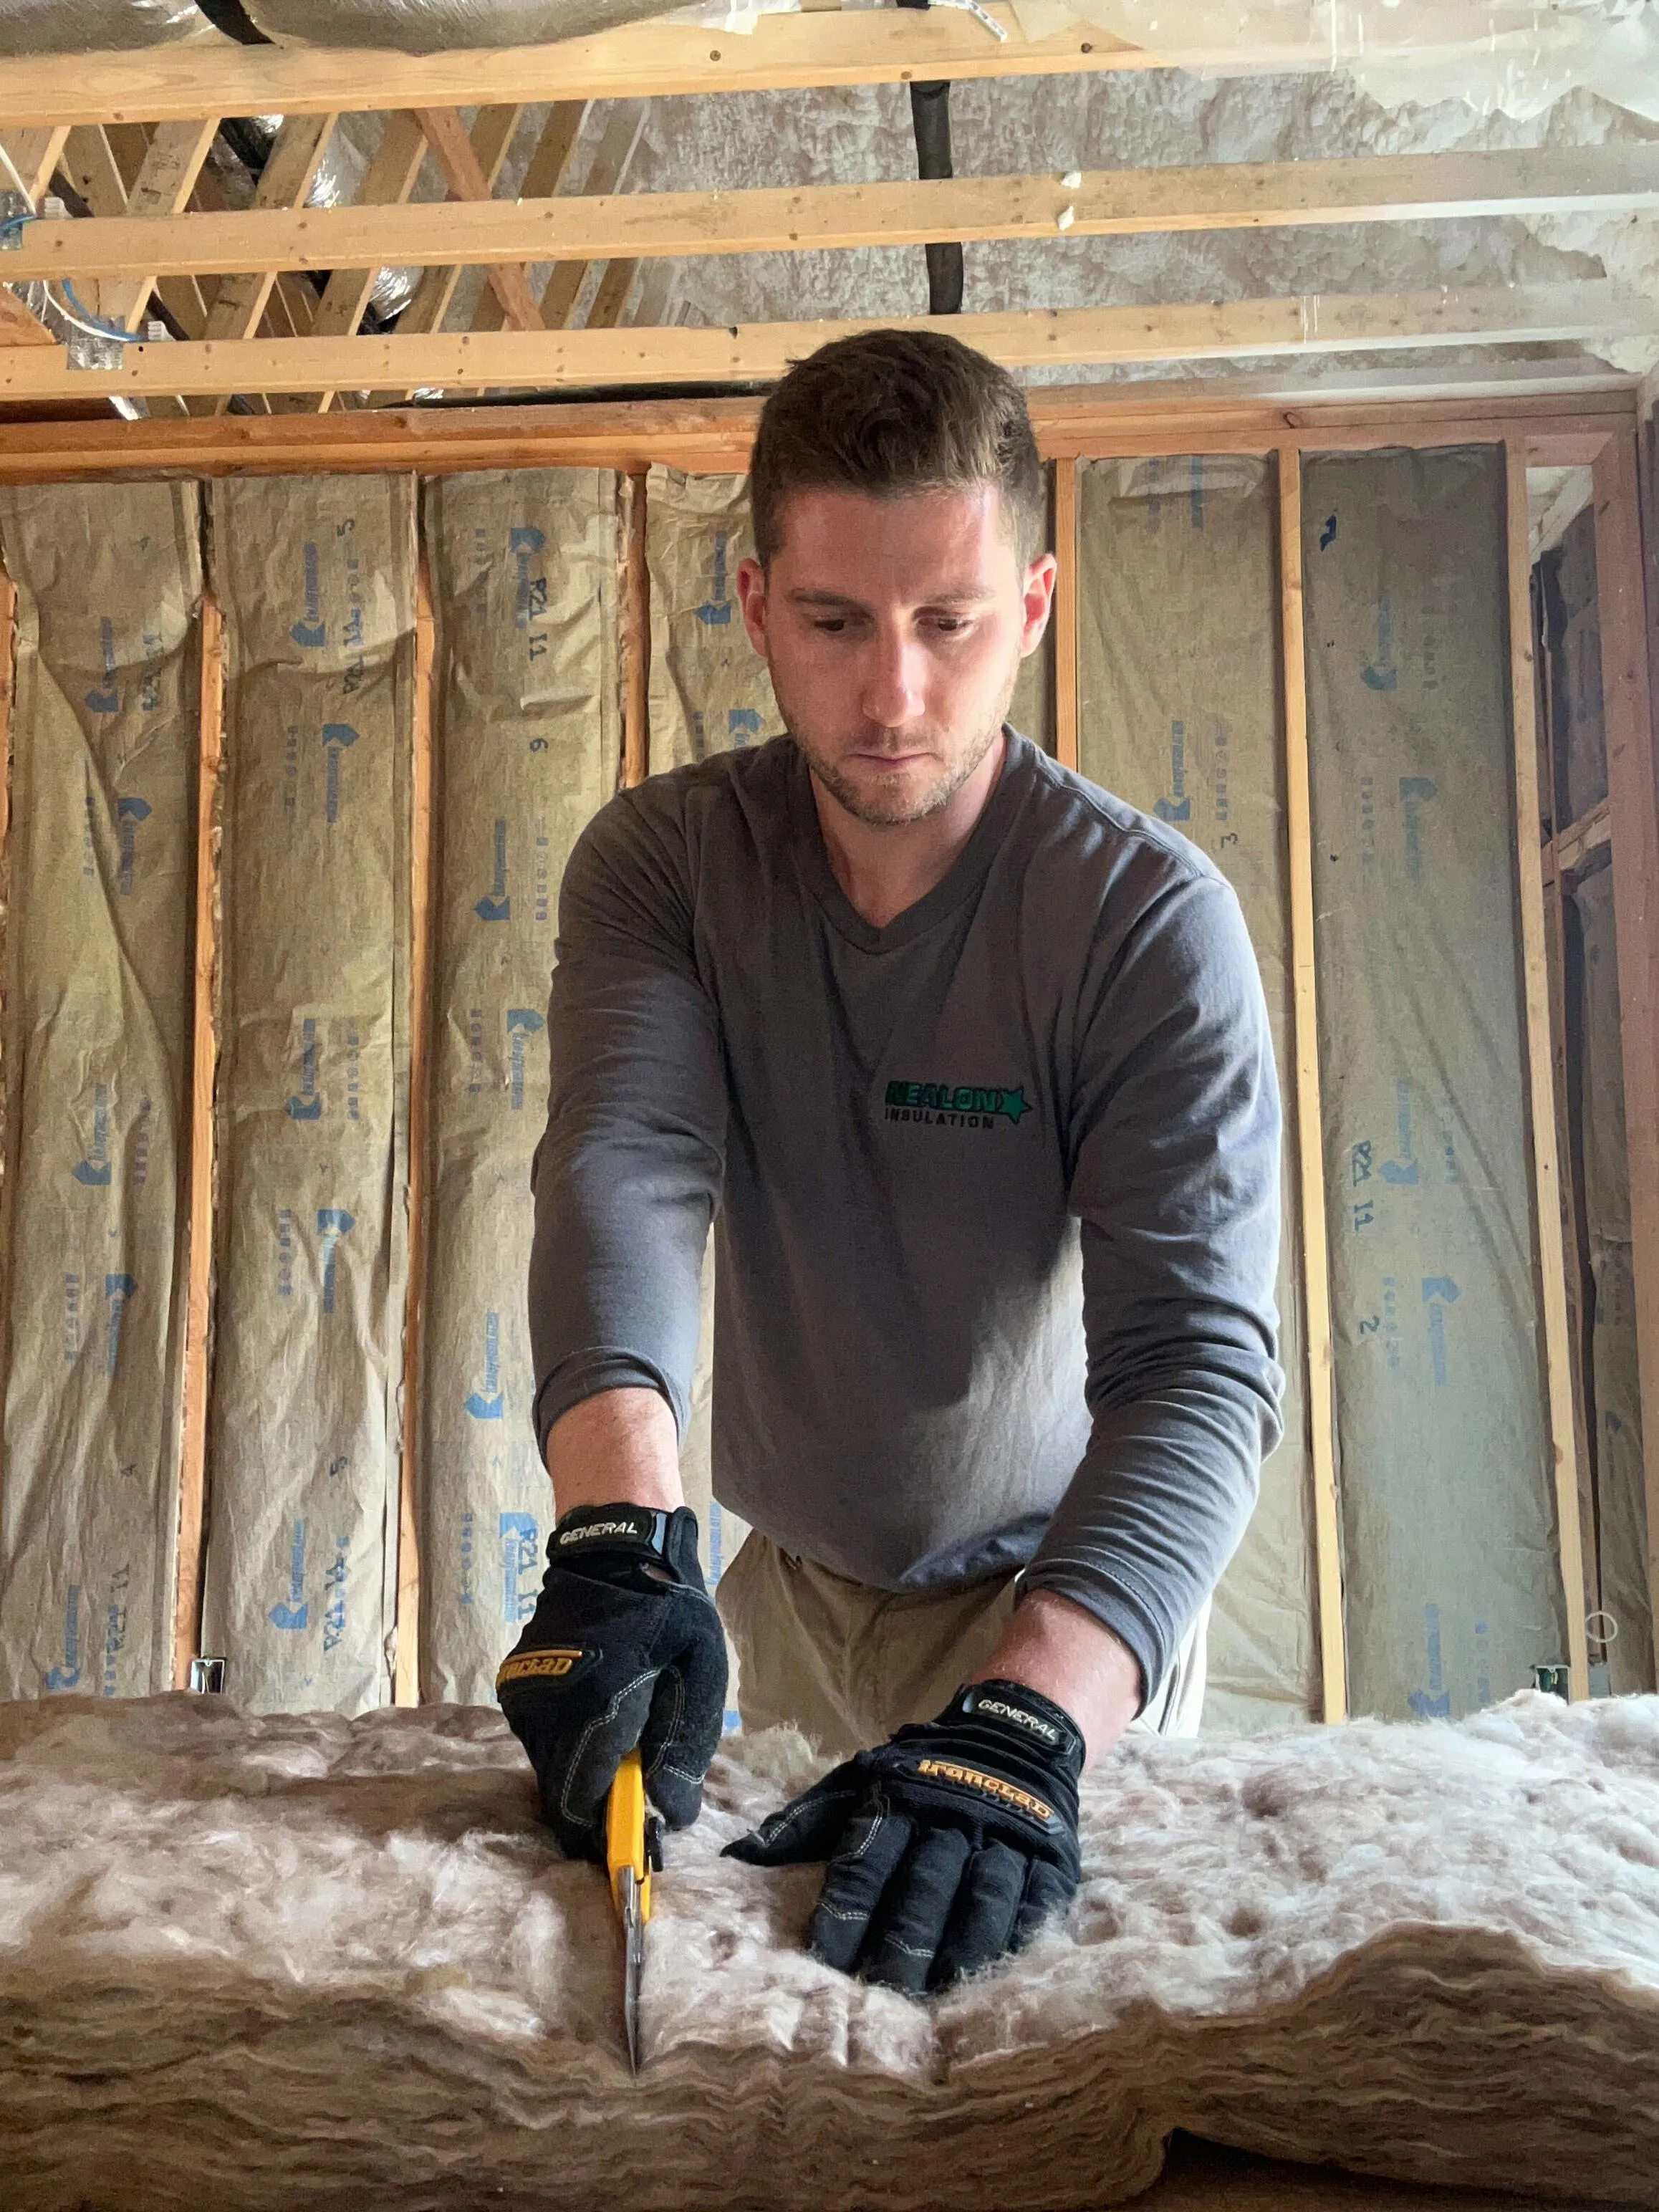
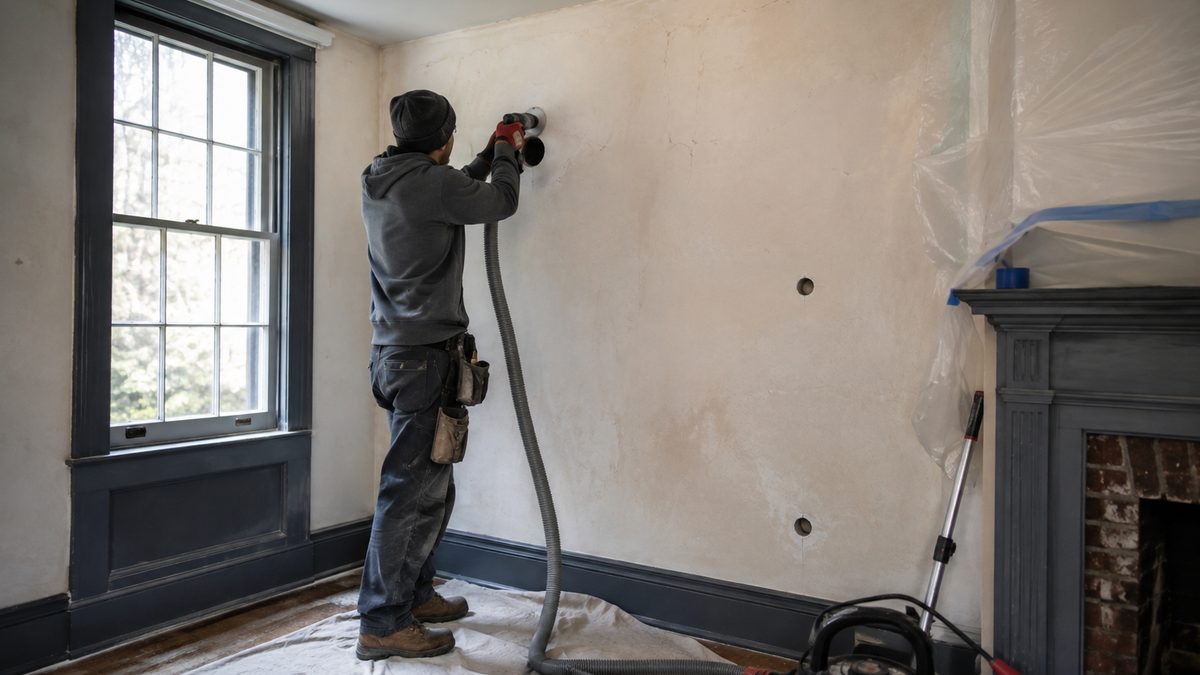
You already know the walls are empty. You have known it since the first January in the house, standing three feet off an exterior wall and feeling the cold roll off it like somebody left the refrigerator open. Every contractor who has walked through has said a version of the same thing: we drill a few holes, blow it full, you will never notice. And the thing stopping you is not the price. It is the plaster somebody hand troweled in 1892, the trim nobody mills anymore, and the clapboards that have held paint for a century.
That hesitation is the right instinct. Connecticut has some of the oldest housing stock in the country, and the wall assemblies in these houses behave nothing like the ones a production crew sees on a Tuesday. This post is not about which insulation goes in the wall. It is about what happens to the surfaces you can actually see while it goes in, how to tell before anyone shows up whether your plaster can survive it, and what belongs in the contract so finish restoration is not treated as a favor.
The Real Risk Isn't the Hole. It's the Pressure Behind It
The hole is the least dangerous part of a wall insulation retrofit. A 2-inch hole in plaster is a patchable, boring problem. What actually wrecks a historic wall is the force applied behind that hole once the hose starts moving.
Plaster in a pre-1930 Connecticut house is not a panel. It is three coats of wet material troweled onto wood lath, which is a row of thin strips nailed across the studs with a small gap left between each one. When the plasterer pushed that first coat on, some of it squeezed through the gaps and slumped over the back of the lath, then hardened there. Those hardened lumps are plaster keys, and they are the only thing holding your wall onto the house. Every key is a little hook. Break enough hooks and the plaster comes off the lath in a sheet.
Blown-in cellulose insulation installed at dense pack density goes in under real pressure, because density is the entire point of dense pack. Injection foam expands after it is already in the cavity. Both of those forces have to go somewhere, and in a wood lath wall the path of least resistance runs straight into the back of your plaster. The National Park Service says this plainly in its guidance for historic buildings: expansion pressure inside a wall can break plaster keys and crack existing plaster finishes. Installers call the visible version pillowing, where the wall develops a soft bulge between studs. By the time you can see the bulge, the keys are already gone.
Not sure whether your historic home should be insulated at all?
Check Your Plaster Before Anyone Drills Anything
You can assess your own plaster in about five minutes, and you should do it before you take a single quote. The methods for insulating an old house with plaster walls vary quite a bit, but every one of them depends on the plaster being sound in the first place.
The five-minute soundness check
- Knuckle-tap along each exterior wall at chest height, then again near the floor. A solid, tight sound means the keys are intact. A hollow, drummy sound means the plaster has already let go of the lath in that spot.
- Press gently on any drummy area with your palm. Flex or give tells you the keys are broken and the wall is being held in place by paint and habit.
- Photograph every existing crack, sag, and old patch, and confirm your phone is stamping the date. Do this before anyone quotes the job. It protects you and the contractor when somebody eventually argues about what was already there.
- Look at those same walls from the attic or an unfinished basement, anywhere framing is exposed. You can often see the back of the lath and judge whether the keys are still hanging on.
- Walk the exterior slowly and look for a grid of round plugs in the siding, roughly 1 to 2 inches across, spaced every 16 inches. Somebody has already insulated these walls, and what is sitting in there now matters more than what you were about to add.
What a wall that should not be dense packed looks like
- Drumminess across an entire wall rather than one or two isolated spots
- A visible bow between studs, easiest to catch by sighting down the wall from a corner
- Water staining, active or historic, anywhere on exterior wall plaster
- A patchwork of previous repairs, which usually means the wall has been failing for years
- Wallpaper doing structural work, where the plaster underneath is cracked and the paper is the only thing holding the pieces in plane
Run the check yourself with the tool below. It walks through the same six signs, scores what you find, and tells you whether your plaster is a candidate for dense pack cellulose, whether it needs a wall test first, or whether your money belongs in the attic instead.
Everything on both lists is yours to do. What you should not do is drill an exploratory hole yourself. In a house built before 1978 that paint is very likely lead based, and a cordless drill spinning through painted plaster puts fine lead dust on the floor where your kids sit. Nealon charges $150 for a proper wall test, and that fee comes off the job if you book the work.
Where the Holes Go Decides What Gets Restored
Every wall insulation job puts holes somewhere. The only real question is which of your finishes absorbs them.
The building science behind insulating an exterior wall in an existing home does not change much between these four routes. What changes is your restoration bill, and which room you have to live in while the work happens.
On the shoreline there is an extra wrinkle. Original cedar shingle and old growth clapboard go brittle with age and salt exposure, and a crew that pulls courses without pre-drilling will snap boards you cannot go buy replacements for. Ask specifically how they handle removal, and ask whether they carry stock that matches your exposure and profile.
Coastal homes deal with problems inland houses never see. Here's what changes near the water.
The Lead Rule Most Homeowners Have Never Heard Of
Federal law governs how anyone paid to drill into your painted walls has to work if your home was built before 1978. The EPA's Renovation, Repair and Painting rule requires any firm paid to disturb painted surfaces in a pre-1978 home to be certified and to follow lead-safe work practices. There is a narrow exemption for minor repairs, but it caps out at 20 square feet of exterior painted surface disturbed. A dense pack drill pattern across one elevation clears that threshold before the crew finishes the first wall, so it does not apply to this work.
Here is why this belongs in a post about finishes rather than a post about health. Lead-safe work practices mean plastic sheeting on your floors, HEPA filtered vacuums instead of a shop vac, wet cleanup, and containment that keeps dust inside the work area. The rule was written for your family's lungs. The side effect is that the fine grey plaster and paint dust that would otherwise settle into every trim profile, register grille, and gap in a wide board floor never gets loose in the first place. A crew working uncertified is not just breaking federal law. It is also the crew that leaves a film on your banister.
What else should you be asking before you sign with an insulation contractor?
What the House Should Look Like When the Crew Leaves
Finish restoration is part of the job, not something the crew does as a favor on the way out. Department of Energy guidance for filling existing wall cavities is specific about interior patching: plug the hole with rigid foam or a gypsum board disc, fill with joint compound, let it dry, sand it smooth, then paint.
Expect to repaint wall to wall and corner to corner, not spot touch. Plaster carrying 90 years of paint has a texture and a sheen that no fresh patch will match, and a spot repair on an old wall reads as a row of pale circles the first time the afternoon light rakes across it. Plan for that repaint inside the project budget instead of discovering it afterward.
What belongs in the contract before anyone starts:
- The drill pattern: how many holes, where, and on which side of the wall, agreed in advance
- Who patches, who primes, who paints, and whether painting covers the patch or the whole wall
- Whether siding gets removed and reinstalled or plugged, and who supplies replacement boards
- What happens if plaster cracks during the fill, written down before it does
- The firm's EPA Lead-Safe certification number
Two quotes in hand and no idea why they're thousands apart? Here's how to read them side by side.
When the Right Answer Is to Leave the Walls Alone
Sometimes the honest recommendation is to skip the walls entirely. There is a real school of thought in preservation circles that says you should never blow insulation into an old wall, full stop, and Connecticut's own State Historic Preservation Office circulates a version of that argument in its resource library. I do not agree with all of it, but I am not going to pretend it came from nowhere. A wall with failing keys, a crew that fills hard without checking first, and a house with no plan for moisture afterward is a genuinely bad combination. I have opened enough of those walls to know how it ends.
Where I part ways is the blanket part. A sound rock lath wall, exterior access, a careful crew, and a house where the attic and rim joists were handled first is a job that works and keeps working. But notice the order in that sentence. Walls are the most invasive, most expensive, and slowest paying part of the envelope in an old Connecticut house. The attic is the opposite on all three counts. Get the attic into the R-49 to R-60 range, seal the rim joists with spray foam, close the obvious leaks, and then look at the walls with a clear head. Exterior walls target R-13 to R-21 in this climate, and plenty of homeowners find the house is comfortable enough after the first two steps that the third stops feeling urgent. Start with a Home Energy Solutions audit through Energize CT. The copay is $40, and the visit is where your insulation rebate application gets issued. The rebate covers up to $2.00 per square foot or 75% of project cost, whichever is less, capped at $10,000 per home.
Conclusion
Insulating a historic Connecticut home without wrecking its finishes comes down to sequence. Assess the plaster before anyone quotes the job, understand that pressure and not the drill bit is what breaks a wall, hire a crew certified to disturb pre-1978 paint, and get finish restoration written into the contract as a line item instead of a handshake. None of that is exotic. It is just the part most homeowners learn about after the fact.
If your walls do not pass the tap test, that does not mean your house is stuck being cold. It means the attic and the rim joists are where your money should go first, and honestly, they will do more for your comfort this winter than the walls would have anyway.
👉 Contact Nealon Insulation — we've been working inside Connecticut's oldest houses since 1977, and we'll tell you straight if your walls are better left alone.
Frequent Questions About Insulating a Historic Home
How long does wall insulation take in a historic Connecticut home?
Wall insulation in a historic Connecticut home takes 1 to 3 days for the fill itself. Finish restoration adds time beyond that, because joint compound needs to dry between coats and paint needs a clean, sanded surface. Budget 1 to 2 additional weeks before interior walls look finished if interior access was used. Ask your contractor for separate timelines covering the fill and the restoration so the schedule is clear before work starts.
Do I need approval from a historic district commission before insulating?
Connecticut local historic district commissions review exterior alterations, which includes removing or plugging siding to install wall insulation. Properties inside a locally designated district require a Certificate of Appropriateness before exterior work visible from a public street begins. Interior work and attic insulation fall outside commission review, because Connecticut historic district commissions regulate exterior appearance. Contact your town's historic district commission before scheduling exterior access work to avoid a stop-work order mid-project.
Can walls with knob and tube wiring be insulated?
Walls containing active knob and tube wiring cannot be insulated safely, because knob and tube design depends on open air around the conductors to shed heat. A licensed electrician must confirm the circuits are dead or replace them before insulation goes into those cavities. Older Connecticut homes frequently still carry live knob and tube runs inside exterior walls even after the electrical panel has been upgraded. Have the wiring evaluated before scheduling insulation to avoid a fire hazard and a failed inspection.
Does insulating the walls affect a home's historic designation or tax credit eligibility?
Insulating walls does not remove a home's historic designation, because designation attaches to the property rather than to individual improvements. Work that damages original plaster, siding, or trim can affect eligibility for preservation tax credits, which require distinctive finishes and construction techniques to be preserved. Connecticut's Historic Homes Rehabilitation Tax Credit reviews the scope of work before work begins. Submit your project scope for review before starting if you intend to claim the credit.
What makes insulating a historic home cost more than a newer one?
Historic home wall insulation costs more than identical work in a postwar house for three reasons: lead-safe containment and cleanup, careful siding removal and reinstallation, and finish restoration on plaster and paint. Nealon's wall test costs $150 and is credited back to the job when the work is booked. Energize CT rebates cover up to $2.00 per square foot or 75% of project cost, whichever is less, capped at $10,000 per home. Request a quote that breaks out the fill and the finish restoration as separate line items so you can see exactly what each part costs.
Related Articles
Let's Work Together
Ready to transform your home into an energy-efficient haven? Schedule your free energy assessment today and experience the Nealon difference for yourself.