How to Insulate a Historic Connecticut Home
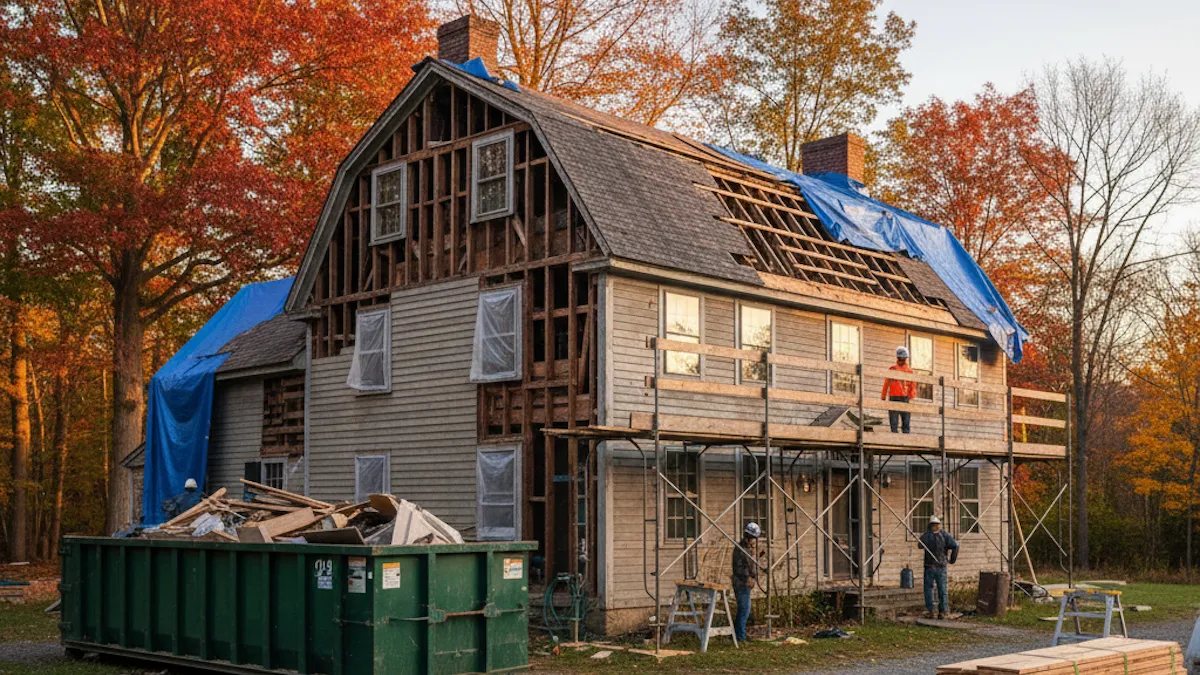
If you own a historic Connecticut home, whether it’s a brick Federal in New Haven, a 1760s Colonial in Old Lyme, or a stone farmhouse tucked into the hills of Litchfield, you know one thing for sure: these homes are built like champions… but they definitely weren’t built for February.
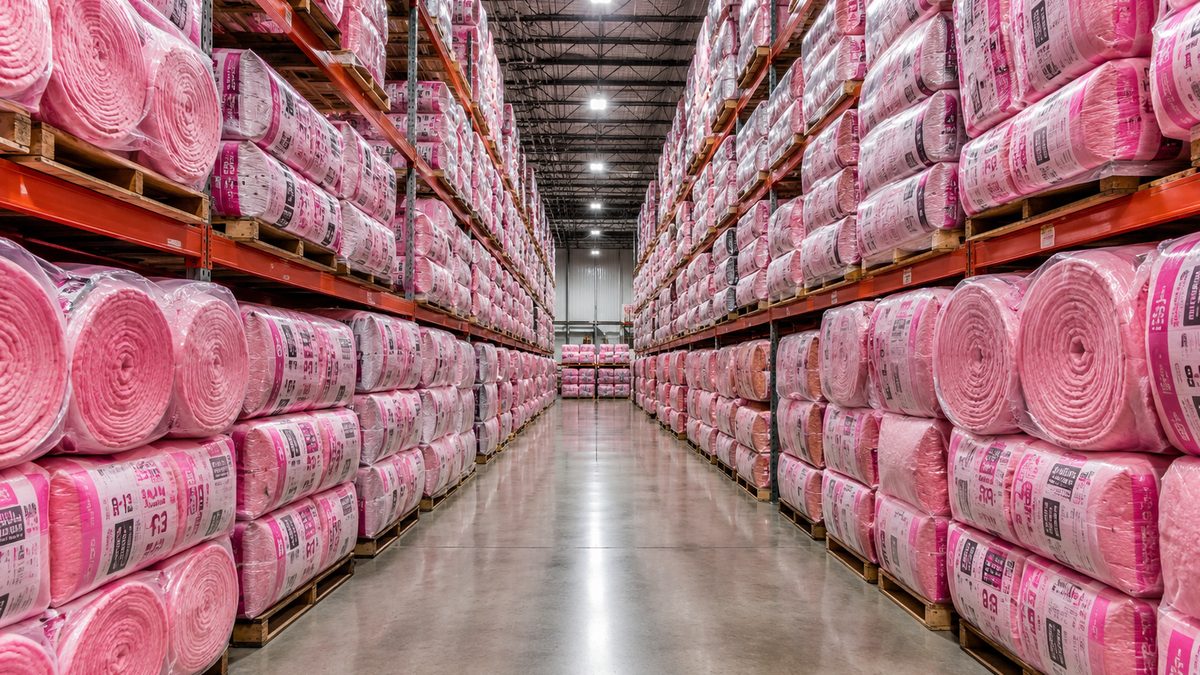
So you start Googling. You call a contractor. Maybe you wander through a big-box store staring at fiberglass batts like they’re going to explain themselves.
And that’s where people get into trouble.
Because insulating a 150- to 250-year-old home is nothing like insulating a 1990s Colonial. These older buildings weren’t designed around vapor barriers, foam boards, or the modern idea of “sealing everything tight.” They work on entirely different physics, physics rooted in breathable materials, moisture movement, and craftsmanship from a world before plastic existed.
To put it plainly:
Historic homes play by old rules. If you try to insulate them with new-construction shortcuts, you can cause real damage,fast.
One of the best research resources on this topic isn’t even from the U.S.—it’s the Energy Efficiency and Historic Buildings: Insulating Solid Walls guidance from Historic England . It’s written for British buildings, but the moisture science is identical to what we see in Connecticut’s pre-1900 homes.
This guide blends the best of that research with what we’ve learned after decades of insulating Connecticut’s oldest homes. My goal isn’t to scare you off, far from it. With the right approach, a historic home can be very comfortable and very efficient. But the key is understanding the building before you touch it. Read more about how insulation practices have evolved in Connecticut.
Let’s break it down.
Why Historic Homes Need a Different Playbook
Your home wasn’t built with vapor barriers, rigid foam, or vinyl siding. It was built with lime mortar, soft brick, fieldstone, timber frames, and breathable plasters, all materials that naturally absorb and release moisture.
Historic England drives this home:
Older walls are permeable “breathing” systems, unlike the sealed, layered walls of modern construction .
Connecticut adds its own twist:
- Freeze–thaw cycles
- Coastal salt air
- Wind-driven rain
- High summer humidity
- Ground moisture creeping into stone foundations
These conditions mean moisture is the real enemy—not the cold itself.
And remember: historic walls are rarely uniform. One section might be brick. Another might be stone. Another might hide a timber beam from 1790 tucked two inches behind the plaster. Each of these materials handles moisture differently, which matters a lot once insulation enters the equation.
Historic homes aren’t fragile—they’re just different. And to work with them, you need to understand how they breathe, dry, expand, contract, and manage environmental moisture.
Check out this Nealon Insulation review where we helped a homeowner with horsehair plaster walls.
First Step: Diagnose Before You Insulate
The biggest insulation failures in historic homes happen before the insulation goes in—because nobody stops to diagnose the wall system first.
Historic England says this repeatedly:
Know the construction, moisture behavior, and condition of the wall before adding insulation .
Here’s what that diagnosis includes:
Understand Your Materials
Historic walls are mixtures of:
- Soft brick
- Rubble stone
- Lime mortar
- Timber elements hidden in masonry
- Mixed-material additions
Each one behaves differently.
Look for Past “Upgrades” That Cause Problems
- Cement mortar
- Acrylic paints
- Vinyl wallpaper
- Cement stucco
- Spray foam injections
These choke the wall’s breathability and trap moisture.
Check for Moisture & Salts
Signs of trouble:
- Efflorescence (white salt)
- Peeling paint
- Musty odors
- Damp plaster
- Mold in corners
- Spalling brick
Historic England dedicates an entire section to salts and moisture because they’re silent killers of old buildings.
Look for Embedded Timbers
Timber joists, posts, and lintels set into masonry are extremely vulnerable to condensation and rot if insulation is added without caution.
Evaluate Wall Thickness & Consistency
Historic walls can contain voids, irregular bonding, inconsistent mortar, and multiple materials—each affecting insulation strategy.
If any of these issues show up, insulation can wait. Fix the moisture first.
The Big Decision: Internal vs. External Wall Insulation
With diagnostics done, the next question is whether to insulate your home from the outside (EWI) or inside (IWI).
Spoiler:
In Connecticut, internal insulation is usually the more realistic option.
Let’s break down both.
External Wall Insulation (EWI): Why It’s Rarely Right in CT
Scientifically, external insulation is the “ideal” method. It:
- Keeps the wall warm
- Preserves thermal mass
- Reduces condensation risk
- Allows great energy performance
Historic England confirms this—in theory .
But in practice?
External insulation is usually a non-starter in Connecticut because:
- You’d need to modify roof eaves, gutters, trim, and sometimes windows.
- You’d cover or distort historic detailing.
- Most historic districts simply won’t allow it.
- Many exteriors (brick, stone, clapboard) are character-defining features.
- Costs skyrocket due to extensive exterior work.
Worse, if you use the wrong materials (like closed-cell foam, acrylic stucco, or cement render), you risk trapping moisture in the wall, which historic masonry cannot survive.
There are rare cases where EWI works—usually on non-historic sides or heavily altered buildings—but they’re exceptions.
Internal Wall Insulation (IWI): The Most Common—and Most Misunderstood—Solution
Internal insulation is far more feasible in CT. It doesn’t change the exterior, it’s permitted in historic districts, and it allows you to insulate specific rooms.
But it carries more moisture risk because it:
- Makes the exterior wall colder
- Reduces drying to the inside
- Increases condensation potential behind the insulation
- Can rot embedded wood
- Slightly shrinks room dimensions
- Cuts the wall off from thermal mass benefits
Historic England is very clear:
IWI must be vapor-open or extremely well-detailed to avoid condensation risks (Sections 4.2–4.3) .
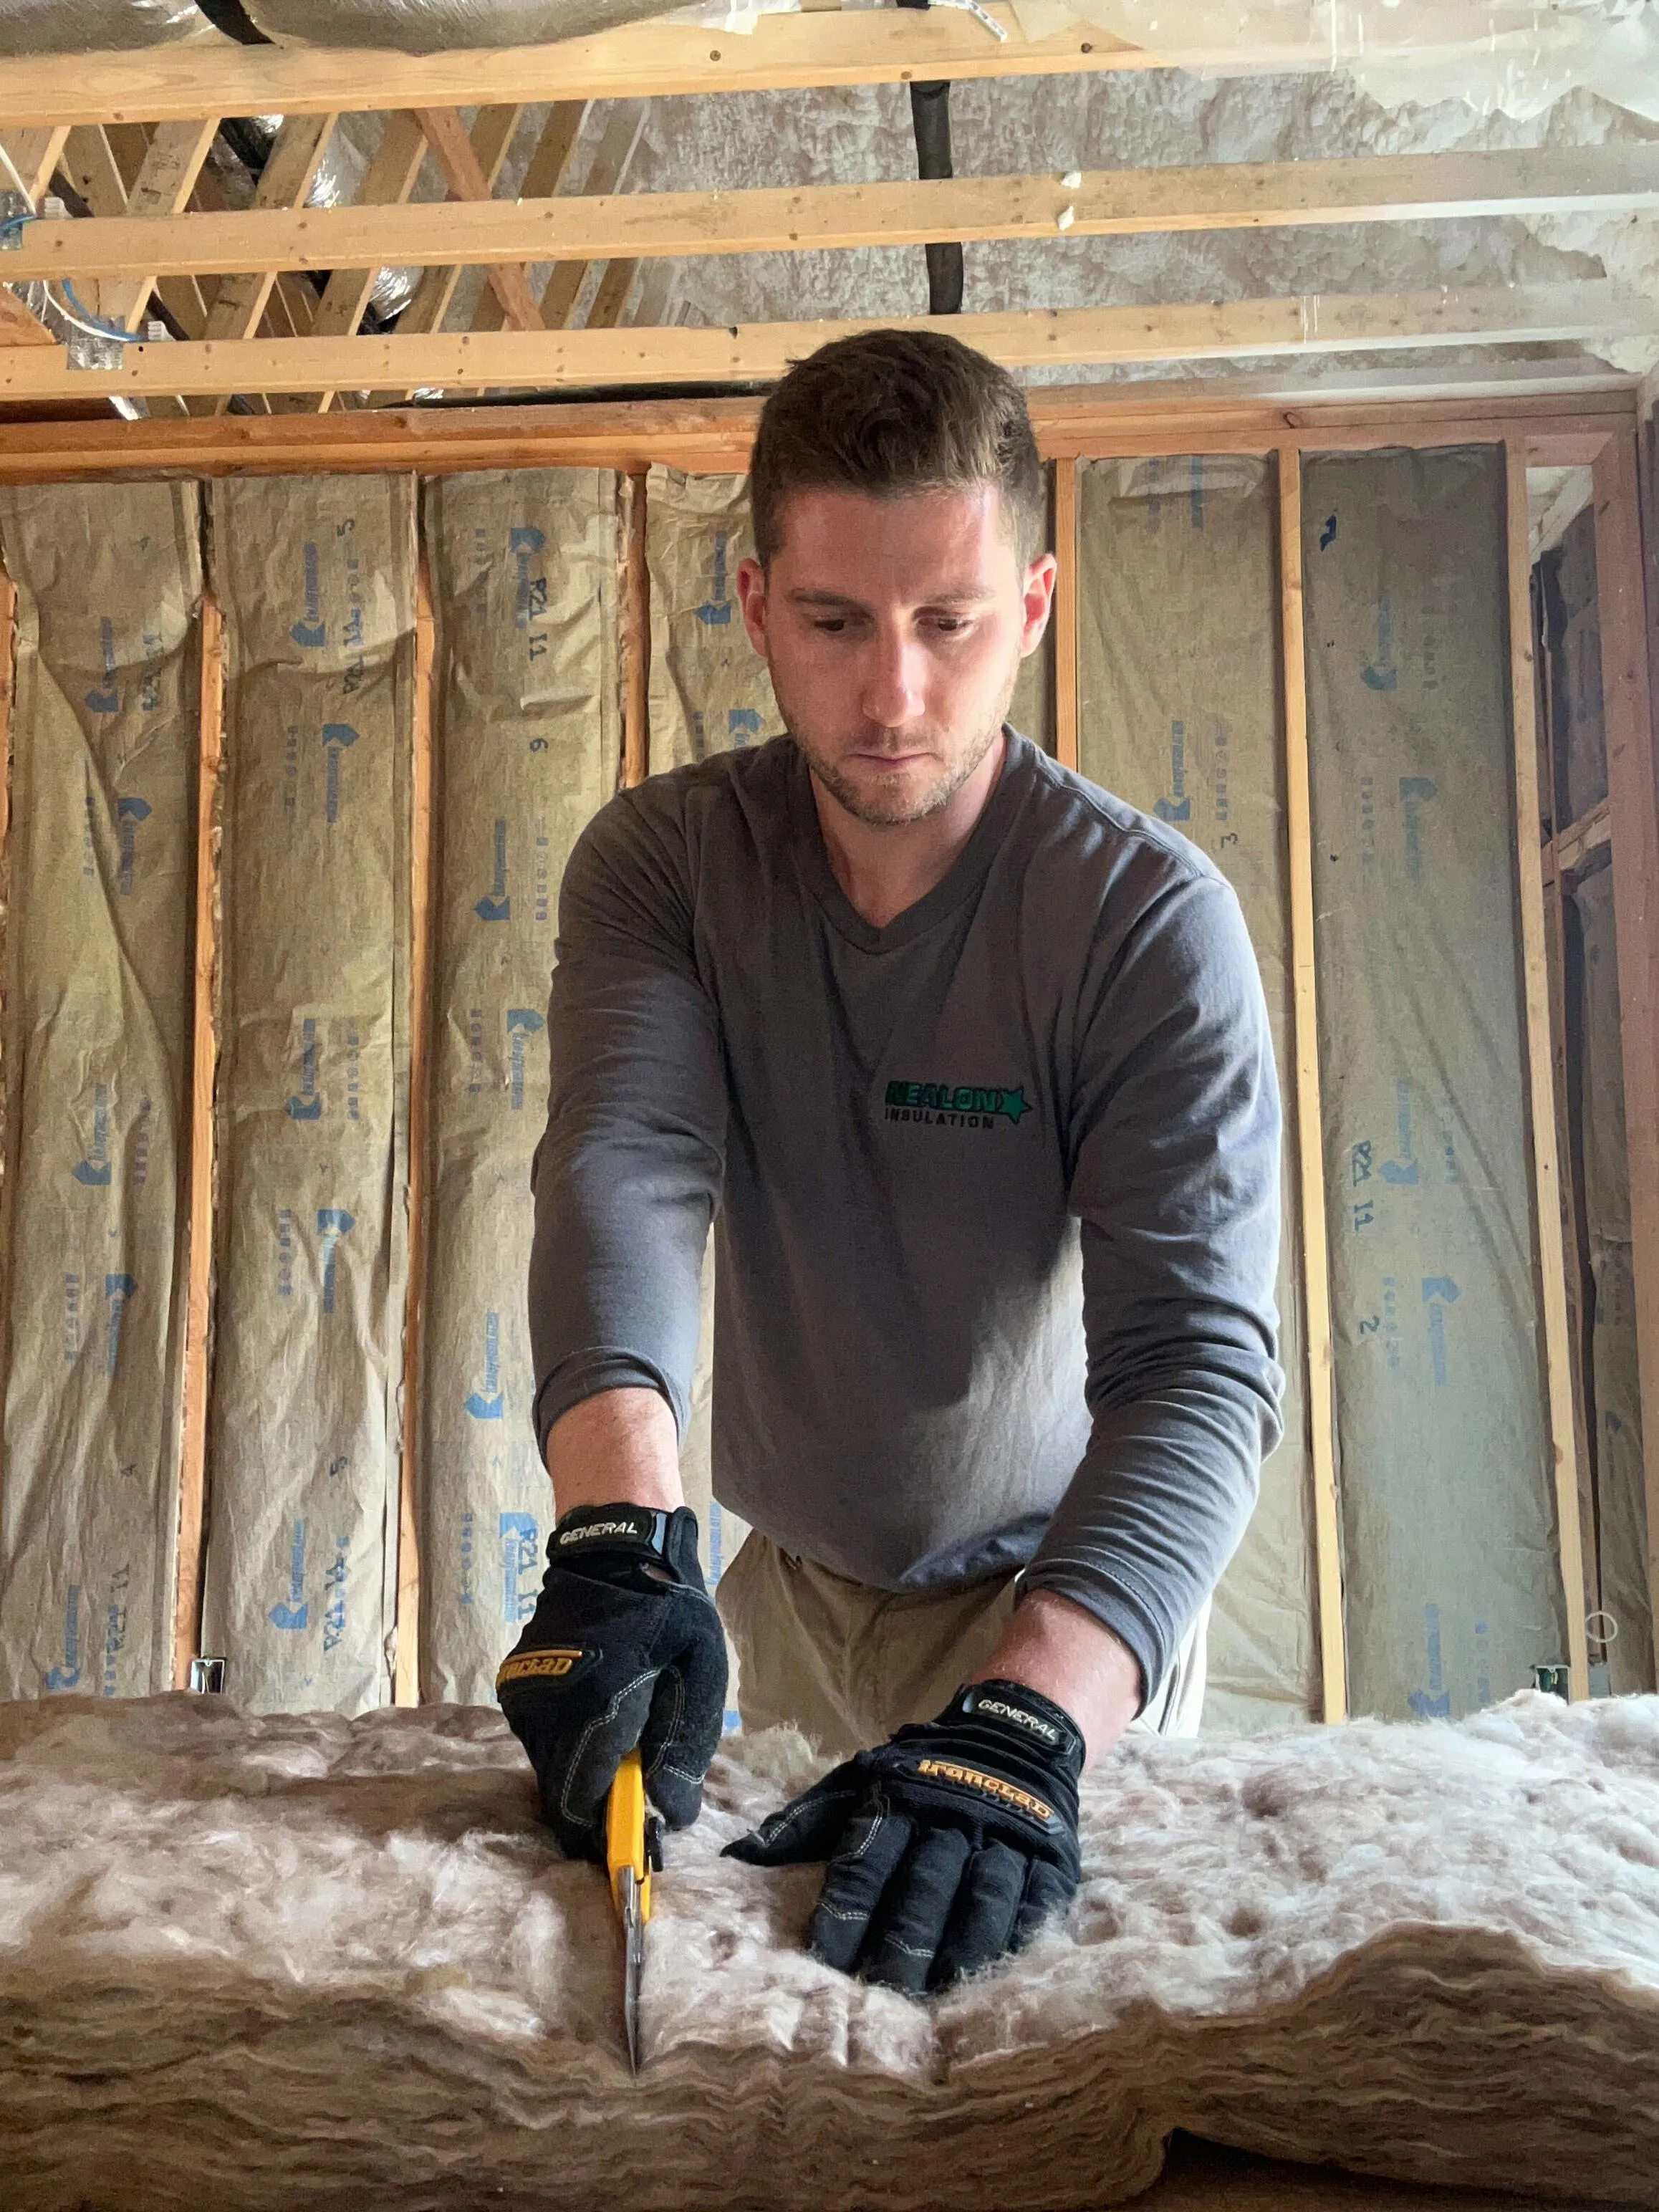
Best vapor-open options for IWI:
- Wood fiberboard
- Mineral wool
- Hemp-lime systems
- Dense-pack cellulose (in certain assemblies)
- Lime plaster finishes
These materials absorb and release moisture without trapping it.
High-risk materials to avoid:
- Closed-cell spray foam
- Rigid foam boards
- Vinyl wallpaper
- Cement plaster
- Acrylic paint
- Anything depending on a “perfect” vapor barrier
Those systems work beautifully in modern homes but can devastate historic walls.
The Materials Cheat Sheet: What’s Safe, What’s Risky, and What’s Ideal
Here’s your quick guide:
Best Choices (Safe & Compatible)
- Wood fiberboard
- Mineral wool
- Hemp-lime
- Dense-pack cellulose
- Lime plaster
Caution Required
- Open-cell spray foam
- Rigid foam boards
- High-tech thin insulation panels
- Any system with intensive vapor control layers
Hard No
- Closed-cell spray foam
- Cement stucco
- Cement pointing
- Acrylic “waterproof” paints
- Vinyl wall coverings
The common thread?
Historic walls must stay vapor-open.
Historic England’s warnings are blunt: impermeable systems trap moisture and damage the building fabric (Section 2.2) .
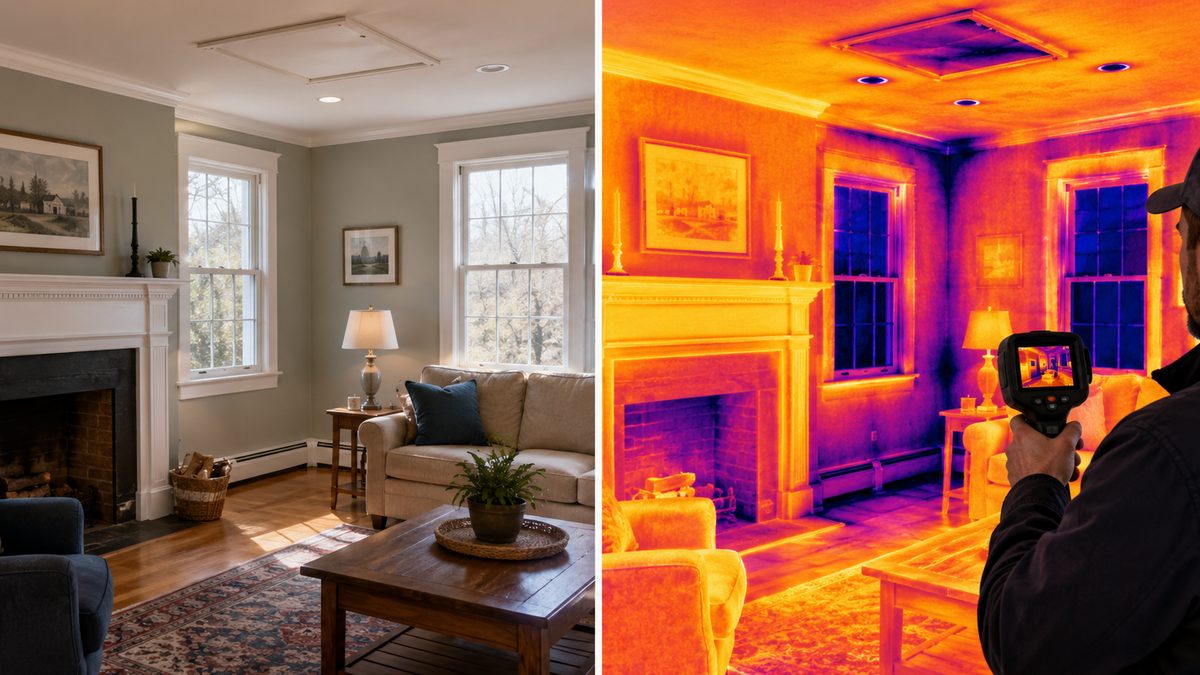
Thermal Bridging: The Problem Nobody Tells You About
Thermal bridges are the weak links—cold spots where insulation stops or thins:
- Window reveals
- Floor-wall junctions
- Joist pockets
- Chimney breasts
- Corners
- Interior partitions that meet exterior walls
Wherever insulation doesn’t continue uninterrupted, condensation will form. And in historic houses, condensation doesn’t stay cute. It turns into:
- Mold
- Rot
- Plaster decay
- Freeze-thaw damage
- Structural beam rot
Historic England’s diagrams show this repeatedly (Figures 7–10) .
Fixing Thermal Bridges
- Add thin insulation to reveals
- Insulate floor perimeters
- Extend insulation onto adjacent walls
- Use vapor-open materials to buffer moisture
- Seal all edges for airtightness
- Avoid foam on or around masonry or timbers
If a contractor glosses over thermal bridging, that’s a red flag.
The Smart Sequence: What to Upgrade Before Insulating Walls
Historic England emphasizes this, and we’ve learned it the same way they did: Insulate the walls last.
Here’s what to do first:
1. Air seal the attic
Biggest comfort boost, lowest cost.
2. Add attic insulation
The #1 ROI insulation upgrade in CT.
3. Seal and insulate rim joists
Huge impact on drafts and cold floors.
4. Repair windows & add storm windows
Historic windows + storms = modern performance.
5. Right-size or update heating systems
Old boilers are often oversized.
6. Fix moisture and drainage issues
Never insulate damp walls.
7. Improve ventilation where needed
As you tighten the envelope, manage humidity.
Once these steps are done, wall insulation becomes safer, cheaper, and often less necessary.
Case Examples: Real-World Connecticut Successes
Each case proves the same lesson: respect moisture, respect materials, choose vapor-open insulation.
When NOT to Insulate the Walls
There are several situations where insulation is unsafe:
- Active moisture or damp walls
- Salt contamination
- Embedded timbers at risk of condensation
- Very thin or irregular masonry
- Walls covered in impermeable coatings
- Homes relying on thermal mass for cooling
- Protected historic façades
- When the cost/benefit ratio doesn’t pencil out
Historic England says it clearly: Some walls simply should not be insulated at all (Summary & Section 1) .
Conclusion: The Connecticut Historic Home Insulation Playbook
Historic homes don’t need perfect insulation—they need compatible insulation. Your home has lasted for a century or two because its materials breathe, buffer moisture, and move with the seasons.
When you work with those systems—using vapor-open insulation, fixing moisture first, and respecting the building’s original design—you get the best of both worlds:
- A warm, comfortable winter
- A cool, steady summer
- Lower energy bills
- And a home that lasts another hundred years
Insulate a historic house the right way, and you’ll feel the difference immediately.
Do it the wrong way, and the problems stay hidden until they’re expensive.
This guide is your roadmap to staying on the right side of that line.
👉 If you want an insulation strategy that respects your home’s history and boosts your comfort, we’re here to help. Contact Nealon Insulation.
FAQ's on Insulating Historic Homes
Can insulating a historic home increase indoor humidity or make the air feel “stuffy”?
Insulating a historic home can increase indoor humidity or make the air feel stuffy if it reduces natural ventilation. Airtight insulation traps moisture from cooking, bathing, and breathing. Without added mechanical ventilation, humidity builds up, leading to stale air. Keep winter humidity between 35–50% to prevent this.
How do I tell if my historic plaster is compatible with insulation?
Check plaster compatibility by confirming it's lime-based and vapor-open. Lime plaster feels dry, has fine cracks, and shows a powdery finish. It pairs well with breathable insulation like wood fiber. Avoid insulation if the surface has latex paint, gypsum skim coats, or hard cement patches that trap moisture.
Do I need to worry about pests when insulating a historic home?
Yes, you need to worry about pests when insulating a historic home. Gaps in framing, old mortar, and mixed materials allow entry. Without proper air sealing, insulation may attract nesting. Seal rim joists, repair damage, and use dense materials like cellulose to block access and preserve structural integrity.
Will insulating my historic home reduce exterior noise?
Yes, insulating a historic home can reduce exterior noise, especially with dense materials like cellulose, mineral wool, or wood fiber. These add mass and absorb sound. Lime plaster further dampens vibration. Results vary by wall assembly but typically reduce traffic, aircraft, and neighborhood noise effectively.
How long does it take for insulation upgrades in a historic home to “pay for themselves”?
Insulation upgrades in a historic home can pay for themselves in 1 to 5 years for attic work, air sealing, or storm windows. Wall insulation often takes 5 to 15 years. Solid masonry systems may take 20–30+ years. Most upgrades improve comfort immediately, but financial return depends on scope.
Related Articles

Let's Work Together
Ready to transform your home into an energy-efficient haven? Schedule your free energy assessment today and experience the Nealon difference for yourself.