Rodent Removal from Attic: How We Solved a Severe Infestation for Good
Hearing scratching and movement above your ceiling at night is unsettling. It usually means one thing: you have rodents in the attic. And once they move in, they rarely leave on their own.
This case study walks through how we handled a heavily rodent-infested attic, why the problem kept getting worse, and what it actually took to eliminate the rodents permanently, not just mask the symptoms.
The Homeowner’s Problem: Rodents in the Attic
Rodents in Connecticut are common. This New Haven homeowner reached out after weeks of hearing rodents moving around the attic at night. Scratching, scurrying, and noise overhead had become routine, and understandably concerning.
Once we looked closer, it was clear the issue went far beyond sound.
- The attic was heavily infested with rodents
- Existing fiberglass insulation was contaminated with droppings, nesting material, and chew damage
- Rodents had tunneled through insulation, destroying its performance
- The homeowner wanted to add attic storage, which would have made the infestation worse if left unaddressed
This was not just a pest issue. It was a health, comfort, and energy efficiency problem all tied together. Until the attic was cleaned out, sealed, and rebuilt correctly, the rodents were not going anywhere.
Results Highlights
Rodents no longer in the attic and a 50% reduction in energy costs
What We Found During the Attic Inspection
A full attic inspection confirmed exactly what the homeowner was experiencing, and then some. This was a long-standing infestation supported by poor airflow, moisture, and easy access points.
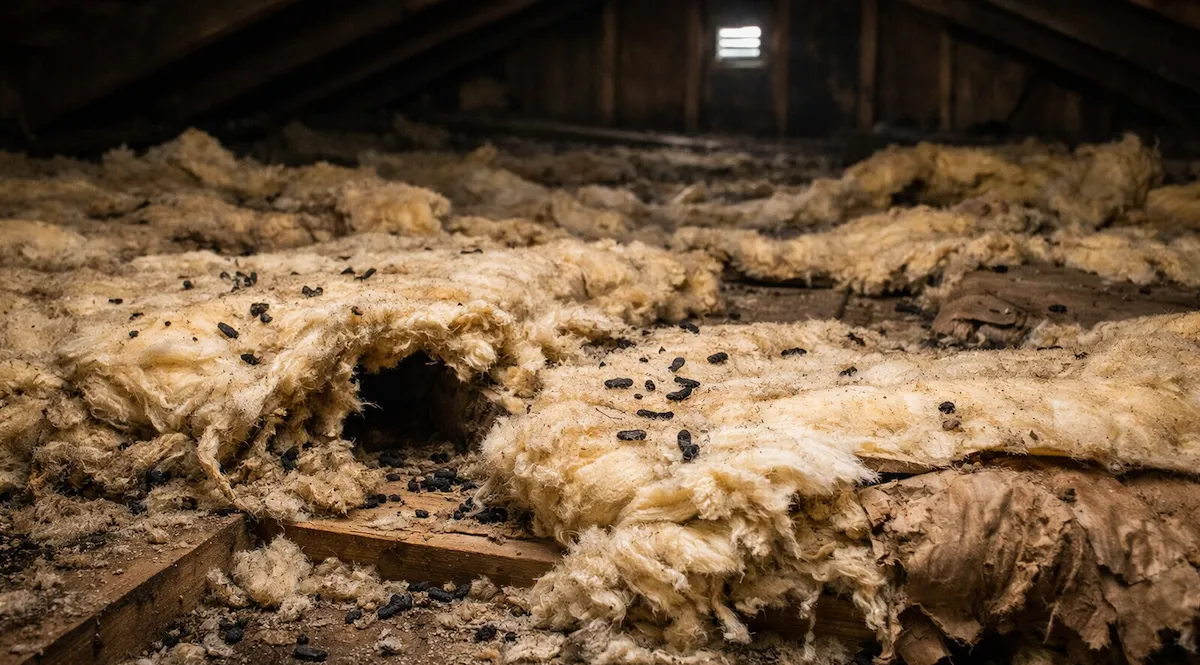
The attic contained two layers of compromised insulation:
- An older layer of R-30 fiberglass batts on top
- A lower layer of blown fiberglass insulation
Both layers showed extensive rodent activity. We found droppings throughout the attic, chewed and shredded fiberglass, and clear tunneling and nesting inside the batts. In several areas, insulation had been hollowed out entirely, making it useless from an energy standpoint.
We also identified conditions actively attracting rodents:
- Open gaps around wiring, plumbing, and framing
- Poor airflow due to blocked or missing baffles
At this point, it was clear that simply adding insulation or building a storage platform would have made the situation worse. The attic needed a full rodent removal and prevention strategy, starting from scratch.
The Solution: Complete Attic Rodent Removal and Prevention
To solve a rodent problem long-term, you have to remove what attracted them, eliminate how they got in, and rebuild the attic so it is no longer hospitable.
Here is how we approached it.
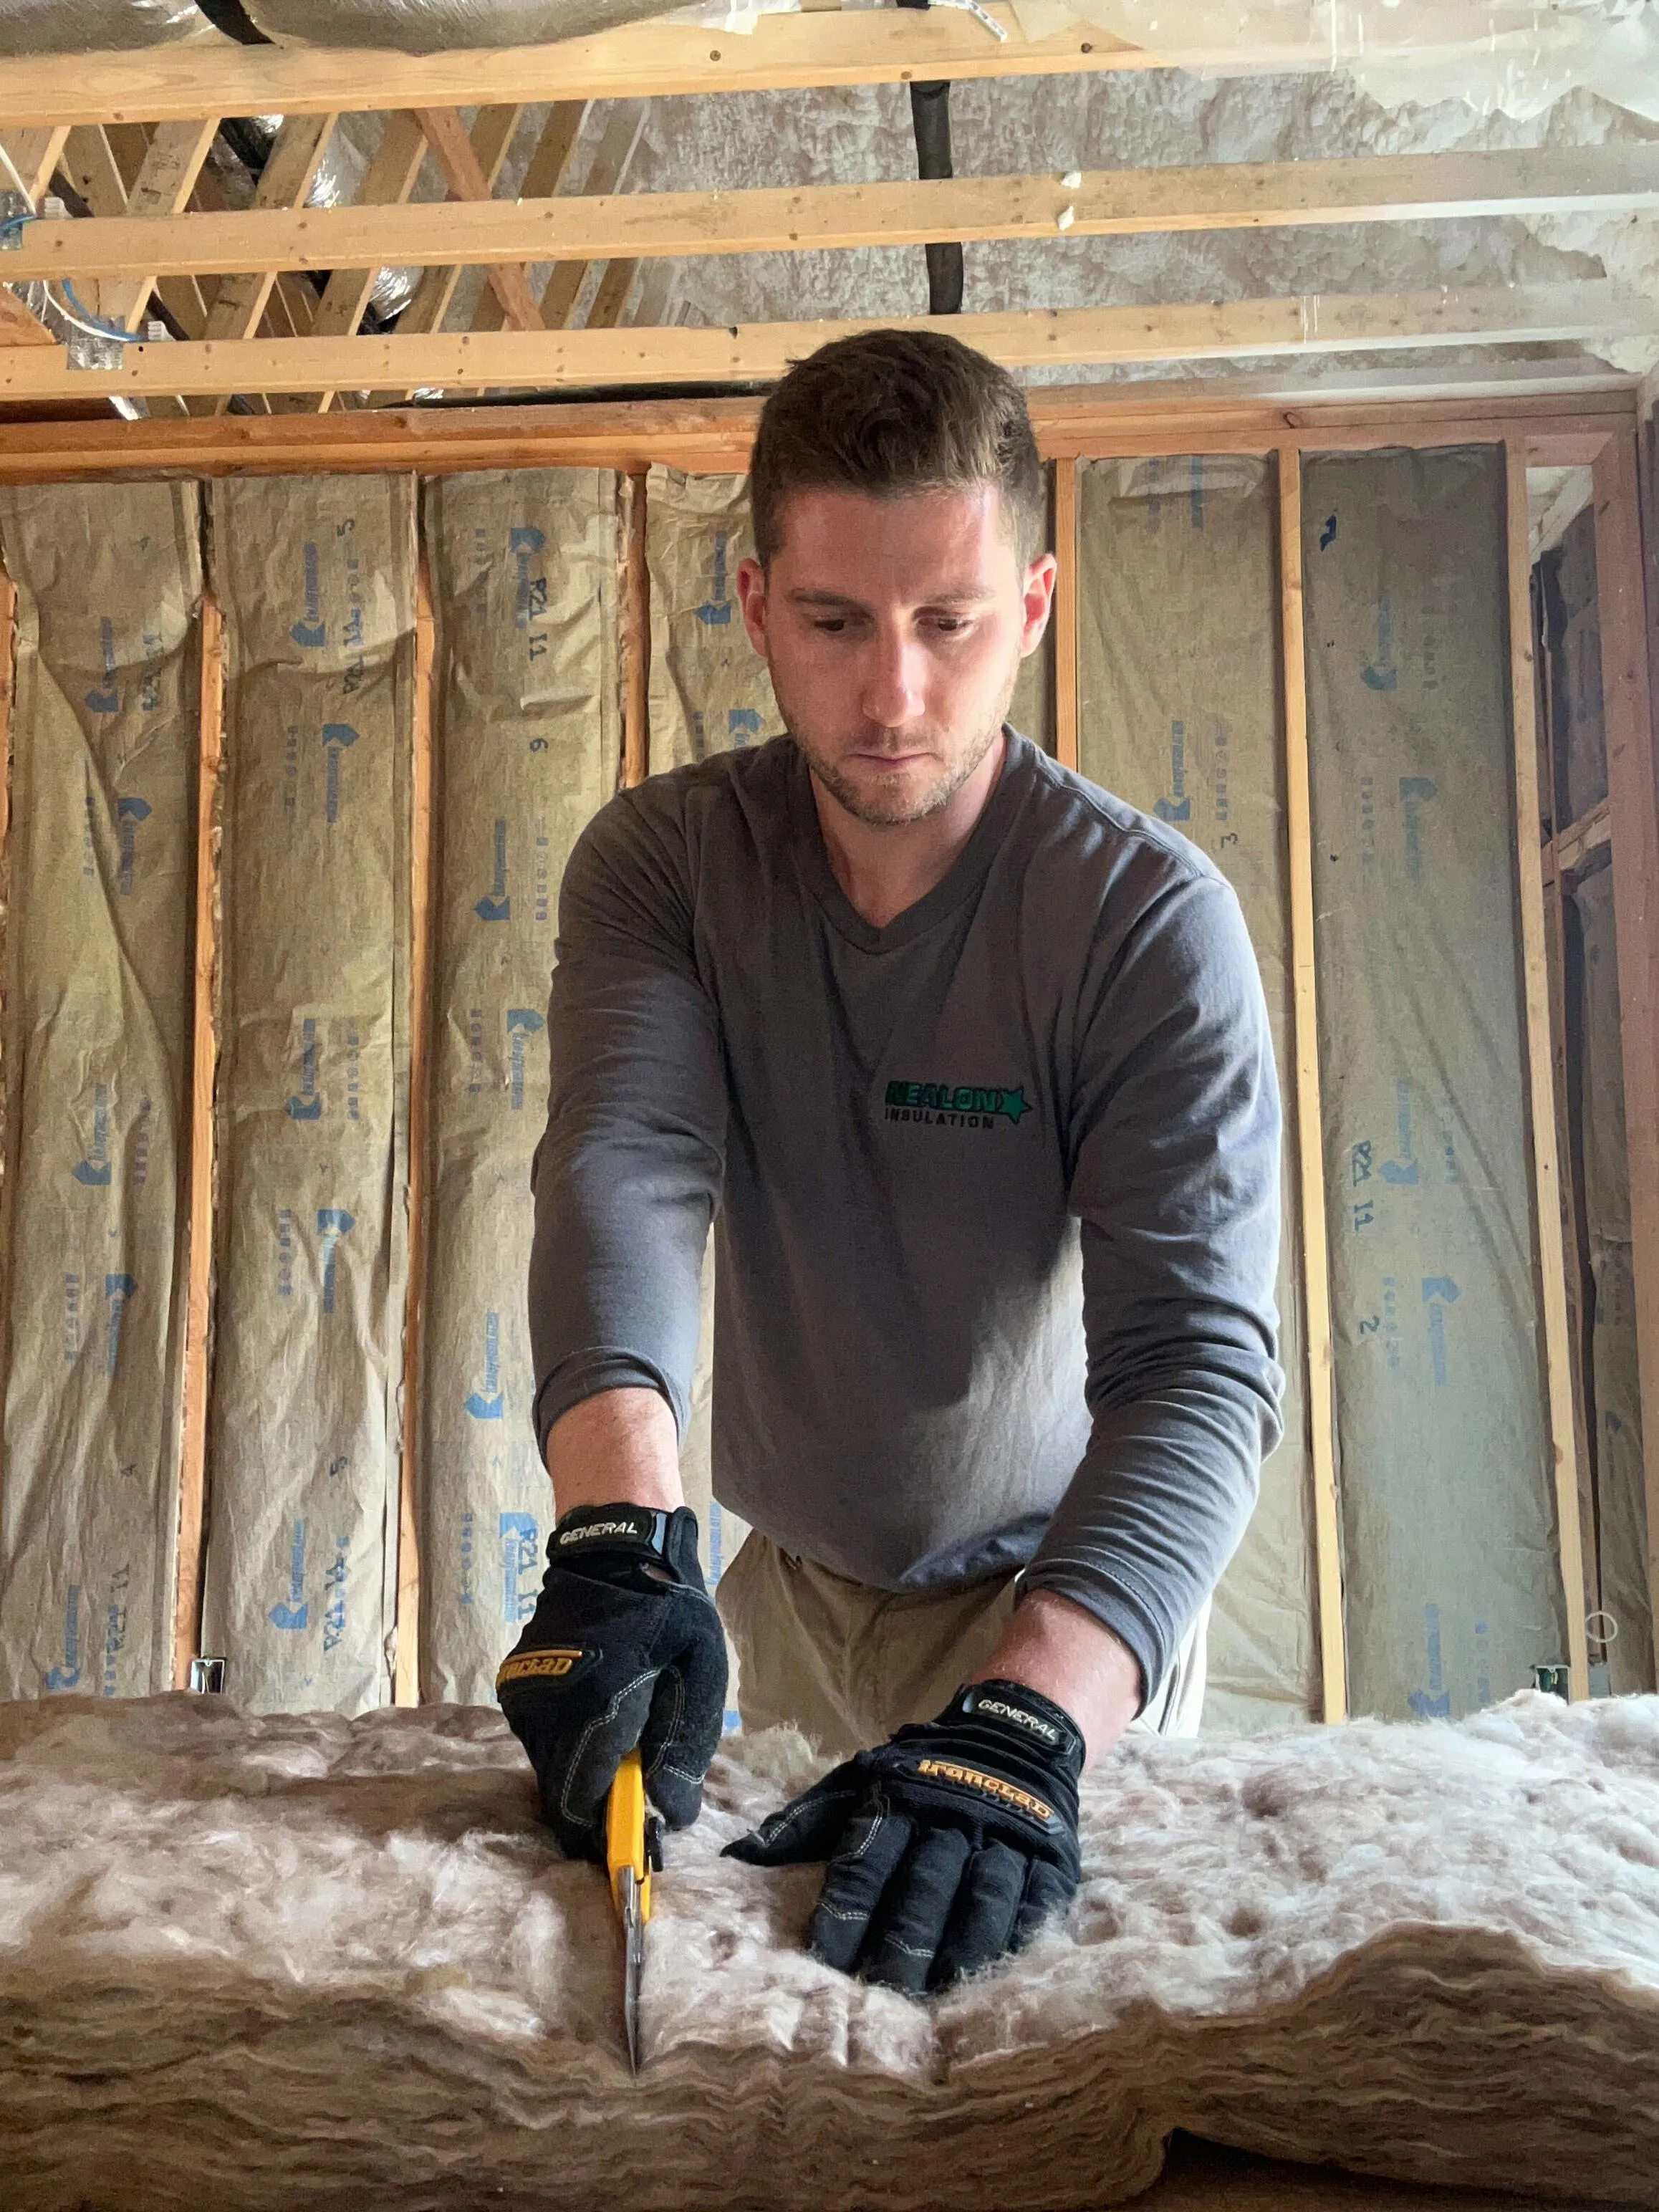
Step 1: Remove All Rodent-Infested Insulation
We started by stripping the attic down to a clean slate.
- Carefully removed the existing R-30 fiberglass batts
- Used an insulation vacuum system to remove the blown fiberglass
- Swept and vacuumed between every joist bay to remove droppings and nesting material
Leaving contaminated insulation behind is one of the most common reasons rodent problems return. Everything had to go.
Step 2: Air Seal and Prep the Attic
Once the attic was clean, we focused on shutting down rodent access and improving airflow.
- Installed blockers and proper baffles to restore soffit airflow
- Air sealed all wire penetrations, pipe chases, and gaps with foam
- Installed recessed light covers
- Laid a poly vapor barrier over the drywall in the joist bays
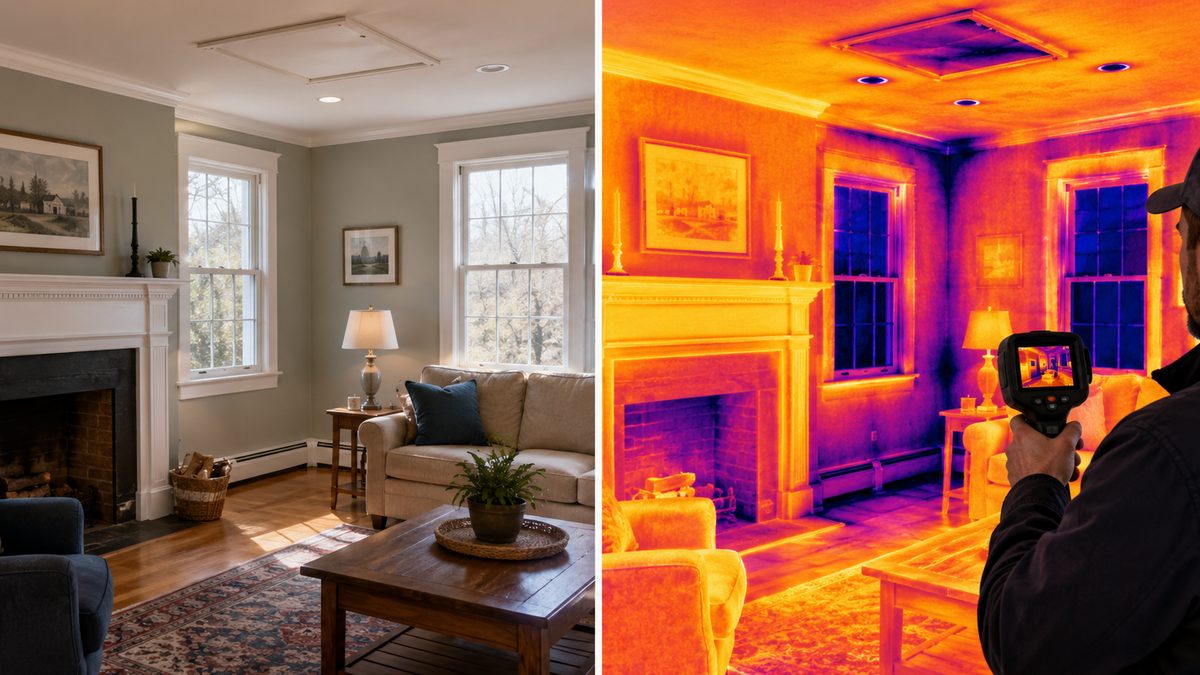
Air sealing matters here for two reasons: it improves energy performance and removes the easy entry points rodents rely on.
Step 3: Build Storage Without Creating a Rodent Habitat
The homeowner wanted attic storage—but poorly built platforms often become rodent condos.
- Installed a raised storage platform around the attic hatch
- Maintained proper airflow and insulation depth beneath it
- Avoided compressed insulation and hidden voids
The result was usable storage without inviting pests back in.
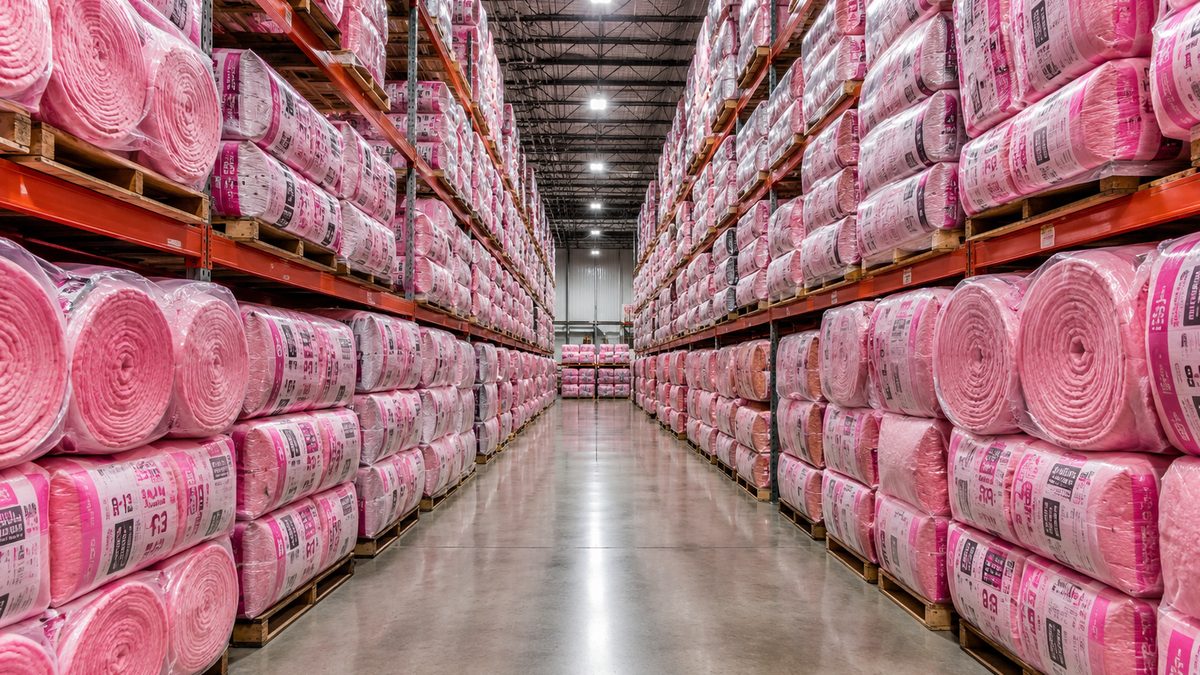
Step 4: Install Rodent-Resistant Insulation
With the attic sealed and prepped, we rebuilt the insulation system correctly.
- Blew 14 inches of Class I cellulose insulation
- Covered the entire attic, including beneath the storage platform
Cellulose is dense, treated, and far less attractive to rodents than fiberglass. It closes off soft nesting areas and helps deter future activity.
Step 5: Seal the Attic Hatch
We finished by addressing a commonly overlooked problem area.
- Built a 4-inch insulated attic hatch cover using rigid foam board
- Reduced air leakage and eliminated another access point
At this stage, the attic was clean, sealed, dry, properly ventilated, and hostile to rodents, exactly what you want.
The Result: A Rodent-Free Attic and Lower Energy Bills
Six months after the project was completed, the homeowner reported zero rodent activity. No scratching. No droppings. No signs of nesting.
Beyond eliminating the infestation, the attic now performs the way it should:
- Clean, sealed, rodent-resistant insulation
- Proper ventilation and moisture control
- Functional storage without compromising performance
- Significantly reduced air leakage
There was also a major financial upside. The homeowner’s energy bills dropped by nearly 50 percent, driven by replacing destroyed insulation and air sealing the attic correctly.
Most importantly, they gained peace of mind. Quiet nights. A healthier home. And confidence that the rodent problem was solved for good, not just covered up.
Takeaway: Rodent Problems Don’t Fix Themselves
Rodents in the attic are rarely the real problem. They are a symptom of air leaks, moisture issues, and failing insulation. Until those root causes are addressed, rodents will keep coming back.
In this case, removing contaminated insulation, sealing the attic, correcting moisture, and installing rodent-resistant insulation solved the issue permanently.
👉 If you are hearing rodents in your attic or suspect your insulation has been compromised, the next step is a proper inspection. Contact Nealon Insulation.
Related Articles

Let's Work Together
Ready to transform your home into an energy-efficient haven? Schedule your free energy assessment today and experience the Nealon difference for yourself.