$50 OFF if Installed by June 30
Serving Clinton, Old Saybrook, Guilford, and surrounding shoreline communities

Home Comfort Insights from Connecticut's Insulation Experts

Professional insights, money-saving tips, and real solutions for Connecticut homeowners.

Nealon Insulation R Value Calculator
General Information

How Much R-Value Do I Need? Try Our R-Value Calculator

Find out exactly how much insulation your home needs—without the guesswork. Let’s get one thing straight: when it comes to keeping your home warm in the winter and cool in the summer, R-value matters. A lot. But most homeowners (and even a few contractors) don’t really know what R-value they need, where, or why.

How Much R-Value Do I Need? Try Our R-Value Calculator
Mike D
May 26, 2025
9
 mins read

Find out exactly how much insulation your home needs—without the guesswork.

Let’s get one thing straight: when it comes to keeping your home warm in the winter and cool in the summer, R-value matters. A lot. But most homeowners (and even a few contractors) don’t really know what R-value they need, where, or why.

That’s why we built a free, easy-to-use R-Value Calculator—to give you clear, code-backed recommendations based on where you live and what part of your home you’re insulating.

But before you jump in and start punching in numbers, let’s cover the basics so you actually know what you’re looking at. Here's what we'll cover in this article:

  • What is R-value
  • Why does R-value matter
  • Climate zones
  • R-value calculator

What Is R-Value, Anyway?

R-value is how we measure insulation’s resistance to heat flow. Think of it like SPF for your house—higher R-value = more protection. The better the R-value, the slower your heated (or cooled) air escapes through your walls, ceilings, and floors.

So when someone says “You’ve got R-13 in your walls,” they’re talking about how well that insulation holds the line between inside and outside temperatures.

Different insulation types have different R-values per inch:

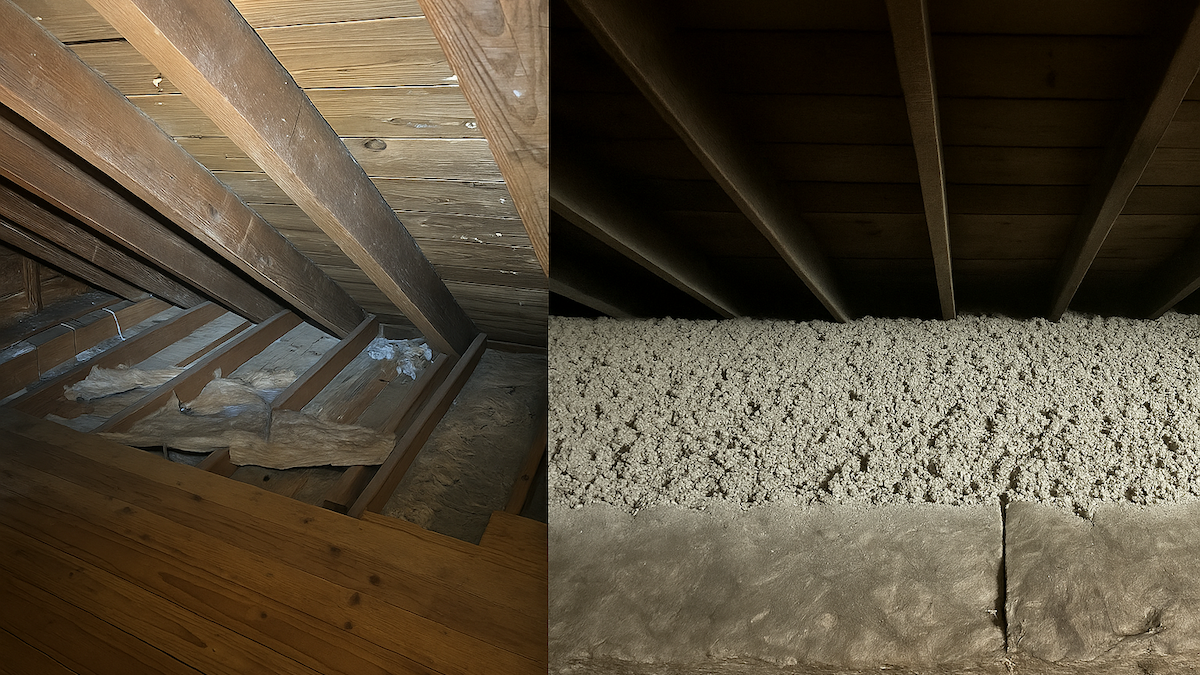
  • Fiberglass batts: ~R-3.2 per inch
  • Cellulose: ~R-3.5–3.8 per inch
  • Spray foam (closed-cell): ~R-6.5 per inch

Why Does R-Value Matter?

Simple: it’s the difference between a home that stays comfy for cheap... and one that bleeds money every time the heat kicks on. Insufficient R-value leads to:

  • Drafty rooms
  • Sky-high utility bills
  • HVAC systems working overtime
  • Unhappy homeowners (maybe you?)

The Department of Energy and local building codes require specific R-values depending on where you live. But unless you’ve memorized the DOE’s climate zone map (we have, but we’re weird like that), figuring it out on your own is a pain.

A Quick Note on Climate Zones

The U.S. is divided into climate zones (Connecticut is mostly Zone 5), and those zones determine how much insulation your home needs.

United States climate zone map segments the country into dry, humid, hot and cold zones.

For example:

  • Zone 3 (warmer southern states) might only need R-30 in the attic.
  • Zone 5 (Connecticut) usually calls for R-49 to R-60 in the attic.
  • Zone 7 (northern tier)? You’re looking at R-60+ and tight air sealing.

You also need different R-values depending on whether you're insulating an attic, basement or wall. Garage's don't have unique R-Values. That's where things get tricky.

Enter: the R-value calculator.

R-Value Calculator

We built this tool to take the confusion out of calculating R-value. Just plug in:

  • Your state and county
  • The part of your home you want to insulate

...and boom—you’ll get the recommended minimum and maximum R-values based on your local code and climate.

✅ No digging through PDFs
✅ No guessing
✅ No wrong answers

Whether you’re upgrading attic insulation, finishing a basement, or insulating a new addition, this calculator gives you a clear starting point. From there, we can help you figure out the right material and get the job done.

R-Value Calculator

Use the R-value calculator to find out what your home really needs—and let’s make sure you’re not under-insulated, overpaying, or leaving comfort on the table.

R-Value Calculator

👉 Ready to increase your homes R value? Contact Nealon Insulation to get the job done right.

Cellulose Dry Pac Insulation
Contractors

The Cellulose Insulation Dry Pac System: A Guide for Contractors

For contractors looking for an efficient, high-performance insulation solution for new home construction and additions, the cellulose insulation dry pac system is an excellent choice. This method provides superior thermal performance, air sealing, and soundproofing while being cost-effective and eco-friendly.

The Cellulose Insulation Dry Pac System: A Guide for Contractors
Mike D
Feb 28, 2025
2
 mins read

If you’re a builder or contractor trying to hit high-performance targets without burning up the budget, it’s time to get familiar with the cellulose dry pac system.

This method isn’t new, but it’s been quietly outperforming batt insulation for decades. And if you’re building tight, energy-efficient homes—or you’re tired of callbacks from homeowners complaining about drafts and noise—you’ll want this in your playbook.

So What Is the Dry Pac System?

Short version: we staple up 6-mil poly, dense-pack cellulose behind it, and tape it off clean.
Long version: It’s a smarter way to insulate framed walls, locking in air sealing, soundproofing, and thermal performance all in one go.

Here’s how the install looks on site:

Step-by-Step for Contractors:

  1. Hang the Poly
    Staple and stitch 6-mil poly over the stud bays after framing. That poly’s your containment.
  2. Insert the Blowing Hose
    Cut a small slit in the poly. Feed the hose deep into the cavity. We’re not fluffing—this is dense-pack.
  3. Dense-Pack Cellulose
    Use an insulation blower to pack each cavity solid. No voids. No settling later. Just clean, consistent fill.
  4. Tape It Shut
    Once the cavity’s full, tape the slit. The poly stays intact and does its job as an air barrier.

Why This Beats Batts (Every. Single. Time.)

Higher R-Value Per Inch
Dense-pack cellulose gives you better thermal performance than fiberglass batts, hands down.

Built-in Air Sealing
Done right, this system slows air movement like a champ—no need for extra air-sealing steps inside the wall.

Soundproofing, Too
Your clients won’t hear what’s happening in the next room or outside. Big win for quality of life.

No Settling, No Gaps
Because it’s packed to the right density (3.5–4.0 lbs/cu ft), it won’t sag or settle over time.

Eco-Friendly & Code-Compliant
Made from recycled paper and treated with borate—safe, sustainable, and passes every code requirement you’ll run into.

Mold, Pest & Fire Resistant
The borate treatment keeps critters and mold out, and adds a layer of fire protection your inspectors will like.

When to Use the Dry Pac System

If you’re working on:

✔️ New builds that need airtight performance
✔️ Additions that need to meet modern code
✔️ Passive house or energy-efficient designs

…this is your system.

Why Nealon?

We’ve been insulating shoreline homes and working with builders like you for 48 years. Our team knows the dry pac system inside and out—and we get in, get it done, and get out of your way so you can keep your build on schedule.

👉 Ready to line up insulation that actually performs? Contact Nealon Insulation for a walkthrough or quote.

P.s. Calculate how much R-Value your home needs

Thank you! Your submission has been received!
Oops! Something went wrong while submitting the form.
Rolling Up Fiber Glass Insulation
General Information

How to Remove Insulation (Without Making a Total Mess)

So, you’ve got old insulation that needs to go. Maybe you’re renovating, maybe there was a leak, maybe a raccoon made itself a cozy little condo up there (don’t laugh—it happens). Whatever the reason, removing insulation isn’t rocket science—but it is one of those jobs that can go sideways real fast if you’re not prepared.

Mike D
Mike D
Apr 16, 2025
3
 mins read

So, you’ve got old insulation that needs to go. Maybe you’re renovating, maybe there was a leak, maybe a raccoon made itself a cozy little condo up there (don’t laugh—it happens). Whatever the reason, removing insulation isn’t rocket science—but it is one of those jobs that can go sideways real fast if you’re not prepared.

Let’s walk through what you need to know to remove insulation safely, efficiently, and without turning your house into a dust storm.

First Things First: Why Are You Removing It?

If your insulation is wet, moldy, critter-infested, or just plain useless, you’re doing the right thing. Damaged insulation doesn’t just tank your home’s efficiency—it can affect your indoor air quality too. And in Connecticut, where winter means business, that matters.

Know What You're Dealing With

There are three big players in the insulation world, and each one needs to be handled a little differently:

1. Fiberglass Batts or Rolls

These are the pink or yellow fluffy mats stuffed between your ceiling joists or wall studs. Common in older CT homes. They're easy to remove—but itchy as hell.

How to remove it:

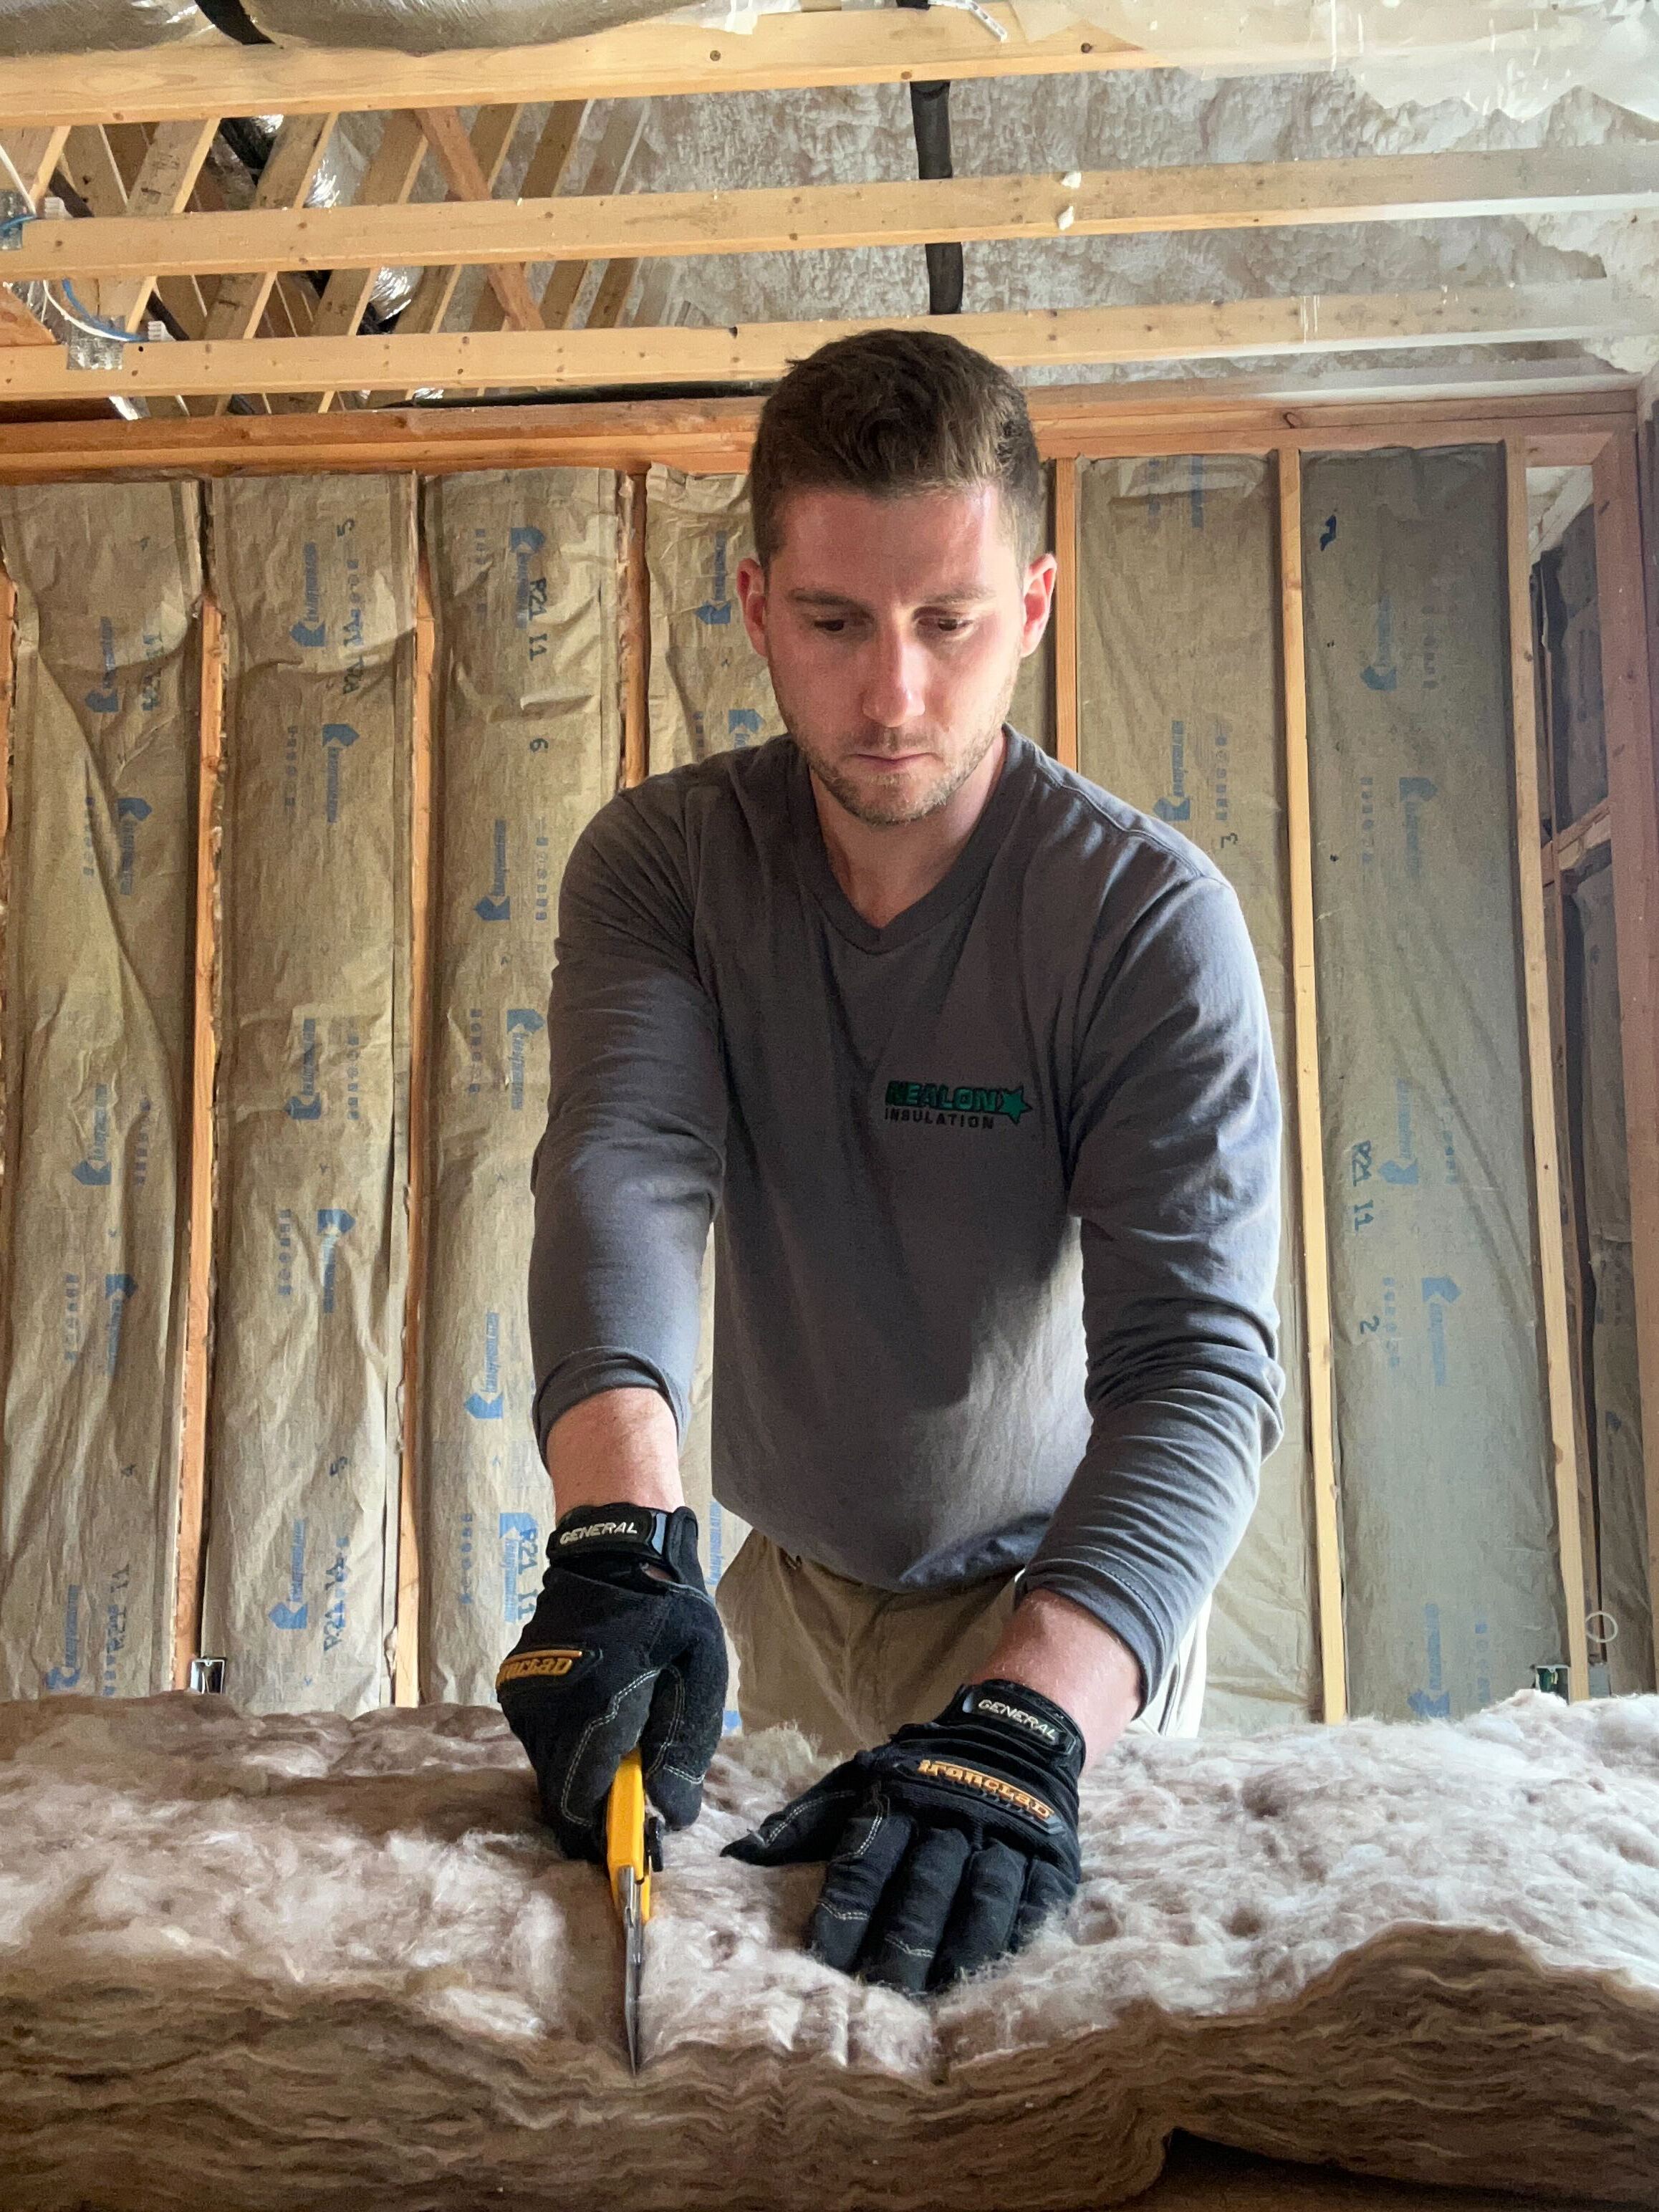
  • Suit up: gloves, goggles, long sleeves, and a quality mask (fiberglass is no joke if it gets in your lungs).
  • Roll it up and bag it. Gently. Try not to stir up dust.
  • Use a HEPA vac to clean up leftover fibers.

2. Cellulose Insulation

Blown-in gray stuff made from recycled paper. We use it all the time in CT shoreline homes because it’s eco-friendly and great at sealing tiny gaps—but if it gets wet or moldy, it clumps up and needs to go.

How to remove it:

  • Rent a high-powered vacuum from an insulation contractor or equipment rental place.
  • Suck it out from the attic or wall cavities. (Yes, it's loud. Yes, it's dusty. Yes, it works.)
  • Bag the debris in contractor-grade bags. It gets heavy, fast.

Mike’s Tip: Once removed, this is a great opportunity to air seal your attic before putting new insulation in. Think of it as a fresh start.

3. Spray Foam Insulation

This one’s the tough guy. Closed-cell spray foam is basically glued to your house. It’s amazing stuff when installed right—but if you have to remove it (say, during a renovation or due to water damage), it’s going to take some elbow grease.

How to remove it:

  • Use a reciprocating saw or oscillating multi-tool to cut it out in chunks.
  • Chisel and scrape any stubborn spots.
  • Don’t go crazy—sometimes it’s better to replace the whole panel or board it’s attached to.

Safety First, Always

Whether you're in Branford, Guilford, or somewhere up in West Hartford, remember: insulation removal stirs up dust, allergens, and sometimes worse. Mold spores, rodent droppings, old construction debris… it’s not a clean job.

  • Ventilate the area if possible.
  • Don’t skimp on PPE—N95 or better masks are a must.
  • Seal off nearby rooms with plastic sheeting to keep mess contained.

Should You DIY It?

If it’s a small area, sure—have at it. But if you're looking at a whole attic or dealing with water or pest damage, it’s worth calling in the pros. At Nealon Insulation, we’ve safely removed insulation from homes all over Connecticut, from old shoreline cottages to newer builds. We bring the vacuums, safety gear, and most importantly—the experience to do it right.

Final Thought

Removing insulation isn’t glamorous, but it is the first step toward better energy efficiency, comfort, and peace of mind. Do it right, and you set your home up for decades of toasty winters and cool summers.

Need help removing insulation in Connecticut?


👉 Contact Nealon Insulation today and let’s talk about your project. We’ll bring the tools, the crew, and the “don’t-worry-we’ve-seen-worse” attitude.

Removing Wet Insulation
Insulation Materials

What To Do If Your Insulation Gets Wet

Let’s get one thing out of the way real quick: water is great for a lot of things—gardens, coffee, post-game showers—but it’s not great for insulation.Wet insulation is like a soggy sandwich: unappetizing, ineffective, and a potential breeding ground for nasty stuff you don’t want in your walls.

Mike D
Mike D
Apr 14, 2025
4
 mins read

Let’s get one thing out of the way real quick: water is great for a lot of things—gardens, coffee, post-game showers—but it’s not great for insulation.

Wet insulation is like a soggy sandwich: unappetizing, ineffective, and a potential breeding ground for nasty stuff you don’t want in your walls.

So what do you do if your insulation gets wet?

First, don’t panic. This happens more often than you’d think—burst pipes, roof leaks, basement flooding, a freak Nor’easter blowing sideways rain into your attic vents—you name it, we’ve seen it. And trust me, there’s a right way to handle it depending on the type of insulation in your home.

1. Spray Foam Insulation

What to know:

If you’ve got spray foam insulation—open or closed cell—you’re probably in better shape than most. Closed-cell is the superhero here: it’s highly water-resistant, mold-resistant, and acts like a shield. We’ve seen cases where water hit the foam and was actually diverted away from the cavity, like it hit a raincoat.

But—and this is important—just because spray foam doesn’t absorb water doesn’t mean your studs and sheathing don’t. If water gets trapped behind foam with nowhere to go, you’ve still got a problem. That’s why proper ventilation and airflow matter, even with foam.

What to do:

  • Inspect the area to make sure no water is pooling or trapped behind the foam.
  • If it’s closed-cell and the structure is sound, you’re likely good to go.
  • Open-cell is a bit more breathable and can retain moisture—if it’s been saturated for a while, it may need to come out.

Mike’s take:

If I had a nickel for every time closed-cell spray foam saved someone from a full-gut remediation job, I’d have at least enough for a steak dinner and a bottle of decent red. But don’t get cocky—foam still needs airflow to let framing dry if something does go wrong.

2. Cellulose Insulation

What to know:
Cellulose is made from recycled paper and treated with fire- and mold-resistant chemicals. That gets it a long way—but yeah, it’s still paper. And paper does soak up water.

Here’s the kicker though: when properly vented and installed, cellulose can wick moisture and dry out. It’s breathable. That’s one of the key reasons we like it—it manages moisture instead of trapping it. But that only works when the moisture is minor and the conditions are right.

What to do:

  • If cellulose is fully saturated, especially in a wall or ceiling cavity, it usually needs to be removed.
  • Small damp spots might be salvageable if caught early and thoroughly dried—but don’t roll the dice unless you know airflow is solid and drying is happening fast.

Mike’s take:

We once opened up a wall in a coastal home where the vent flashing failed. The cellulose was soaked—mashed potatoes. Smelled like low tide in August. We vacuumed it out, dried the cavity with fans, reinsulated properly, and the homeowner went from worried sick to sleeping like a baby.


Moral of the story? Cellulose is great—but it can’t work miracles if it’s left to stew.

3. Fiberglass Insulation

What to know:


Fiberglass doesn’t absorb water like cellulose does—but it holds onto it like a wet sponge. And while the glass itself won’t mold, the paper backing and surrounding wood sure will. If fiberglass gets wet and sits too long, it basically becomes useless. No R-value, no comfort, and a potential mold farm.

What to do:

  • If fiberglass batts are soaked, remove them—especially if they’ve been wet for more than 48 hours.
  • If it’s loose-fill fiberglass and just mildly damp (like a light attic leak), you might be able to dry and fluff it—but be 100% sure there’s no hidden moisture or mold risk.

Mike’s take:
Had a job in Guilford where a raccoon popped off a roof vent and a storm soaked the attic. By the time the homeowner noticed, we were replacing not just the insulation but the roof decking and half the attic structure.

Lesson: Moisture waits for no one. Catch it fast, fix it faster.

The Bottom Line

If your insulation gets wet:

  • Act quickly – Time is the enemy.
  • Inspect thoroughly – Don’t assume “just a little damp” means it’s fine.
  • Replace when in doubt – Especially cellulose and fiberglass.
  • Fix the root cause – Insulation isn’t a water detector. It’s supposed to keep you warm, not soak up storms.

And if you’re not sure what you’re dealing with—give us a shout. We’ll take a look, tell you the truth (no fluff), and help get your home sealed up the right way.

👉 Contact Nealon Insulation. We’ve been keeping Connecticut homes dry, tight, and comfortable since 1977. Let’s keep yours that way, too.

Garage Insulation
Attic & Ceiling

What Insulation Is Best for the Garage?

You know, in my 47 years of insulating homes across Clinton and Connecticut, I've crawled through more garages than I can count. And let me tell you - most folks treat their garage insulation as an afterthought, then wonder why their utility bills are through the roof or why their "man cave" feels like an icebox in January!

Mike D
Mike D
Apr 11, 2025
6
 mins read

Most people treat garage insulation like a throwaway decision—until their “man cave” turns into a meat locker in January or a sweat lodge in July. If you spend any time out there—lifting weights, tinkering with tools, or just trying to keep the pipes from freezing—then yeah, insulation matters. A lot.

At Nealon Insulation, we’ve insulated enough garages across Connecticut to know what works, what doesn’t, and what’s a waste of money. Let’s get into it.

Why Garage Insulation Is Worth It

We once helped a homeowner on Shore Road who had a killer garage workshop setup—but was working in it wearing three layers like he was prepping for Everest. Sound familiar?

Insulating your garage properly will:

  • Keep winter cold and summer heat out
  • Lower your energy bills
  • Make the space usable year-round (hello, home gym or office)
  • Protect pipes from freezing
  • Cut down on drafts entering your home from the garage

Our Take on the Best Garage Insulation Options

After decades in the game, here’s how we rank the contenders:

1. Blown-In Cellulose (Our Favorite for Most Garages)

Cellulose is made from recycled paper treated to resist fire and pests. It’s dense, eco-friendly, and fills every gap.

📍 Perfect for: Finished garage walls and ceilings

Pros:

  • Fills all the nooks and crannies (no cold spots)
  • Great sound dampening (band practice, anyone?)
  • Doesn’t sag over time
  • Environmentally friendly

Cons:

  • Needs wall covering (drywall, paneling, etc.)
  • Not a DIY material—call us in

2. Fiberglass Batts (Budget-Friendly, but Be Careful)

The classic pink stuff. You’ve seen it. You might’ve even tried to install it.

📍 Good for: Unfinished garages if you’re on a tight budget

Pros:

  • Cheap
  • DIY-friendly (if you know what you’re doing)

Cons:

  • Gaps = cold air leaks
  • Not great in humid areas (hello, mold)
  • You need a lot of it to match the performance of cellulose or foam

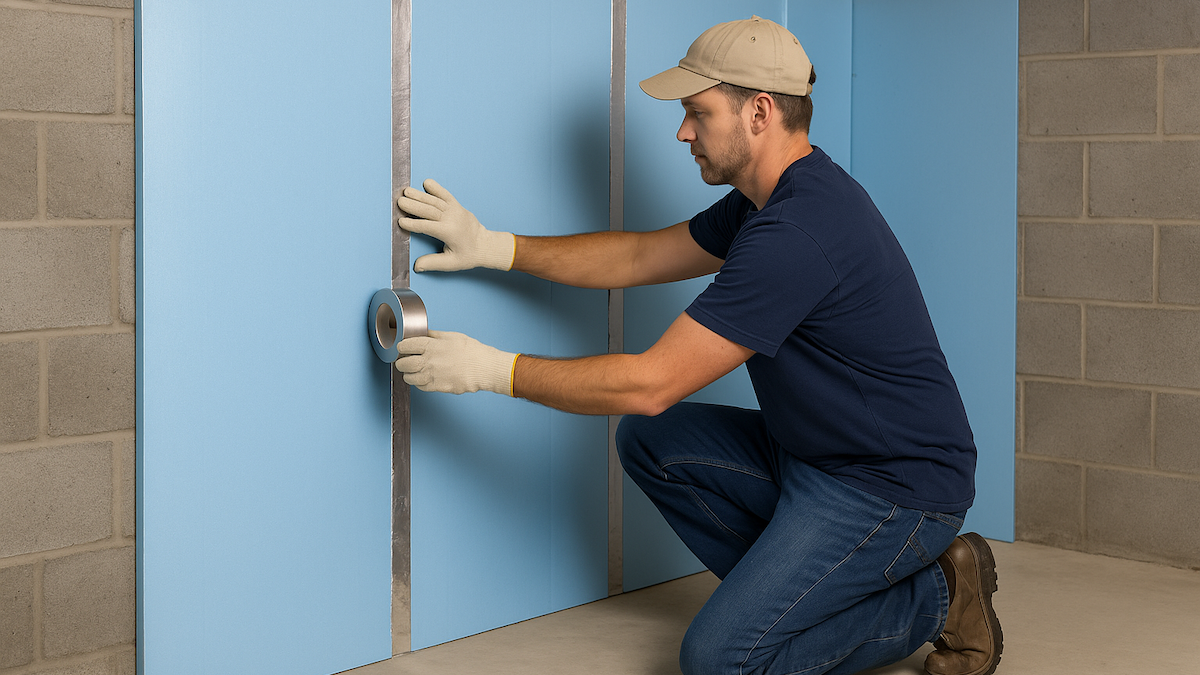
3. Rigid Foam Board (Awesome for Garage Doors and Walls)

Foam panels are clean, simple, and surprisingly effective.

📍 Great for: Garage doors, ceilings, unfinished walls

Pros:

  • High R-value for the thickness
  • Moisture-resistant
  • Clean install

Cons:

  • Needs drywall covering for fire safety
  • Pricier than fiberglass
  • Requires careful sealing to be effective

4. Spray Foam (Top-Shelf Stuff for Living Space Conversions)

If you’re turning your garage into a full-time living area—family room, in-law suite, etc.—spray foam is elite.

📍 Ideal for: Converting garage to conditioned living space

Pros:

  • Highest R-value
  • Seals air leaks in one go
  • Great moisture barrier (important near the coast)

Cons:

  • Expensive
  • Not DIY-friendly
  • Needs pro install and ventilation

Don’t Skip the Garage Door

We see this constantly: people insulate all the walls and ceiling, then leave their giant garage door untouched. That’s like putting on a winter jacket with no zipper.

Options:

  • Foam board kits made for garage doors
  • Reflective barriers
  • Or upgrade to an insulated door if yours is ancient

So, What’s the Best Insulation for Your Garage?

Here’s our quick take:

  • Blown-in cellulose is your best bet for finished garages.
  • Foam board is great for doors and exposed walls.
  • Spray foam is worth the splurge if you’re converting the space.

We helped a family on East Main Street who were trying to heat their workshop with a space heater. After we installed cellulose, they barely needed the heater at all. That’s the power of doing insulation right.

Need Help? We Got You.

At Nealon Insulation, we don’t just stuff walls with insulation. We solve problems. If you’re ready to make your garage usable year-round, we’re ready to help—no matter the setup.

📞 Give us a call for a free consultation.

Comfort. Efficiency. No compromises. That’s the Nealon way.

Attic Baffles
Attic & Ceiling

Are Insulation Baffles Necessary? Understanding Their Role in Attic Ventilation

After climbing through countless attics in Clinton and surrounding communities over our 47 years in business, I've seen firsthand what happens when folks overlook those little plastic channels we call insulation baffles. You might be wondering if they're really necessary or just another item on the contractor's invoice. Well, pull up a chair, because I'm about to share what I've learned from nearly five decades of keeping Connecticut homes comfortable.

Mike D
Mike D
Apr 7, 2025
5
 mins read

After crawling through thousands of attics around Clinton and the shoreline for nearly five decades, I’ve seen it all: moldy rafters, ice dams the size of surfboards, and insulation jobs that looked more like art projects gone wrong. And let me tell you—skipping baffles? That’s one of the biggest mistakes I see.

So if you’re wondering whether insulation baffles are actually necessary or just another upsell from the contractor, you’re in the right place.

First off, what the heck is a baffle?

Insulation baffles (some folks call them rafter vents or chute vents) are lightweight plastic, cardboard, or foam channels that go up in your attic—right where your roof meets the soffits. Their one job? Keep air moving through your attic the way it’s supposed to.

You’ve probably got soffit vents on your house. Those let fresh air into the attic. But here’s the catch: if you blow insulation all the way to the roof’s edge without a baffle, you’re smothering that vent like a pillow over a campfire.

Why do baffles matter?

Let me break it down like I would on a job site:

1. They keep your insulation from becoming a soggy, moldy mess

When you block airflow, moisture builds up. That means mold, wood rot, and insulation that starts smelling like a wet basement. I was at a place on Liberty Street where the attic was basically a rainforest in July—no baffles, no airflow, no good.

2. They’re the lungs of your attic

Think of baffles like nostrils for your attic. They let fresh air in from the soffits and let hot, stale air out through the ridge vent. Without them, your attic is holding its breath—and your whole house suffers.

3. They cut your energy bills

No joke. If your attic overheats in summer, your AC runs harder. In winter, poor airflow leads to ice dams that can rip your gutters clean off. A properly ventilated attic (yes, with baffles) helps your insulation perform the way it’s supposed to—keeping your house comfortable and your energy bills lower.

4. They protect your roof

Heat and moisture are the enemies of a healthy roof. I’ve seen shingles curl up and die years before their time because the attic underneath was baking them from the inside out. Don’t let your roof rot from below.

Baffles Set the Stage, R-Value Does the Heavy Lifting

Here’s the thing — you can blow in all the insulation you want, but if you skip the baffles, it’s like building a high-end fireplace with no chimney. The smoke’s got nowhere to go, and in your attic, that “smoke” is heat and moisture.

Baffles and R-value work as a team.

  • Baffles make sure your attic breathes — keeping air flowing through your soffit and ridge vents.
  • R-value tells you how much insulation you need to hold in the comfort — and keep your energy bills in check.

In Connecticut, the code calls for R49 to R60 in your attic. That usually means 13 to 16 inches of cellulose or fiberglass. But here’s the kicker: if that insulation gets damp or compressed because of poor airflow (ahem… no baffles), its R-value drops like a rock. So not only are you losing energy, but the insulation you paid for isn’t even doing its job.

That’s why we start every attic upgrade by making sure the airflow path is clear — then insulate to the right R-value based on your space and goals.

When do you need baffles?

In my professional opinion? If you’ve got soffit vents and you’re adding insulation, you need baffles. Here’s when they’re a must:

  • ✅ You’re upgrading attic insulation (especially blown-in cellulose insulation)
  • ✅ Your attic feels like a sauna in summer
  • ✅ You’ve seen mold, water stains, or that funky attic smell
  • ✅ You get ice dams in the winter (huge red flag!)

Does Spray Foam Insulation Need Baffles?

Great question—and the answer depends on how and where you’re using spray foam.

If you’re doing spray foam at the roofline (what we call a “hot roof” or unvented attic system), you don’t need baffles. In this setup, we seal the entire attic envelope with closed-cell spray foam—roof deck, gable walls, the whole thing. That insulation is the air barrier, and ventilation is no longer part of the equation. It’s tight, efficient, and completely code-compliant when done right.

But if you're spraying the attic floor and still using soffit vents for attic ventilation—then yes, you absolutely need baffles. Just like with cellulose or fiberglass, the spray foam can block those soffit vents if it's not controlled, choking off airflow and creating the same moisture and heat problems we talked about earlier.

Bottom line? It depends on your attic design.

  • Hot roof with spray foam? No baffles needed.
  • Vented attic with soffit vents? Baffles are a must.

How we do baffles at Nealon

This ain’t our first attic. When we install baffles:

  1. We locate each rafter bay and make sure soffit vents are clear.
  2. We position baffles from soffit up the roof line, giving air a clear path.
  3. We staple 'em in securely to handle New England weather.
  4. We make sure the insulation never blocks the airflow.

We check it twice, like Santa with a clipboard.

Bottom line? Baffles are a no-brainer.

They cost a few bucks, take a little time to install, and save you thousands in potential repairs and energy bills. I once had a homeowner on Beach Park Road call me up two years after an install just to say thanks—no more ice dams, and their cooling bills dropped nearly 30%.

That’s what good insulation—and good airflow—can do.

Let’s fix your attic the right way.

At Nealon, we don’t just blow in insulation and peace out. We look at the whole system—ventilation, air sealing, and comfort. That’s why homeowners in Clinton and across Connecticut have trusted us since 1978.

📞 Ready to talk? Schedule a free attic assessment. No pressure, no hard sell—just honest advice and proven results.

Let’s make your attic breathe easy.

Flammable Insulation Boards
Insulation Materials

Are Insulation Boards Flammable? Understanding Fire Safety in Insulation Materials

When choosing insulation for your home or building, fire safety is a crucial consideration. Many homeowners and contractors wonder: Are insulation boards flammable? The short answer is it depends on the type of insulation board used. Different insulation materials have varying levels of fire resistance, and understanding their properties can help you make an informed decision.

Mike D
Mike D
Apr 4, 2025
5
 mins read

If you’re picking insulation for your home or a job site, fire safety isn’t just a fine-print detail—it’s something you need to think about up front. I’ve been in this business since bell bottoms were still in style, and let me tell you: not all insulation boards are created equal when it comes to handling heat.

So, are insulation boards flammable? Well… some of them absolutely are. Others? Built like a fireman’s jacket. Here’s the no-fluff rundown on the main types we work with, and what you need to know to keep your space safe.

1. Polyisocyanurate (PIR): The Overachiever With a Caveat

PIR boards are stiff, high-performance foam panels—popular in walls, roofs, and anyone looking for big R-values in a slim package.

🔥 Will it burn? Eventually, yes. PIR boards are less flammable than other foam boards because they’ve got fire retardants baked in. They tend to char instead of going up like a tiki torch. But hit them with serious heat, and they’ll still catch and send off toxic smoke.

What to do: Always cover PIR with a fire-rated barrier—like drywall. Never leave it exposed in finished spaces.

2. XPS: Tough Against Moisture, Not Against Flame

Extruded polystyrene (XPS) is what you’ll find behind a lot of foundation walls and under slabs. Great for water resistance, not so great for fire.

🔥 Will it burn? Like dry pine in August. Even treated XPS can ignite and gives off thick, nasty smoke when it does.

What to do: XPS should never be left uncovered indoors. Wrap it up tight behind something non-combustible—gypsum board is your friend here.

3. EPS: Cheap, Light, and Quick to Catch

Expanded polystyrene (EPS) is kind of the little brother to XPS—lightweight, inexpensive, and used in packaging, walls, and roofs.

🔥 Will it burn? Oh yeah. Faster than XPS, in fact. It’s got a lower melting point and will absolutely feed a fire if you let it.

What to do: If you’re going to use EPS, bury it completely behind non-combustible materials. Think of it like kindling—treat it with caution.

4. Mineral Wool (aka Rockwool): Built From Lava, Basically

Now we’re talking. Mineral wool is made from spun rock and industrial slag. It’s dense, durable, and basically fireproof.

🔥 Will it burn? Not a chance. It’s non-combustible and holds up to temps north of 1,800°F. I’ve seen it used in fire-rated assemblies, and it doesn’t even blink.

What to do: If fire resistance is your top concern, this is your MVP. No special treatment needed—install and sleep easy.

5. Fiberglass: The Old Reliable (With a Caveat)

Fiberglass boards are another non-combustible option made from—you guessed it—glass fibers. Great for ductwork, ceilings, and wall cavities.

🔥 Will it burn? The glass itself won’t. But if your board has a kraft paper or foil facing? That can ignite if exposed to flame or heat.

What to do: Keep faced fiberglass away from open flames, light fixtures, or anything that gets hot.

Fire Safety 101 (From a Guy Who’s Seen Some Things)

Whatever insulation you’re working with, there are a few universal rules that’ll keep you out of trouble:

Cover your foam. XPS and EPS should never be exposed in a finished space. Always wrap ‘em up in drywall or cement board.
Know your codes. Every town has its own rules. Follow your local building codes like your roof depends on it—because it does.
Vent properly. Trapped heat can turn a safe attic into a fire trap. Good airflow helps prevent that.
Install smoke detectors. Especially near new insulation work. Cheap insurance.
Use fire-rated products when you can. Mineral wool and fiberglass might cost a bit more, but they’re way safer in a pinch.

So… Are Insulation Boards Flammable?

Some are. Some aren’t. If you’re using foam—like XPS or EPS—just assume it burns and plan accordingly. If you want the peace of mind that comes with fire resistance, mineral wool or fiberglass is the way to go.

And if you're not sure what makes sense for your home? That’s why we’re here. At Nealon, we’ve been insulating Connecticut homes since 1977. We know the products, we know the codes, and we know how to do the job right the first time.

What About Cellulose, Fiberglass, and Spray Foam? Are They Flammable?

Glad you asked—because this comes up a lot.

Cellulose is made from recycled paper, so yeah, it can burn. But before you panic: it’s treated with borate, a fire retardant that slows ignition and helps it smolder instead of flame up. Think of it like a campfire log that's been dipped in fire-resistant gravy.

Fiberglass is made of spun glass and is naturally non-combustible. The catch? If it’s faced with kraft paper or foil, that facing can burn. So it’s not the insulation you’re worried about—it’s the clothes it’s wearing.

Spray Foam—especially closed-cell—can ignite if exposed directly to flame. It typically has flame retardants mixed in, but don’t let that lull you. It must be covered with drywall or a thermal barrier in finished spaces to meet code and stay safe.

👉 Bottom line: Every insulation type has its own fire personality. The trick is knowing how to install and cover it correctly. And that’s where we come in.

📞 Give us a shout if you’ve got questions or need a quote. We’re happy to walk you through your options—no pressure, no BS. Just honest advice from folks who’ve been doing this for nearly 50 years.

Let’s make sure your insulation does its job without becoming a fire risk.

Attic Ventilation
Attic & Ceiling

How Does Attic Ventilation Work? A Guide for Homeowners

Proper attic ventilation is essential for maintaining a comfortable, energy-efficient home. But how does it actually work? Many homeowners don’t realize that poor attic ventilation can lead to high energy bills, mold growth, and even roof damage.

Mike D
Mike D
Apr 2, 2025
7
 mins read

You wouldn’t seal up your mouth and nose and expect to breathe, right? Well, your attic’s no different. It needs to breathe, too—and that’s where ventilation comes in.

After nearly 50 years crawling through Connecticut attics, I’ve seen what happens when homes don’t get this part right: sky-high energy bills, mold you could grow mushrooms on, and shingles curling up like potato chips. So let’s break it down plain and simple.

What Is Attic Ventilation, Anyway?

Attic ventilation is all about airflow—getting fresh air in and stale, humid air out. When it works right, your attic stays dry, your insulation stays fluffy, and your house stays comfortable.

Here’s what a healthy setup looks like:

  • Intake vents (usually soffits) bring cool air in
  • Exhaust vents (like ridge vents or attic fans) let hot air out

That steady flow prevents moisture buildup and keeps your attic from turning into a sauna in summer or an ice rink in winter.

Why Does Attic Ventilation Matter?

Let’s talk about what happens when it’s working—and when it’s not.

🔥 Beats the Summer Heat

An unventilated attic can hit 150°F easy. That heat radiates down into your home, making your AC sweat bullets. Good ventilation keeps the attic temp in check so your AC doesn’t go on strike.

Real talk: We had a customer on Main Street in Old Saybrook whose upstairs was roasting every summer—AC on full blast, and it still felt like a toaster. After a quick attic inspection, we found zero baffles and one lonely gable vent doing all the work. We installed proper ventilation and air sealed the attic. Two weeks later, she called to say, “It’s the first time I’ve slept through the night without the fan blasting on high.”

❄️ Stops Ice Dams Cold

In winter, warm air sneaks into your attic and melts snow on your roof. That water refreezes at the edges and forms ice dams—big, heavy ones that tear up shingles and gutters. Ventilation keeps attic temps cold and consistent, so snow stays frozen until it’s ready to melt the right way.

Example: There was a house in Clinton where the ice dams were so bad the homeowner had to shovel the roof every snowstorm. We rebalanced the attic ventilation and topped off the cellulose insulation. Next winter? No dams, no leaks, and no more rooftop shoveling.

💨 Evicts Moisture and Mold

Every time you cook, shower, or breathe (yeah, even that), you’re adding moisture to your home. Without airflow, that moisture climbs into your attic and gets trapped. Cue mold, rot, and insulation that smells like a damp sock.

Case in point: We helped a couple in Madison who had a mildew problem so strong, it stunk up the second floor. Turns out their bathroom fan was venting straight into the attic—and with no airflow, the moisture just sat there. We rerouted the ductwork, added a ridge vent, and gave that attic a proper cross-breeze. Problem solved, smell gone.

🏠 Saves Your Roof

Heat and humidity cook shingles from the inside out. I’ve seen roofs die 10 years early just from bad airflow. A ventilated attic helps your roof last as long as it’s supposed to.

How the System Works (In Real Terms)

Think of it like a chimney that runs in reverse:

1. Intake Vents = Fresh Air In

Usually found in your soffits (under the eaves), these vents suck in cooler outside air and start the flow.

Common types:

  • Soffit vents – The go-to choice
  • Gable vents – A good backup if soffits are tight

2. Exhaust Vents = Hot Air Out

These vents sit at the roof’s peak or walls and push that hot, stale air back out.

Popular options:

  • Ridge vents – The gold standard, running along the roofline
  • Roof vents – Little hatches that let hot air sneak out
  • Gable vents – Dual-use: in or out depending on the system
  • Attic fans – Power-assisted airflow, handy in extreme heat

The trick is balance: you want just as much air coming in as going out. That keeps things flowing smoothly without pressurizing the attic like a balloon.

Signs Your Attic Ventilation’s Not Cutting It

How do you know if your attic’s gasping for air? Here’s what to watch for:

🚩 Your energy bills are through the roof—literally.
🚩 Icicles hang like daggers in winter—classic ice dam warning.
🚩 Moldy smells or spots—moisture’s getting trapped.
🚩 Attic feels like a kiln in July—no airflow = heat buildup.
🚩 Shingles look warped or brittle—your roof’s getting roasted from below.

If that sounds familiar, ventilation’s likely the culprit.

The Team-Up: Insulation + Ventilation

Here’s where most homeowners get tripped up: more insulation isn’t always better if you’re choking off airflow in the process.

You need a team effort:

Air sealing – Stops warm, moist air from leaking up from your house
Baffles – Direct airflow over the insulation (without smooshing it down)
Cellulose insulation – Moisture-tolerant and tight-knit, perfect for the Northeast. Fiberglass insulation and spray foam have their places too!
Balanced ventilation – Intake + exhaust = happy attic

One more story: We worked with a contractor in Westbrook remodeling an old cape. The homeowner had layered up the insulation years ago—good effort, but no ventilation. Mold city. We pulled it back, sealed the leaks, ran new baffles, and blew in cellulose. The contractor called it “the tightest, driest attic I’ve worked in all year.”

Want Your Attic to Breathe Easy?

At Nealon, we’ve been dialing in attic systems since 1977. We don’t just blow in insulation and call it a day. We look at the whole picture—airflow, sealing, insulation, roof health—and make sure it’s all working the way it should.

📞 Want us to take a look? Schedule a free attic assessment. No pressure. No sales pitch. Just straight answers from folks who’ve been doing this long enough to remember when "energy efficiency" was just a sweater.

Let’s fix your attic the right way.

No Item Found.

Our Values

Building Trust Through Excellence, One Home At A Time

Integrity First and Always

We treat every home as if it were our own, providing honest assessments and transparent recommendations.

Quality Without Compromise

We use only premium materials and proven installation techniques.

Customer-First Approach

From your first energy assessment to the final inspection, your satisfaction is our priority.

Frequently Asked Questions?

No items found.
No items found.

Let's Work Together

Ready to transform your home into an energy-efficient haven? Schedule your free Estimate today and experience the Nealon difference for yourself.

4.8 Customer Rating
EnergizeCT Insulation Installers Network
1500+ Homes Upgraded
Licensed & Insured