Removing Insulation from Walls: A Homeowner’s Guide
Most homeowners don’t think about what’s hiding inside their walls—until something goes wrong. Maybe you’re tearing into a remodel and discover a bunch of pink fiberglass that’s seen better days. Maybe your walls smell like a damp basement because the insulation soaked up moisture. Or maybe you’re just sick of paying through the nose for heating and cooling and want to upgrade.
Whatever the reason, removing insulation from walls isn’t glamorous, but it’s the first step to a healthier, more energy-efficient home. The tricky part? Every type of insulation comes out differently, and if you do it wrong, you can turn a Saturday project into a hazmat situation. That’s why knowing how and why to pull out old insulation matters—before you break out the pry bar.
Why Remove Old Wall Insulation?
Insulation is kind of like milk—it doesn’t last forever. Sure, it might technically still “be there,” but that doesn’t mean it’s doing its job. Over the years, wall insulation can get soggy from leaks, chewed up by pests, or just slump down into a sad little pile at the bottom of your studs. When that happens, you’re basically heating and cooling the great outdoors.
Here are the big red flags that it’s time to yank it out:
- Water damage or mold – Wet insulation loses its R-value faster than a wet paper bag loses shape. Mold loves it too, which means musty walls and potential health headaches.
- Pests – Rodents treat insulation like Airbnb. If you hear scratching in the walls or see droppings, odds are the insulation has turned into a critter condo.
- Old materials – Homes built before the ’80s may still have insulation with asbestos or other nasties. That’s not a DIY situation—that’s a “call a pro before you breathe it in” situation.
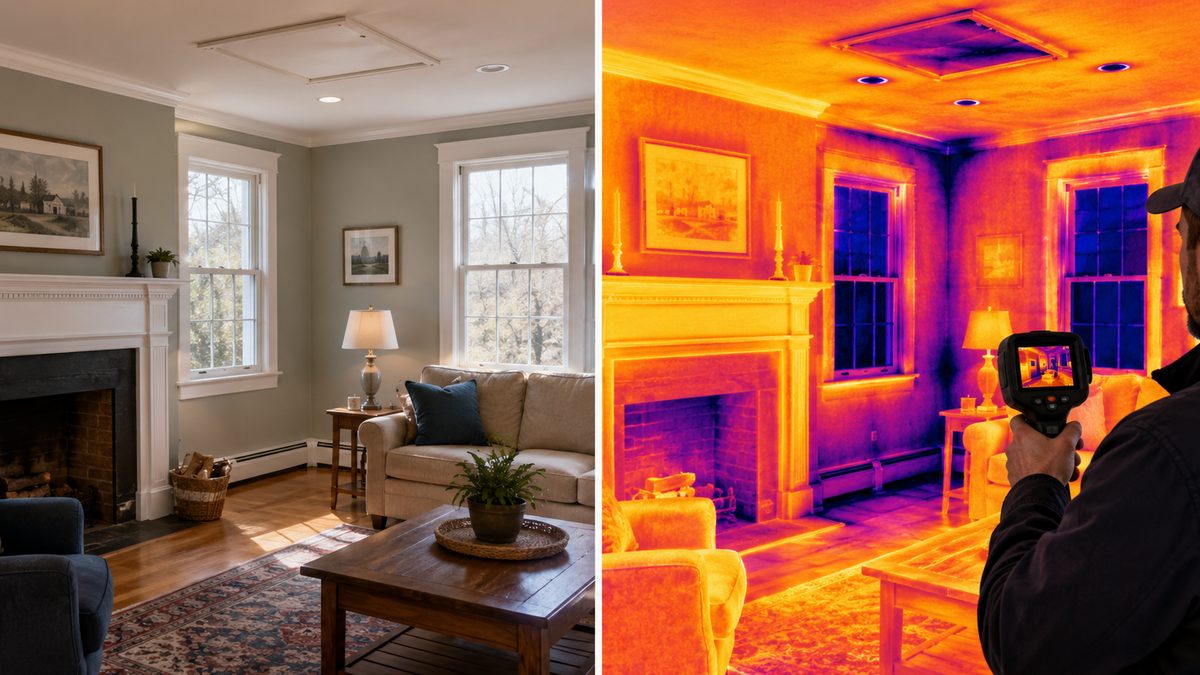
- Drafty rooms and high bills – If your walls feel like they’re bleeding heat in winter and sucking in humidity all summer, the insulation isn’t pulling its weight anymore.
Bottom line: pulling out old insulation isn’t busywork. It’s maintenance that sets you up for lower energy bills, fewer headaches, and a house that actually feels comfortable year-round.
Types of Wall Insulation and How Removal Differs
Not all insulation is created equal—and neither is the pain of getting it out of your walls. Before you start ripping things apart, it helps to know what you’re dealing with.
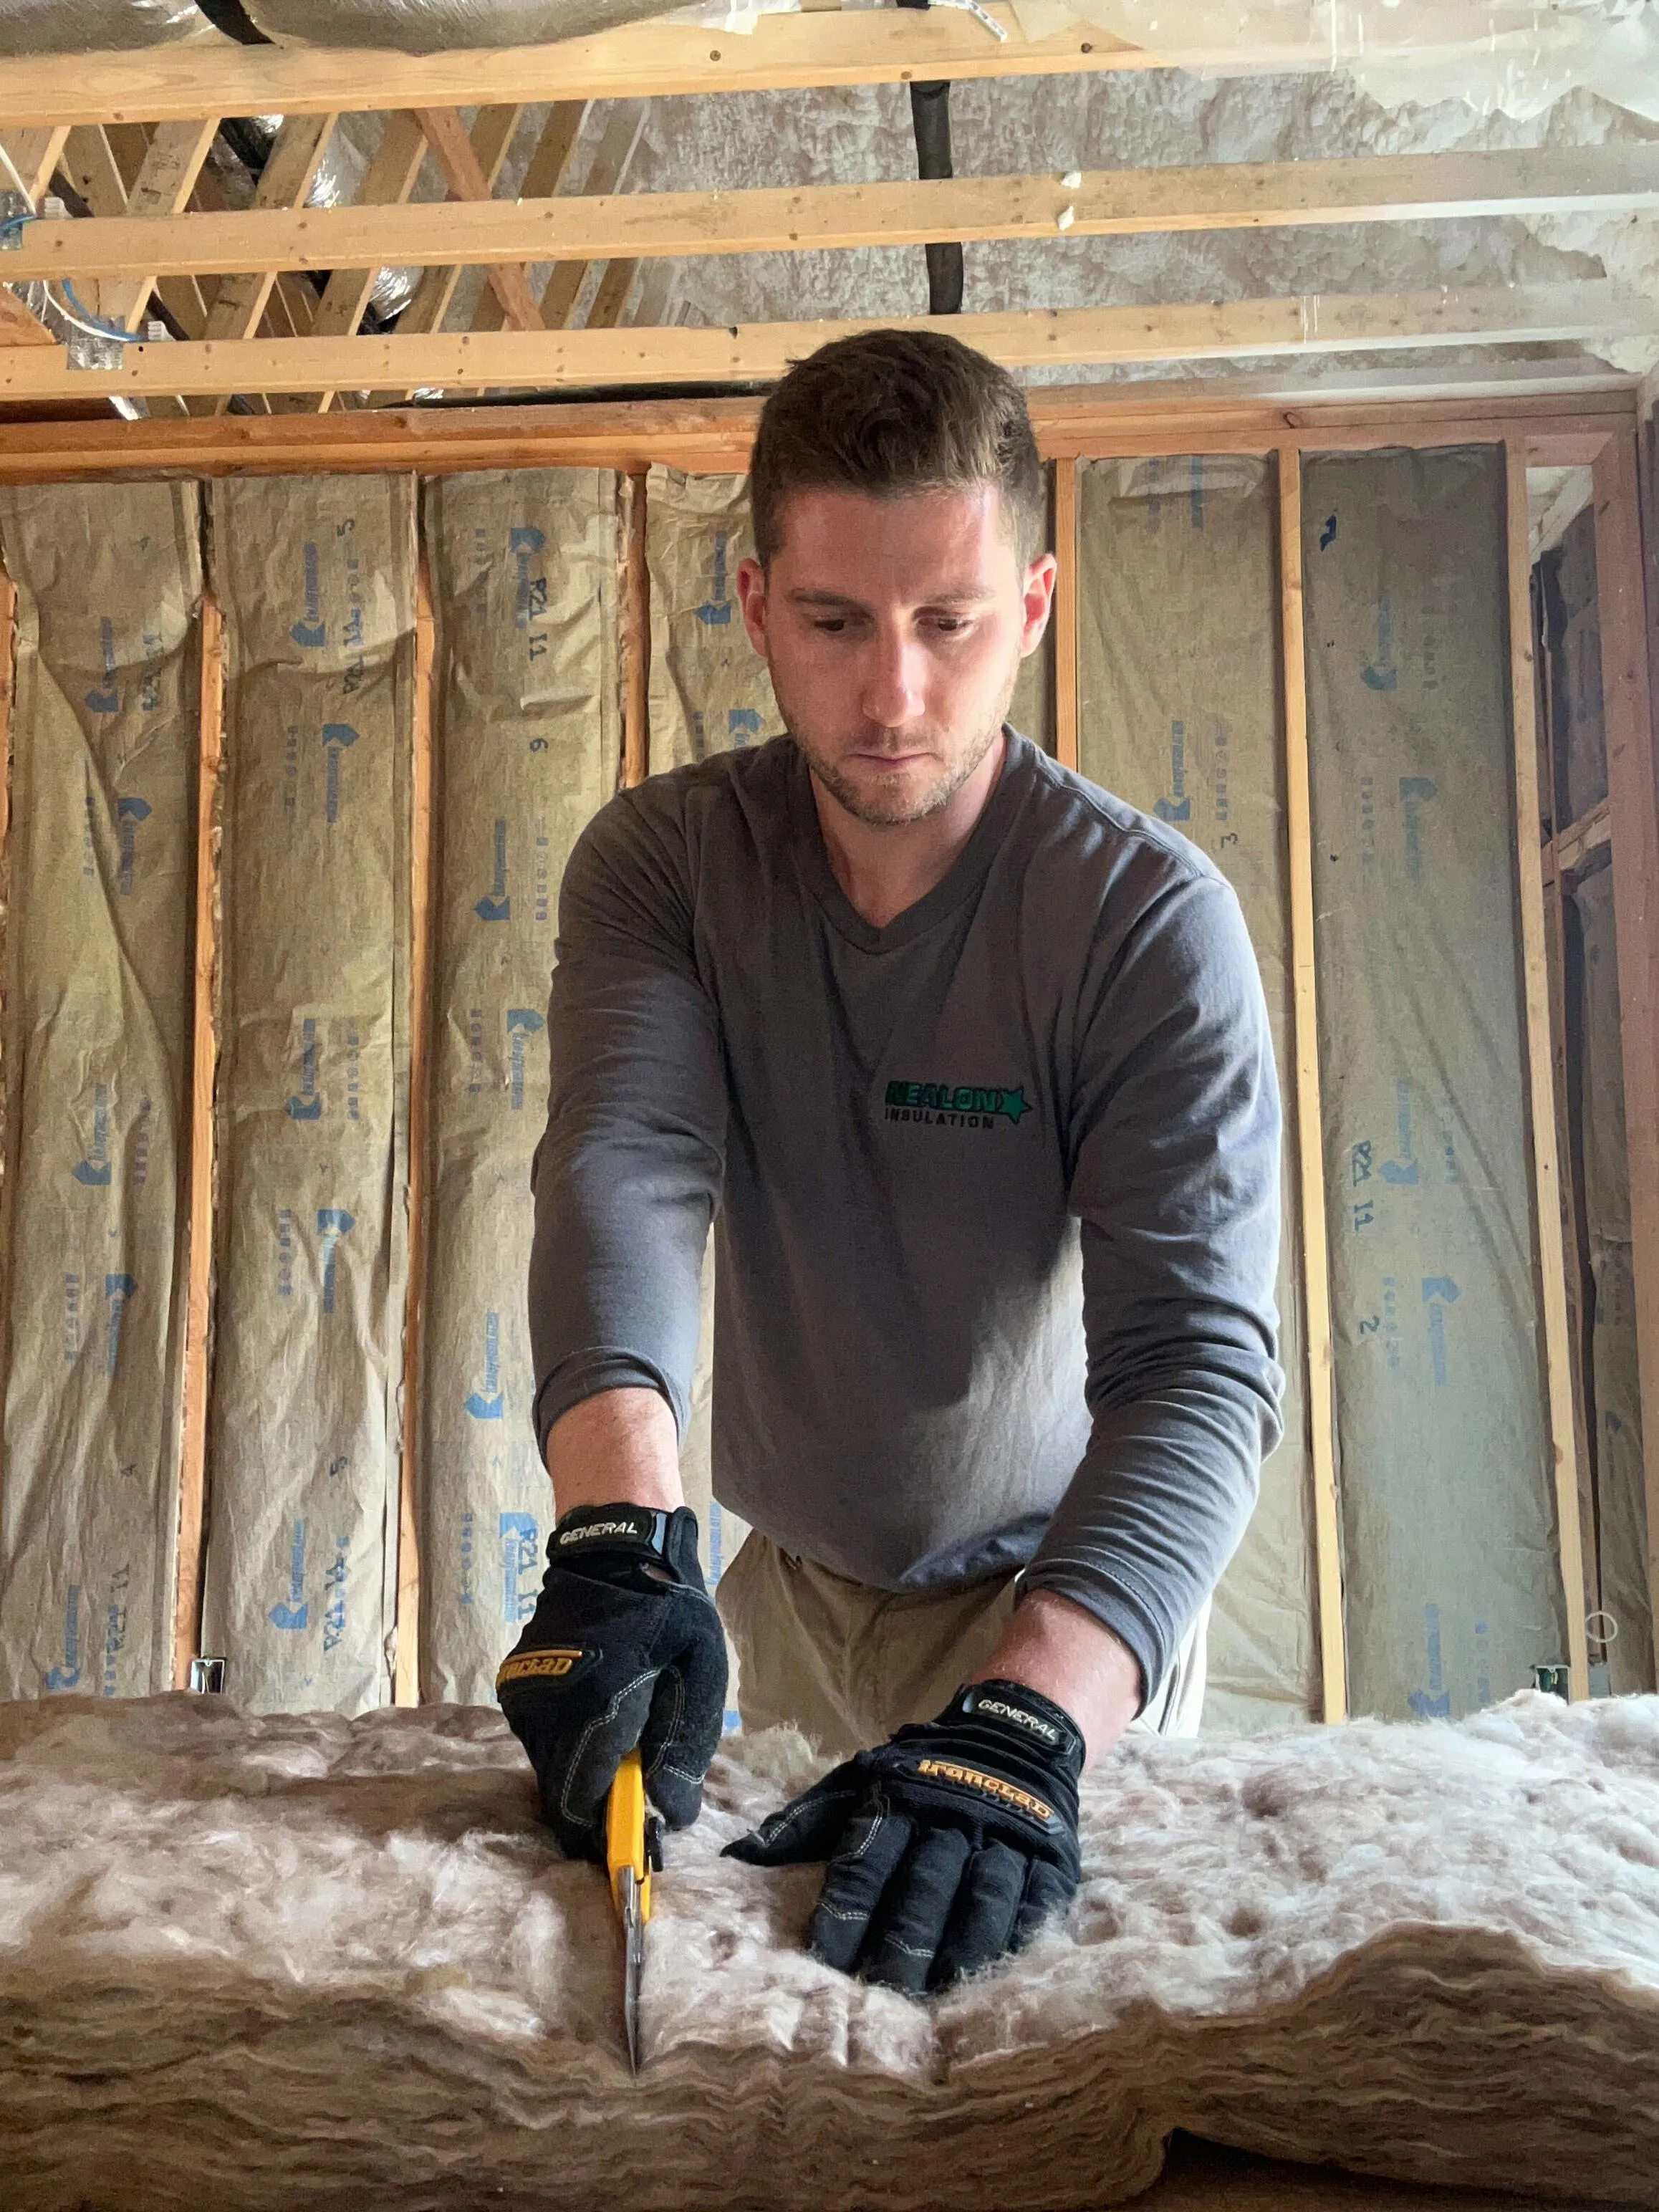
Fiberglass batts
This is the classic pink (or yellow) fluffy stuff you’ve seen in rolls at the hardware store. Removing fiberglass batts is straightforward: you cut, pull, bag, repeat. The downside? It’s itchy as hell. Even if you’re not rolling around in it, the tiny glass fibers will find their way onto your skin and into your lungs if you’re not geared up. Gloves, long sleeves, and a mask aren’t optional—they’re survival.
Blown-in insulation (cellulose or fiberglass)
This is where things get messy. Blown-in insulation looks like shredded paper (cellulose) or tiny cotton balls (fiberglass). If it’s inside your wall cavities, removal usually means opening up drywall and vacuuming it out with a heavy-duty insulation removal vacuum. No, your shop vac won’t cut it—you’ll clog that thing in five minutes flat.
Spray foam insulation
Spray foam insulation is the tank of the insulation world. Once it’s cured, it clings to wall cavities like it’s welded on. You’re not “removing” spray foam so much as chiseling, scraping, and cursing it out. This is one case where hiring a pro is usually worth the money—unless you really like spending weekends with a pry bar and sore shoulders.
The type of insulation in your walls dictates whether this is a tidy DIY project or a weekend you’ll regret. Knowing what you’re up against is half the battle.
Tools and Safety Gear You’ll Need
If you’re thinking about tackling insulation removal yourself, don’t make the rookie mistake of showing up with just a trash bag and optimism. Insulation isn’t dangerous when handled correctly, but it can be miserable if you’re unprepared. Suit up and grab the right gear before you start.
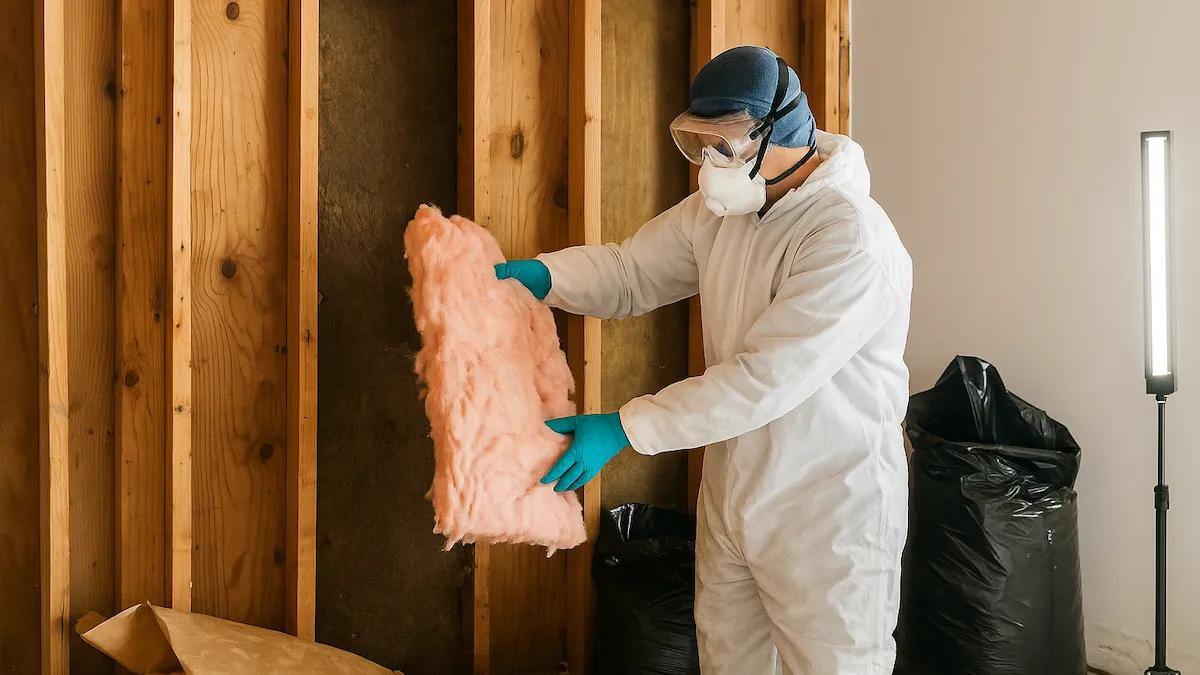
Personal protective equipment (PPE):
- Respirator or N95 mask – Keeps fiberglass, dust, and possible mold spores out of your lungs.
- Gloves – Thick work gloves so you’re not pulling splinters or scratching your hands raw.
- Safety goggles – Nothing like fiberglass dust in your eyes to ruin a Saturday.
- Long sleeves and pants – Yes, you’ll sweat. Yes, it’s worth not itching for a week.
Tools for the job:
- Utility knife – To slice open vapor barriers or cut batts down to size.
- Flat pry bar – For gently pulling back drywall or paneling.
- Heavy-duty contractor bags – Regular trash bags will rip faster than you can fill them.
- Shop vac (for small jobs) or insulation removal vacuum (for blown-in) – If it looks like loose fill, you’ll need serious suction power.
- Staple remover or pliers – For prying batts free from studs.
Think of it like going into battle—you wouldn’t bring a squirt gun to a war zone. The right prep makes the whole process safer, faster, and a lot less itchy.
Step-by-Step Guide to Removing Insulation from Walls
Alright, gloves on, mask up—it’s go time. Here’s the safest, cleanest way to remove insulation from walls without turning your living room into a dust storm.
1. Prep the space
Cover floors with plastic sheeting, tape off vents, and set up a fan or air scrubber if you’ve got one. Kill the power to the room—trust me, you don’t want to be fishing insulation around live wires.
2. Open up the wall
For batts or blown-in, you’ll need to get behind the drywall or paneling. Use a utility knife and pry bar to carefully remove sections. Don’t just go full Hulk smash unless you enjoy re-drywalling an entire room.
3. Pull or vacuum out insulation
- For fiberglass batts: grab, fold, and bag them as you go.
- For blown-in: hook up an insulation removal vacuum and suck it out cavity by cavity. (Your shop vac isn’t built for this—you’ll burn the motor before you clear one wall.)
- For spray foam: scrape, pry, and swear. You’ll get chunks at a time, not clean sheets.
4. Bag as you go
Don’t pile insulation on the floor and deal with it later. Stuff it straight into heavy-duty contractor bags. Less dust, less mess, less regret.
5. Inspect the wall cavity
Once the insulation’s out, check for:
- Moisture stains (fix the leak before you reinsulate).
- Mold (treat before sealing it up).
- Pests (clear and seal entry points).
- Electrical or plumbing that needs updating.
6. Dispose of insulation properly
Most towns won’t let you toss old insulation in regular trash. Check local disposal rules—sometimes it needs to go to a designated facility. And if asbestos is even a remote possibility, don’t DIY. Call a pro immediately.
Done right, insulation removal feels less like demolition and more like hitting the reset button on your home’s comfort.
DIY vs. Hiring a Pro
So you’re staring at your walls, gloves in hand, and asking the million-dollar question: “Can I actually do this myself, or should I just call someone?”
When DIY makes sense:
- You’ve got fiberglass batts in good condition (just old or underperforming).
- The job is small—like one or two walls, not the whole house.
- You’re comfortable suiting up with PPE and dealing with some itch and dust.
When to bring in the pros:
- Blown-in insulation – Without the right vacuum setup, you’ll make a mess that looks like a hamster farm exploded.
- Spray foam insulation – It’s basically glued to your studs. Removal is a fight best left to folks with the tools (and patience).
- Asbestos suspicion – If your house was built before the ’80s and you’re not sure what’s in the walls, don’t risk your lungs.
- Large-scale jobs – Pulling insulation out of an entire house is labor-intensive and time-consuming. Professionals have crews, equipment, and a truck to haul it all away.
Wall insulation removal cost varies, but hiring a pro often saves you from buying specialty equipment, paying disposal fees, or spending three weekends buried in pink fluff. Plus, they’ll set you up for the next step—reinsulating—without you having to start from scratch.
Sometimes DIY saves money. Sometimes it just saves the contractor a laugh when they show up to fix your “weekend project.”
Preparing for New Insulation
Pulling out the old stuff is only half the job—the real payoff comes when you prep those wall cavities for fresh insulation. Think of it like painting: the prep work makes or breaks the final result.
1. Clean it up
Vacuum out leftover dust, debris, and stray insulation fibers. A clean cavity means new insulation sits tight and performs as advertised.
2. Air seal first
Before you put anything back in, seal up gaps, cracks, and penetrations with caulk or spray foam. Otherwise, you’re just stuffing insulation into a leaky wall—and leaks are what make homes drafty in the first place.
3. Address any issues
Spotted water damage? Fix the leak. Found mold? Treat it. Old knob-and-tube wiring? Get an electrician in before reinsulating. It’s way easier to tackle these problems now than after your walls are sealed back up.
4. Pick the right replacement
This is your chance to upgrade.
- Cellulose – Dense, eco-friendly, and great for reducing sound.
- Spray foam – High R-value, excellent air sealing, but pricier.
- Fiberglass – Budget-friendly and easy to install, but less airtight.
The best choice depends on your budget, comfort goals, and how long you plan on staying in the house. Read our guide on choosing the right insulation for your Connecticut home.
Prepping properly means your new insulation won’t just fill a cavity—it’ll actually keep your home warm in winter, cool in summer, and your bills out of the stratosphere.
Conclusion
Pulling old insulation out of your walls isn’t glamorous work. It’s dusty, itchy, and usually hidden behind drywall no one wanted to touch in the first place. But here’s the truth: removing insulation is step one in setting your home up for real comfort and lower energy bills. Do it right, and you get a clean slate. Do it wrong, and you’re just trading one problem for another.
If you’re dealing with a small patch of fiberglass, sure, suit up and have at it. But if you’ve got blown-in, spray foam, or even a hint of asbestos? That’s when you call in the cavalry. A pro crew can knock out in a day what would take you three sweaty weekends—and leave your home ready for brand-new insulation that actually performs.
Common FAQ's about Removing Wall Insulation
What happens if I leave old insulation in my walls?
If you leave old insulation in your walls, your home will likely lose energy and comfort. Compacted or damaged insulation fails to block drafts or retain heat. Wet or moldy insulation can also harm indoor air quality. Instead of saving money, old insulation increases energy bills and repair costs.
Can insulation removal damage my walls?
Insulation removal can damage walls if done improperly. Batts usually pull out cleanly, but blown-in insulation may require cutting drywall. Using the wrong tools or rushing can cause cracks or holes. Professionals minimize damage, but DIY removal should be slow and methodical to protect wall surfaces.
Is it safe to reuse old insulation once it’s removed?
It is generally not safe to reuse old insulation once removed. Most old insulation is degraded, contaminated by dust, pests, or moisture, and no longer effective. Reinstalling it reduces performance and risks health issues. Only clean, dry, and relatively new insulation might be reused, but replacement is best.
How long does it take to remove insulation from walls?
Removing insulation from walls can take a few hours to several days. Fiberglass batts in a small room may be cleared in hours, while blown-in insulation across a house can take days. Spray foam removal is slowest, often requiring multiple days due to chiseling and scraping.
Do I need a permit to remove wall insulation?
You usually do not need a permit to remove wall insulation. A permit may be required if wall removal involves electrical work or major renovations. If asbestos is suspected, testing and regulated removal are mandatory. Always confirm with your local building department before starting insulation removal.
Related Articles


Let's Work Together
Ready to transform your home into an energy-efficient haven? Schedule your free energy assessment today and experience the Nealon difference for yourself.