How to Vac Out an Attic Full of Insulation
Ever wonder what's lurking above your ceiling? If your attic's packed with old, dusty insulation, you’re not alone—and clearing it out might be one of the best upgrades you can make for your home.
Whether you’re dealing with water damage, pest mess, or just outdated materials, vacuuming out attic insulation is a smart first step toward better energy efficiency and cleaner air. But it’s not as simple as dragging out a shop vac and diving in. This guide breaks it down the Nealon way—clear, safe, and practical for Connecticut homeowners.
Let’s walk through what it takes to do the job right—and when it’s time to call in a pro.
Full write up below the video.
Why Homeowners in CT Remove Attic Insulation
Attic insulation doesn’t last forever—and in Connecticut, our cold winters and humid summers don’t help. Over time, insulation can break down, get damp, or even turn into a home for pests. If you've noticed rising energy bills or musty odors, your attic might be the culprit.
Here are a few common reasons homeowners in CT decide to remove their attic insulation:
- Moisture damage: Leaky roofs or high humidity can soak insulation, making it useless.
- Rodents or pests: Mice, squirrels, and even bats can nest in insulation, leaving behind droppings and odor.
- Mold and mildew: Once mold gets into insulation, it spreads fast and needs to go.
- Upgrading efficiency: Older homes often have outdated insulation that doesn’t meet modern energy codes.
Understanding the Attic Insulation Removal Process
Removing insulation might sound simple, but there’s a right way to do it—especially if you want to avoid making a mess or breathing in harmful particles.
The process starts with an inspection to figure out what type of insulation you’re dealing with. In many CT homes, you'll find either blown-in cellulose, fiberglass batts, or older vermiculite (which can contain asbestos and needs special handling).
There are two main ways to remove insulation:
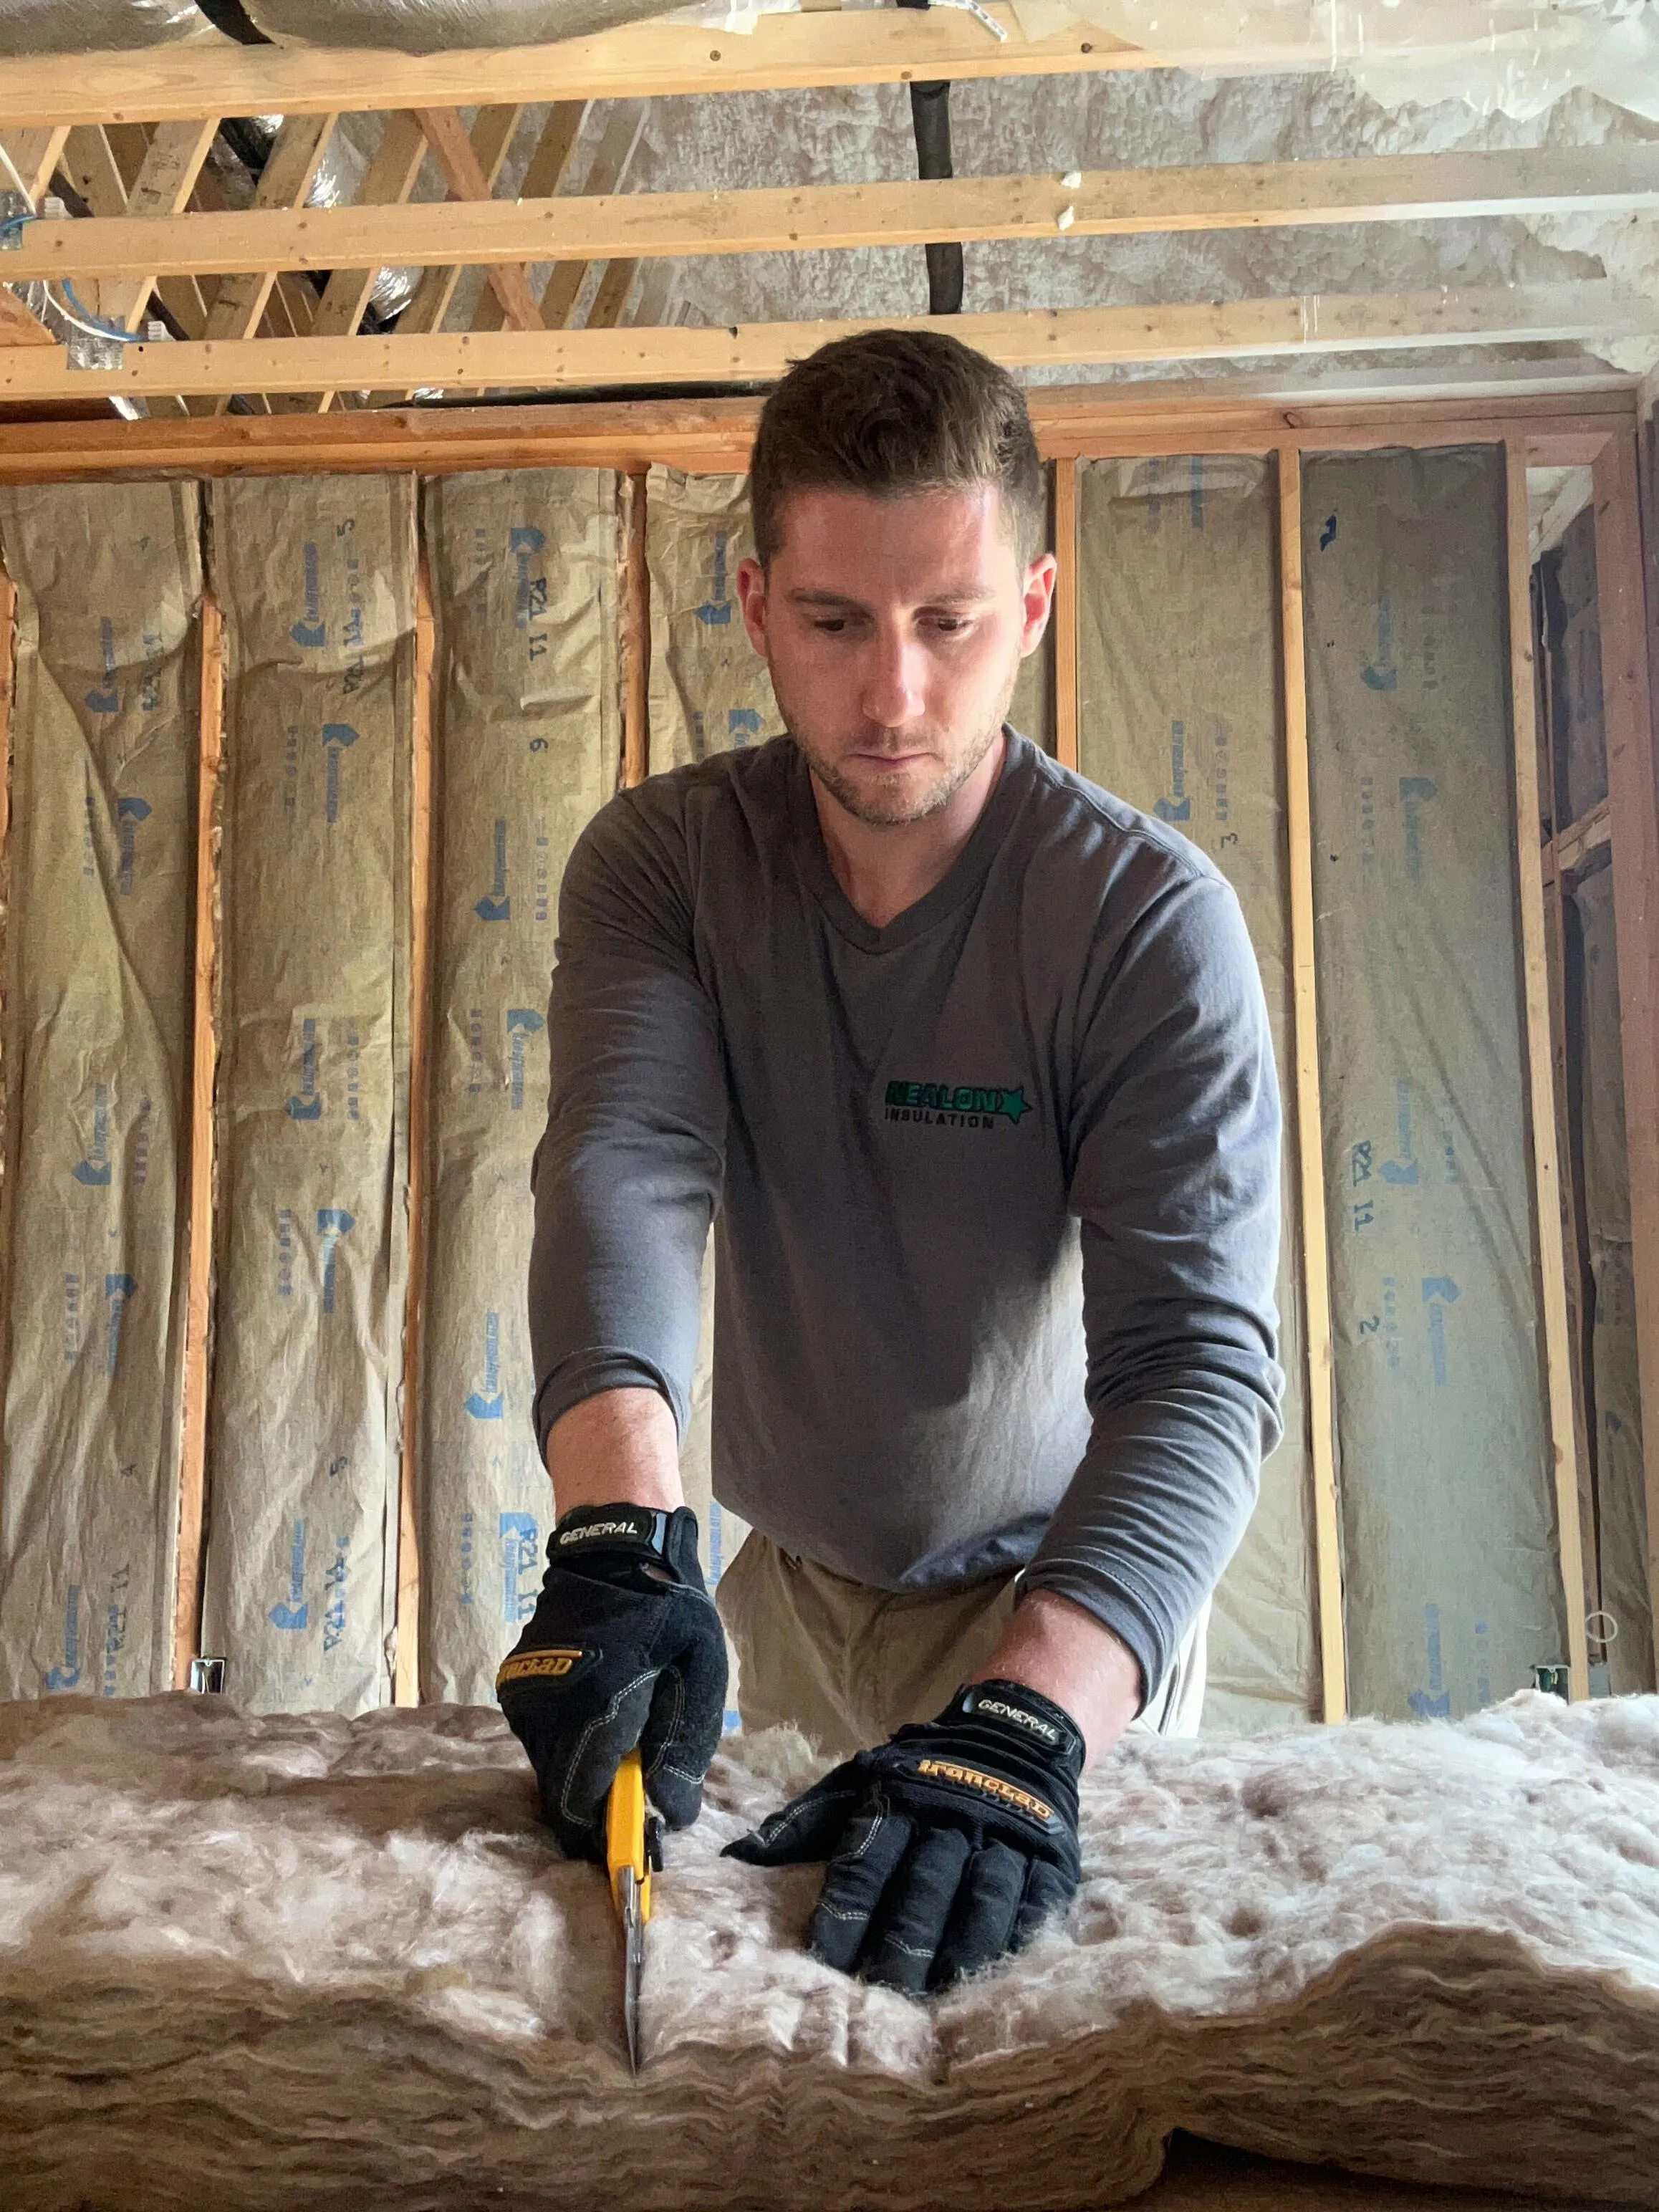
- Manual removal: This involves physically pulling out batts or scooping up loose fill.
- Vacuum removal: A powerful vacuum system sucks the insulation into large bags. It’s cleaner and faster—especially for blown-in types.
Tools and Equipment Needed for Vacuum Removal of Insulation
Vacuuming out attic insulation requires more than your average shop vac. Here’s what the pros use—and what you’ll need if you’re thinking of doing it yourself.
Equipment Checklist:
- High-powered insulation vacuum (HEPA-rated)
- Flexible vacuum hoses
- Insulation collection bags
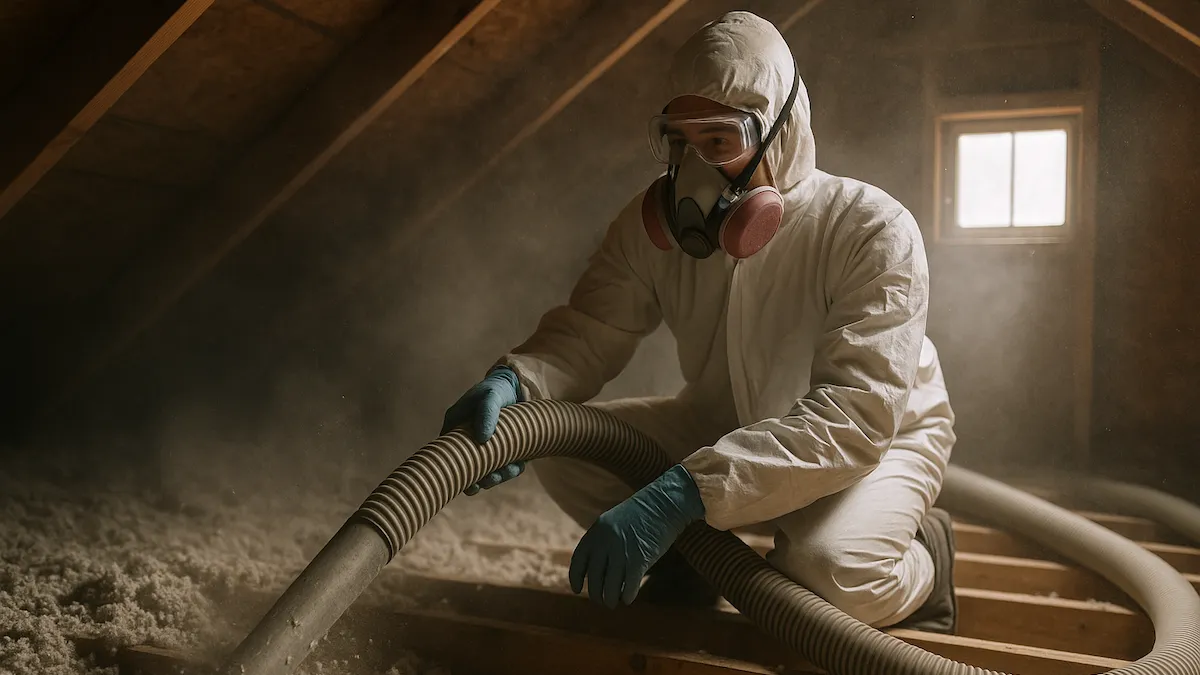
- Respirator mask, goggles, gloves, and disposable suit
- Duct tape and plastic sheeting
Having the right gear keeps your home clean and your lungs safe.
Step-by-Step Guide to Vacuuming Out Attic Insulation
1. Prep the Area
Seal off access points, lay down plastic sheeting, and ensure good lighting.
2. Gear Up
Suit up in safety gear and double-check all vacuum components.
3. Start the Vacuum
Work from the back of the attic toward the access point in overlapping passes.
4. Final Cleanup
Vacuum or sweep remaining debris. Bag it all up and dispose of it safely.
When to Call a Pro Instead
Vacuuming insulation sounds easy—until you're halfway through with a clog in your hose and a dust cloud in your house. Consider calling a pro if:
- The attic has rodent or mold contamination
- Insulation may contain asbestos
- The space is tight or steep
- You lack the proper equipment
Professionals make the process faster, safer, and often more cost-effective. Check out our attic insulation services to see what we can do for your space.
FAQs: Vacuuming Out Attic Insulation
Is it safe to vacuum out attic insulation myself?
Yes, it's safe to vacuum out attic insulation yourself if you use proper protection—respirator, goggles, gloves, and disposable coveralls. Seal off the house, ventilate the area, and work slowly. For vermiculite or contaminated insulation, hire a professional.
What type of vacuum do I need to remove attic insulation?
You need a commercial-grade HEPA vacuum to remove attic insulation. Standard shop vacs can’t handle the fine dust—especially from cellulose—and will clog quickly. A HEPA vacuum ensures proper filtration and safe cleanup.
How long does it take?
Removing attic insulation takes 6–15 hours for a DIY job and 4–6 hours for professionals on a typical 1,500 sq ft attic. Pros work faster using commercial equipment and efficient cleanup methods.
Any DIY tips from homeowners?
Yes—DIY insulation removal goes smoother with two people. Bags fill quickly, so have extras ready. Use duct tape to secure hose connections and patch tears. Stay organized and take safety precautions throughout the job.
What mistakes should I avoid?
Avoid common insulation removal mistakes: don’t skip safety gear, never step between joists, and plan for proper disposal. These errors can lead to injury, home damage, or hazardous exposure. Preparation and caution are key.
Conclusion
Tackling attic insulation removal on your own can save money, but it’s no small job. Between the dust, the equipment, and the tight spaces, it pays to know what you're getting into. And if there’s any sign of damage, pests, or questionable materials, don’t take chances—get a pro.
At Nealon Insulation, we handle every step from removal to replacement using high-efficiency materials that keep your home warmer in winter and cooler in summer. If your attic’s ready for a fresh start, check out our attic insulation services to see how we can help.
Related Articles


Let's Work Together
Ready to transform your home into an energy-efficient haven? Schedule your free energy assessment today and experience the Nealon difference for yourself.