Faced vs. Unfaced Insulation: What’s the Difference and When to Use Each
.jpeg)
Let’s be honest—when most folks hear “faced insulation,” they picture a contractor with a headlamp and a bad attitude. But no, we’re not talking about that kind of “faced.” We’re talking about the kind with paper on one side and a purpose behind it.
If you’ve ever stood in the insulation aisle wondering whether you need faced or unfaced, you're not alone. One has a vapor barrier; the other doesn’t. One might cause mold problems if you install it wrong; the other might leave your walls feeling drafty if you skip it when you shouldn’t.
So how do you know which is right? That’s exactly what we’re here to unpack. In this guide, we’ll break down the real difference between faced and unfaced insulation, where each one works best, and how to avoid common screwups that even seasoned DIYers make.
Spoiler alert: it’s not just about the paper—it’s about moisture, air movement, and where in your house this stuff is going.
Do you want to take our pop quiz before reading the article? Check it out below 👇
What Is Faced Insulation?
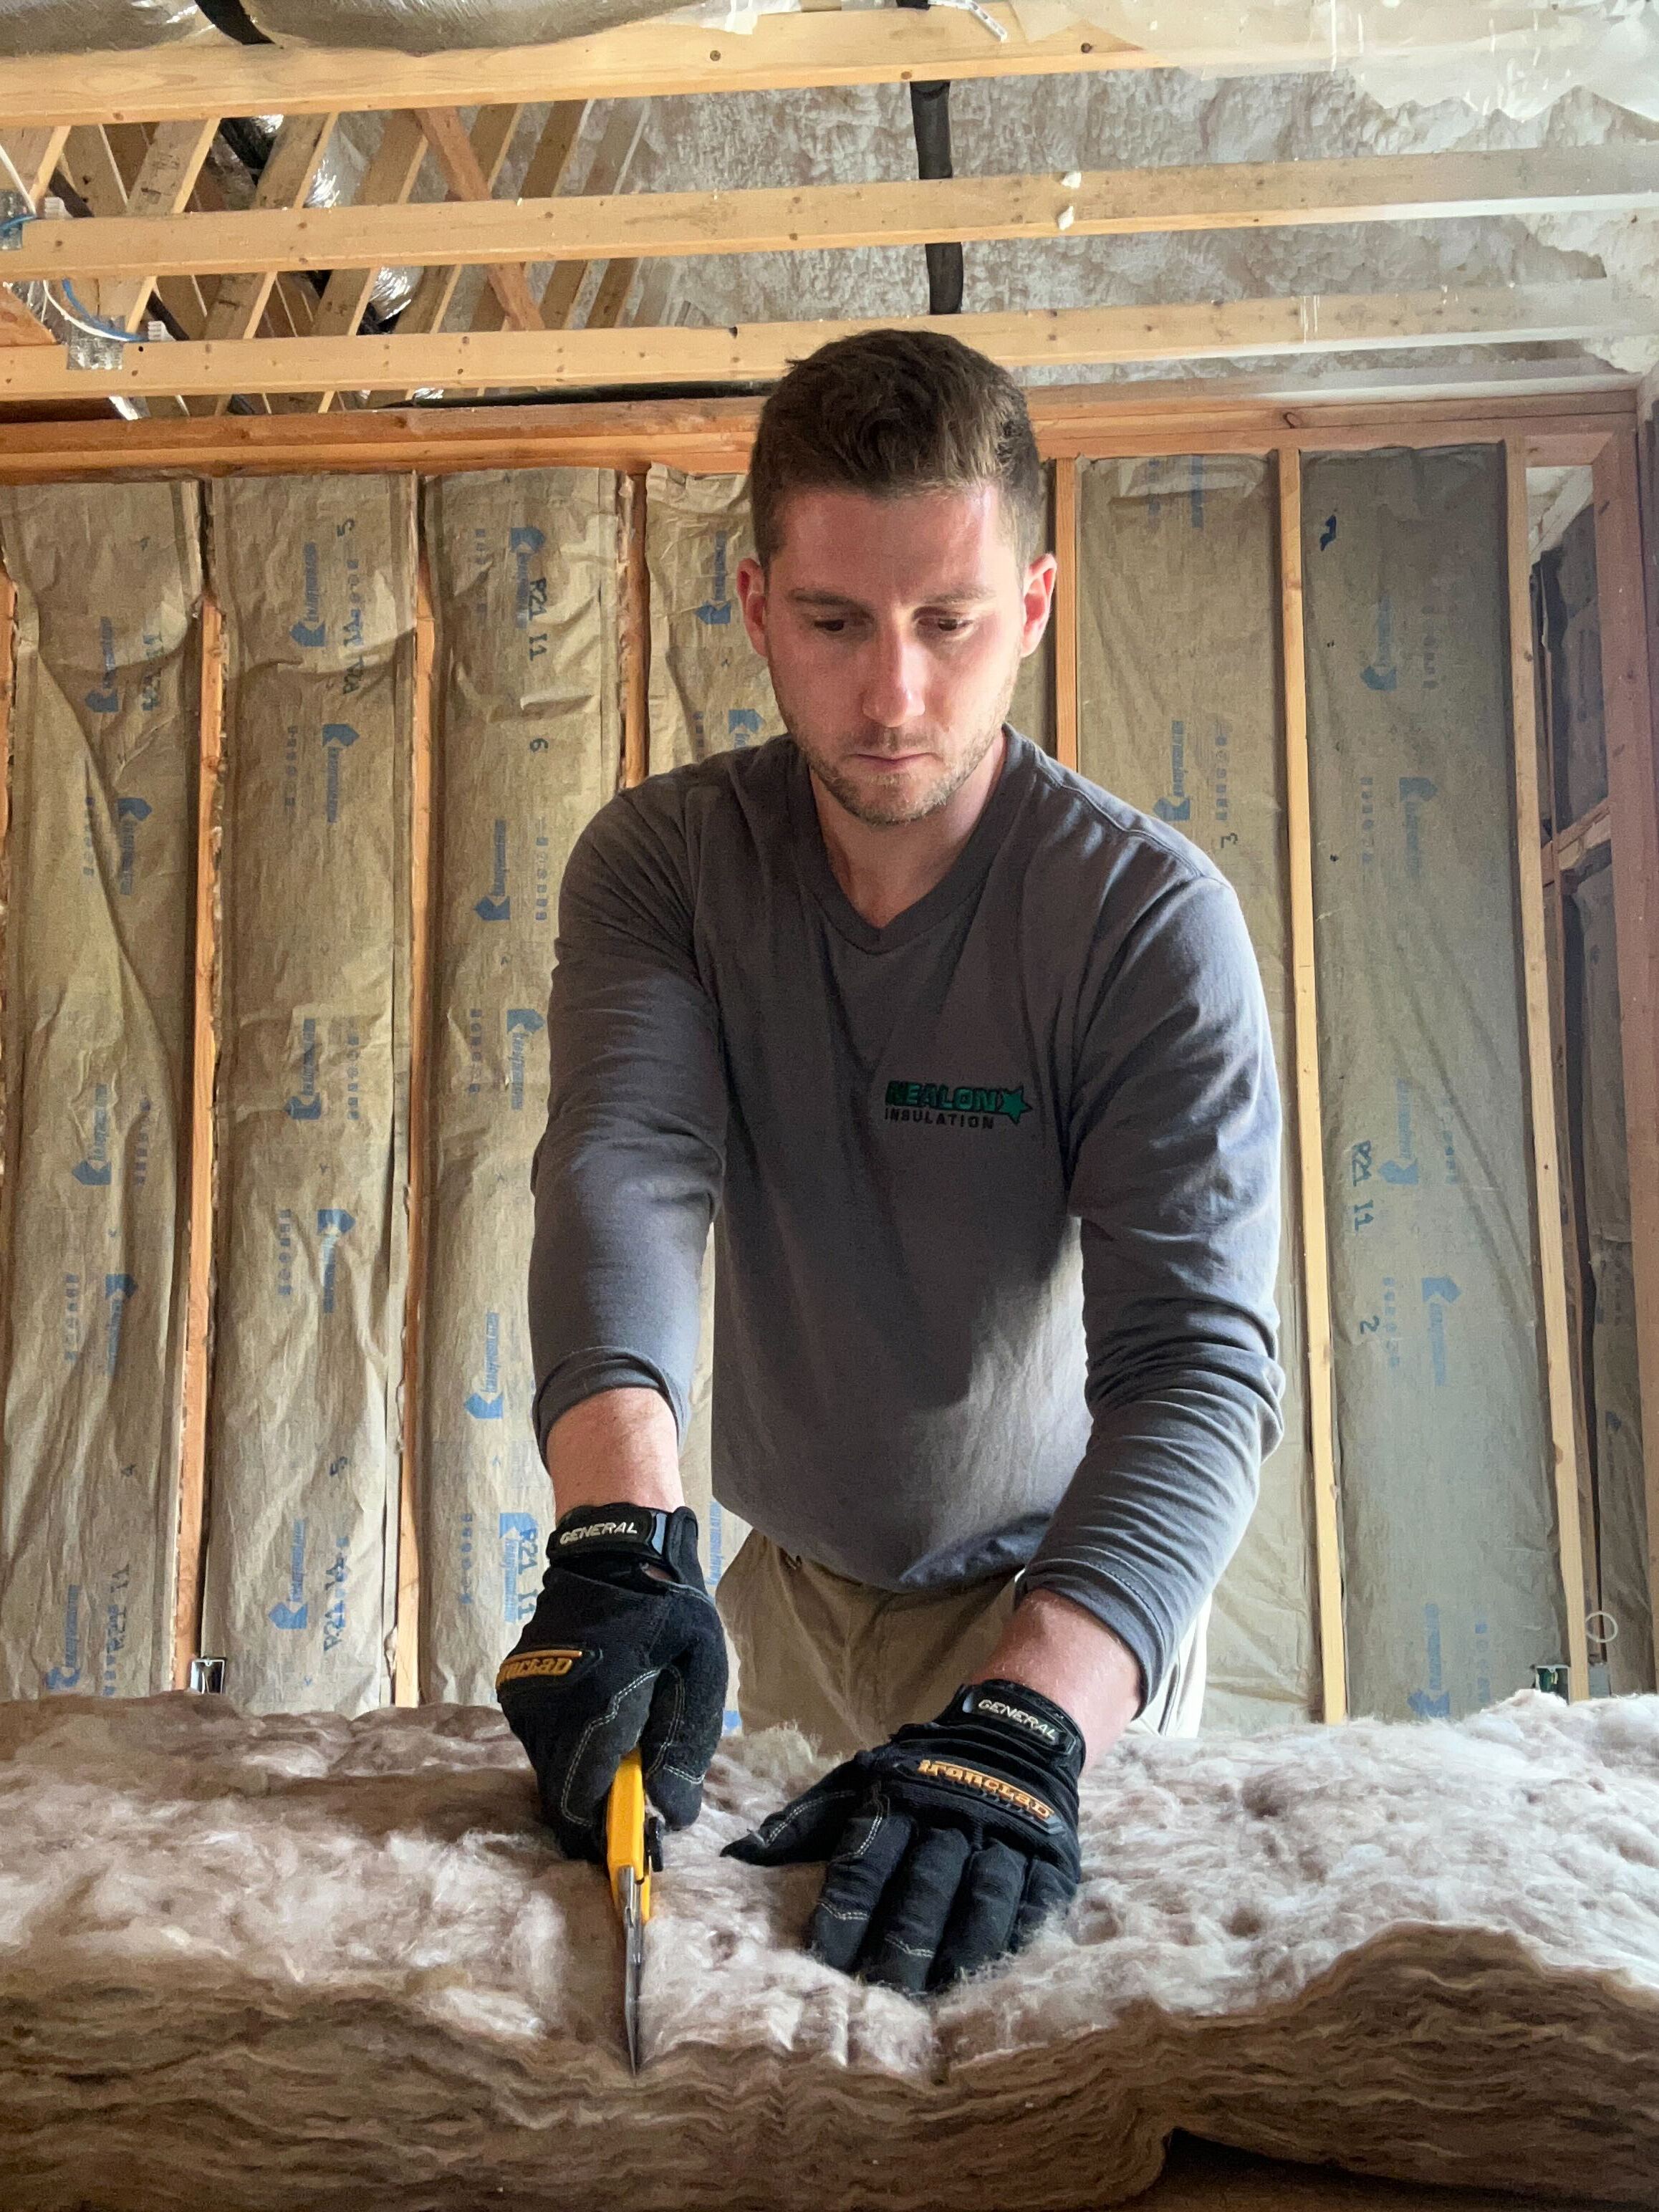
Faced insulation is the kind with a built-in vapor barrier—usually a sheet of kraft paper or foil stuck to one side. That facing isn’t just there to make it look pretty. It’s doing a job: blocking moisture from sneaking through your walls, ceilings, or floors.
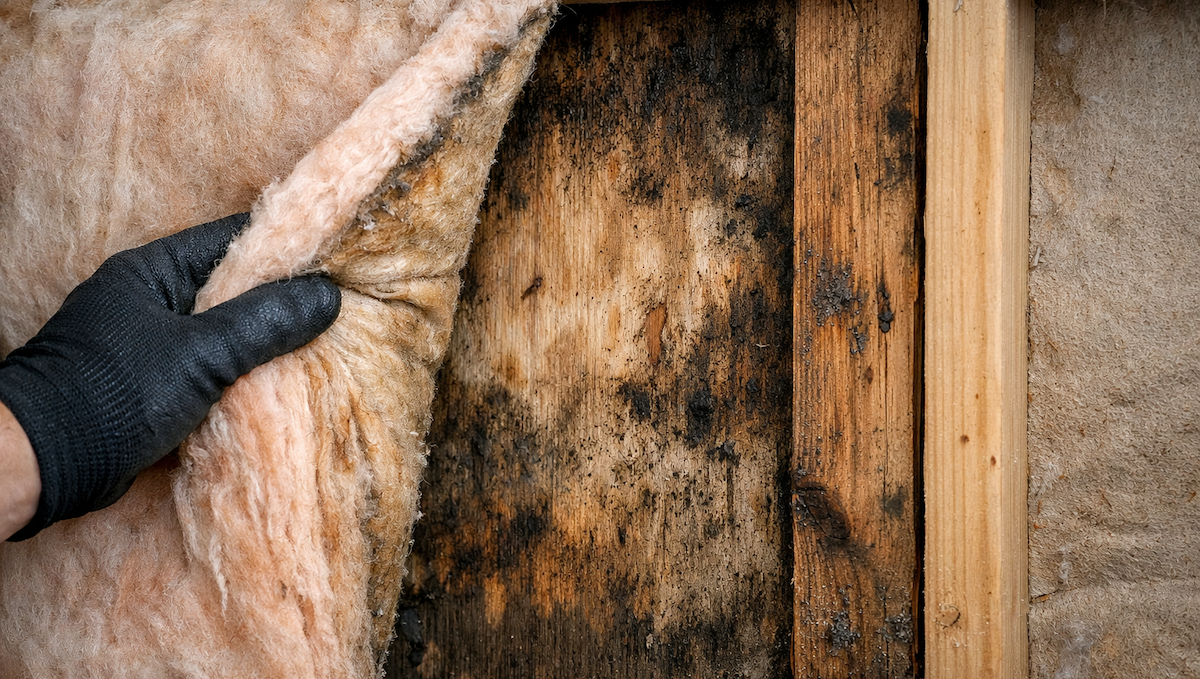
Think of it like a windbreaker for your house. The insulation slows down heat transfer, and the facing keeps water vapor from turning into a moldy science experiment behind your drywall.
You’ll typically see faced insulation in:
- Exterior walls (especially in colder climates like Connecticut)
- Attics
- Crawl spaces
- Any place where warm, moist indoor air could hit a cold surface and condense
The facing always gets installed toward the “warm-in-winter” side, which usually means the inside of the house. That’s key—putting it on the wrong side can trap moisture where you really don’t want it.
Bottom line? Faced insulation is your go-to when you’re insulating parts of the home that deal with the weather. It seals in heat, helps regulate humidity, and gives your wall cavity a little armor.
What Is Unfaced Insulation?
Unfaced insulation is just the fluffy stuff—no kraft paper, no foil, no vapor barrier. It’s the raw form of insulation, and it’s incredibly useful in the right spot.
So when does unfaced insulation make sense? A few solid examples:
- Interior walls, where you’re insulating for sound, not moisture.
- Ceilings between floors, especially in multi-family or split-level homes.
- Attics or basements where a vapor barrier already exists or isn’t needed.
- Adding a second layer of insulation—stack unfaced on top of a faced layer so you don’t trap moisture between two vapor barriers (a rookie mistake we’ve seen too many times).
Think of unfaced insulation like the base layer of your home’s thermal underwear. It doesn’t block moisture, but it does help buffer temperatures and noise.
It’s also a favorite in renovation work, because it’s easier to cut, shape, and fit into weird little cavities that old homes always seem to have.
Just don’t go slapping unfaced insulation into an exterior wall without thinking—no vapor barrier = potential problems if you’re not careful about moisture.
Faced vs. Unfaced Insulation: Key Differences
Here’s a side-by-side breakdown of what actually matters. Both slow heat transfer, but only one helps manage moisture—and that changes everything.
Two big mistakes we see all the time:
- Faced over faced – traps moisture and leads to mold.
- Unfaced where a vapor barrier is needed – invites condensation and cold drafts.
Know the difference, and you’re halfway to a properly insulated home.
When to Use Faced Insulation
Faced insulation is your first pick when moisture is part of the equation—especially in areas where warm indoor air meets cold exterior surfaces.
Use it in:
- Exterior Walls – to handle both temperature swings and moisture vapor.
- Attics – to protect against heat loss and condensation.
- Crawlspaces or Basements – where damp air and cold surfaces love to meet.
- Bonus Rooms Over Garages – for insulation and moisture control between living space and unconditioned air.
Just remember: Paper side goes toward the heated space—usually the inside.
When to Use Unfaced Insulation
Unfaced insulation is your best bet when you:
- Don’t need moisture control.
- Are adding insulation to a space that already has a vapor barrier.
- Are soundproofing or filling interior cavities.
Best spots for unfaced:
- Interior Walls – for sound control between rooms.
- Between Floors – to cut down on noise from footsteps or plumbing.
- Attic Top-Offs – stack unfaced over faced insulation to avoid moisture traps.
- Irregular Spaces – easier to shape and fit into odd framing.
Don’t think of unfaced as “missing something”—it’s just made for different jobs.
Common Mistakes to Avoid
Faced Over Faced
Traps moisture. One vapor barrier per wall cavity—that’s the rule.
Facing the Wrong Way
Faced insulation always goes with the paper side toward the warm-in-winter side. Reverse it, and you might be inviting mold.
Faced Insulation in Interior Walls
No moisture concerns? Skip the facing. Use unfaced for interior partitions.
Ignoring Existing Vapor Barriers
If you’ve already got one (like foam board or poly sheeting), don’t double up.
Skipping Air Sealing
Insulation slows heat—but it won’t stop air leaks. Use caulk, spray foam, or gaskets to seal those gaps around outlets, wires, and framing.
Still Unsure? Here’s Our Recommendation
If you’re still on the fence about faced vs. unfaced—or not sure where your vapor barriers are hiding—give us a shout. We’ll walk your home, check the moisture risks, and make sure you’re not accidentally turning your walls into a science experiment.
We’ve been insulating homes in Connecticut since 1977, and we’ve seen it all—from soggy insulation to upside-down installs. Our team knows how to get it right the first time, with no guesswork and no drama.
Common FAQ's about Faced or Unfaced
What happens if I install insulation without a vapor barrier in an exterior wall?
Installing insulation without a vapor barrier in an exterior wall can cause condensation inside the wall cavity. In cold climates, this moisture buildup leads to mold, mildew, and wood rot. Use faced insulation or vapor control to prevent structural and health issues.
Can I staple unfaced insulation into place?
No, you can’t staple unfaced insulation because it lacks a stapling flange. Instead, install it by friction-fitting between studs or securing it with insulation netting, wires, or support rods. These methods hold the insulation in place without the need for facing.
Does building code require faced insulation?
Building code doesn’t always require faced insulation, but many climate zones require a vapor retarder. In places like Connecticut, this may be kraft paper, spray foam, or polyethylene. Check local codes to confirm what's approved for your wall assembly and moisture control.
Is it okay to mix faced and unfaced insulation in the same wall or ceiling?
Yes, you can mix faced and unfaced insulation, but only one vapor barrier should be used. Place the faced layer toward the heated side of the space. Never stack two faced layers, as trapped moisture can lead to mold or damage.
Can I paint or cover the facing on faced insulation?
You can cover faced insulation with drywall or paneling, but never paint or leave the kraft paper exposed. Kraft facing is flammable and not a finished surface. Always use an approved fire-rated covering to meet safety codes and prevent fire hazards.
Is there a cost difference between faced and unfaced insulation?
Yes, faced insulation usually costs slightly more than unfaced, typically by a few cents per square foot. The added vapor barrier increases manufacturing cost. However, the price difference is small, and selecting the correct type for your application is more important than minimal savings.
Does the facing go on the top or bottom when insulating a crawlspace ceiling?
In a vented crawlspace, the facing on insulation should go on top—toward the heated floor above. This places the vapor barrier on the warm-in-winter side to prevent condensation on cold surfaces below. Always orient the facing toward the conditioned space.
Related Articles
Let's Work Together
Ready to transform your home into an energy-efficient haven? Schedule your free energy assessment today and experience the Nealon difference for yourself.


