Crawl Space Encapsulation: The Upgrade Your Home Doesn’t Know It Needs

Most homeowners never think about their crawl space—until it starts causing trouble. Damp smells, high energy bills, mold creeping into the living room… yeah, that little space under your house isn’t as innocent as it looks.
That’s where crawl space encapsulation comes in. It’s not glamorous, but it’s one of the smartest upgrades you can make for your home. Let’s break down what it is, why it matters, how it’s done, and whether it’s worth the price tag.
What Is Crawl Space Encapsulation?
Think of your crawl space like the basement’s forgotten little brother—it’s out of sight, out of mind, and usually damp, dusty, and a little creepy. Encapsulation is basically giving that space a full makeover. We’re talking about sealing the floor and walls with a heavy-duty vapor barrier, closing up the vents that let in humid outside air, adding insulation, and in a lot of cases, popping in a dehumidifier to keep things bone-dry.
It’s different from just laying down a sheet of plastic on the dirt and calling it a day. A proper encapsulation is a system. It locks out moisture, blocks drafts, and makes sure your crawl space isn’t a breeding ground for mold or a freeway for critters.
In plain English: crawl space encapsulation turns a damp, energy-wasting dungeon into a clean, controlled part of your house. It’s not glamorous work, but it’s one of those behind-the-scenes upgrades that makes your home healthier and your energy bills less ugly.
Why Crawl Space Encapsulation Matters
Crawl spaces don’t get a lot of love until something goes wrong. By the time you notice a funky smell upstairs or your floors feel damp, the crawl space has already been throwing a party for mold and moisture. Encapsulation stops that before it starts.
Here’s what it does for you:
- Moisture control. A crawl space without a vapor barrier is like a sponge under your house—it soaks up damp air and slowly rots everything it touches. Encapsulation keeps the water vapor out.
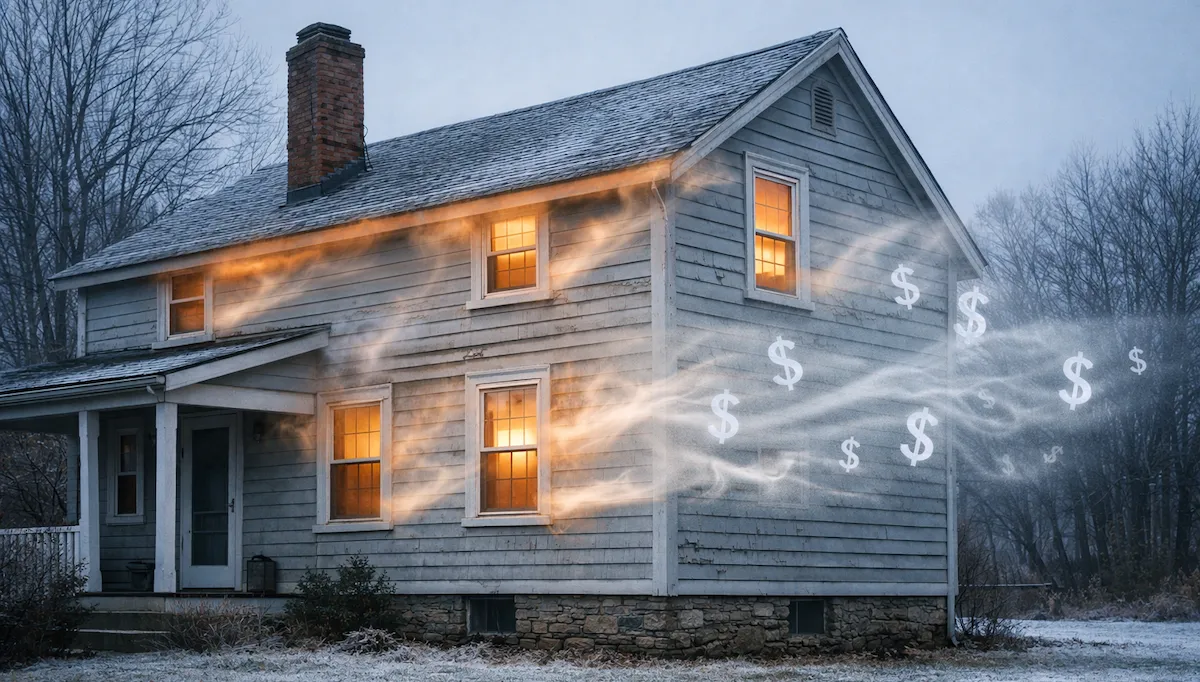
- Lower energy bills. Hot and cold air doesn’t just hang out politely in your crawl space; it sneaks right up into your living space. Seal it up and your HVAC finally gets a break.
- Healthier air. Roughly half the air in your home comes up through the crawl space. If that space is wet and moldy, guess what you’re breathing? Encapsulation keeps that junk out of your lungs.
- Stronger house. Moisture is the enemy of wood and concrete. A dry crawl space means your foundation and floor joists stay solid instead of soft and crumbly.
The Crawl Space Encapsulation Process
So, what actually happens when you encapsulate a crawl space? It’s not rocket science, but it’s also not something you can half-do and expect results. Here’s the play-by-play:
- Inspection and prep. Clean out the junk, remove old insulation, fix leaks, and get rid of standing water.
- Install the vapor barrier. A thick, reinforced liner covers the dirt floor and runs up the walls, sealed tight at the seams. Think shrink-wrapping your crawl space.
- Seal vents and walls. Those old vents that let in humid summer air? Sealed. Foundation walls? Sometimes insulated for stability and comfort.
- Add insulation. Depending on your setup, it goes on the walls, rim joists, or under the floor. The goal: stable temps and lower energy bills.
- Install a dehumidifier (optional, but smart). Even with barriers, humidity sneaks in. A dehumidifier keeps it bone-dry.
The end result? Your crawl space goes from “damp dungeon” to “sealed, boring, problem-free.” And boring is exactly what you want under your house.
Crawl Space Encapsulation Cost
Alright, let’s rip the Band-Aid off: encapsulating a crawl space isn’t cheap. On average, homeowners spend $5,000 to $15,000, depending on the size, condition, and whether you want just the basics or the full Cadillac treatment.
Why the wide range?
- Size. A small crawl space is one thing. A 1,200-square-footer? Whole different project.
- Condition. Clean and dry is easy. Standing water, critter nests, or falling insulation add cleanup time and cost.
- Upgrades. Vapor barrier alone is cheaper. Add insulation, wall sealing, and a dehumidifier, and the price climbs—but so does the payoff.
Yes, the number stings at first. But here’s the trade-off: lower energy bills, fewer repairs, no mold remediation nightmares, and a healthier home environment. Over time, it pays for itself—and saves you from the much uglier cost of rotted floors or foundation damage.
Crawl Space Encapsulation vs. Crawl Space Insulation
Here’s a question we hear all the time: “What’s the difference between crawl space encapsulation and crawl space insulation?” Truth is, when it’s done right, there really isn’t much of a difference.
Encapsulation is the whole system: vapor barrier on the floor and walls, vents sealed, insulation installed, and sometimes a dehumidifier. Insulation is part of that system. You can’t properly encapsulate without insulating—and insulating without sealing is like wearing a winter coat with the zipper wide open.
A lot of confusion comes from contractors or articles that split them into separate services, but think of it this way:
- Encapsulation = the full package. It controls moisture and temperature.
- Insulation = one piece of the package. It only works if the crawl space is sealed tight first.
So if someone tries to sell you “insulation” without talking about vapor barriers or sealing, that’s cutting corners. A true encapsulation job handles both—moisture control and insulation—because they go hand in hand.
In other words: you don’t need to pick between encapsulation and insulation. Done right, you’re getting both.
DIY vs. Hiring a Contractor
Sure, you can buy a roll of plastic at the hardware store, crawl under your house, and call it “encapsulation.” But that’s like duct-taping your car’s bumper back on—it might hold for a bit, but it’s not the real fix.
DIY pitfalls:
- Loose seams = moisture still sneaks in.
- Vents “sort of” blocked but not properly sealed.
- Insulation skipped because it’s messy.
- Hidden leaks or structural problems ignored until they explode into expensive repairs.
What a pro brings:
- Experience. We’ve seen it all—bone-dry to swampy.
- Materials. Heavy-duty liners, not flimsy tarps.
- Warranty. DIY means you’re on the hook if it fails. Hire it out and you get coverage.
- Efficiency. Three weekends on your knees versus one or two days with a crew.
If you want a permanent solution, call in a pro. DIY might save you a little cash upfront, but it usually ends with a redo.
Is Crawl Space Encapsulation Worth It?
Short answer: yes. Longer answer: it depends on whether you like saving money, breathing clean air, and keeping your house standing.
Encapsulation isn’t flashy, but it’s effective:
- Cuts down on energy waste.
- Keeps mold and mildew out of your home (and lungs).
- Extends the life of your foundation and flooring.
- Makes your house more comfortable year-round.
If you plan on living in your home for years, the ROI is a no-brainer. Even if you’re selling, buyers love to see an encapsulated crawl space—it screams “this house has been taken care of.”
Conclusion & Call to Action
Here’s the bottom line: crawl space encapsulation is like an insurance policy for your house. Not the cheapest project on the list, but definitely one of the smartest. You get a healthier home, lower bills, and peace of mind knowing the ground under your feet isn’t quietly wrecking your investment.
Related Articles
Let's Work Together
Ready to transform your home into an energy-efficient haven? Schedule your free energy assessment today and experience the Nealon difference for yourself.


