Why Remove Old Insulation? 6 Smart Reasons Homeowners Shouldn’t Skip This Step
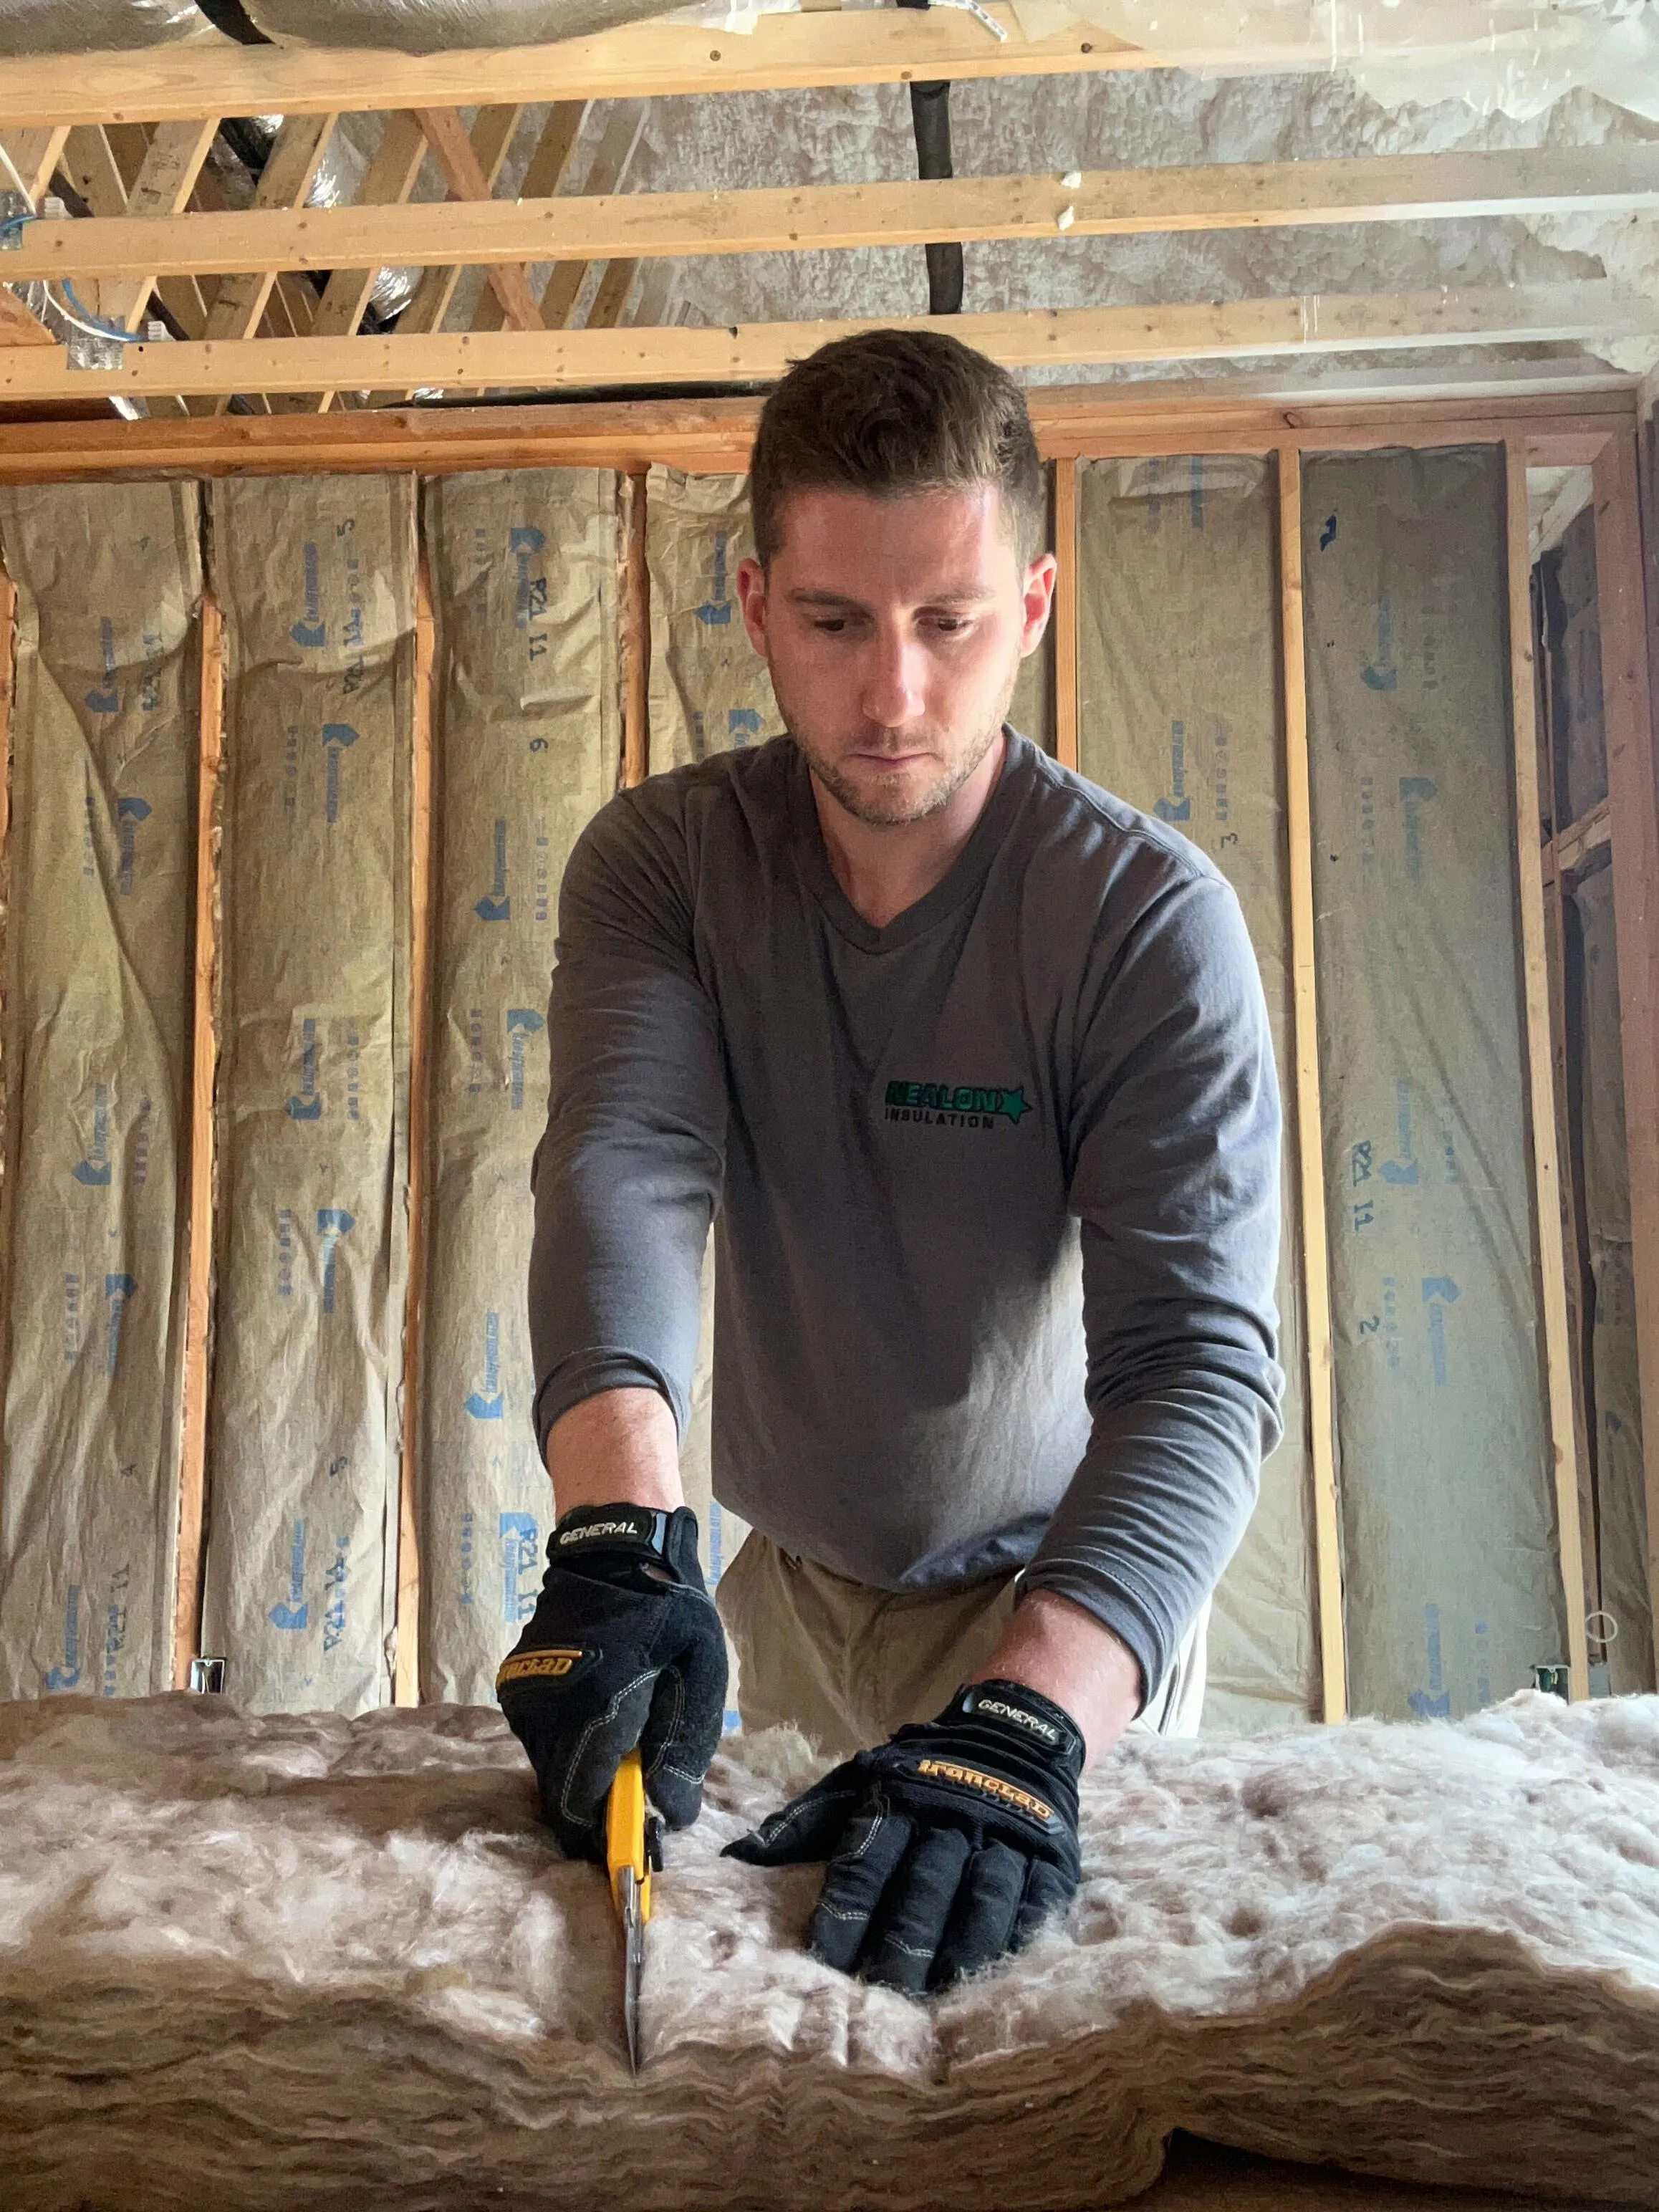

If your attic insulation is older than your water heater—or worse, your teenager—it might be time for a fresh start. We get it: insulation’s not something most people think about unless they're freezing in February or sweating through July. But here's the thing most contractors won’t tell you upfront: sometimes the smartest insulation job starts with taking the old stuff out.
Insulation doesn't last forever. Over the years, it settles, absorbs moisture, plays host to critters, and generally turns into a soggy mess that doesn’t do much for your energy bill or indoor air quality. Slapping new insulation over the old might seem like a shortcut, but it’s like painting over a moldy wall—looks fine at first, but the problems underneath are still doing damage.
In this post, I’ll walk you through exactly why removing old insulation isn’t just an upsell—it’s often the key to doing the job right. Whether you're insulating an attic, crawlspace, or wall cavity, here’s why tearing out the old can save you money, hassle, and regret down the line.
Old Insulation Can Be Contaminated
Let’s start with the nastiest reason first: your insulation might be full of critter crap. Literally.
Over time, attics and crawlspaces turn into rodent resorts—mice, squirrels, even the occasional raccoon. And where they go, they leave droppings, urine, shredded nesting, and chewed wires. We’ve pulled out insulation so packed with rodent trails it looked like a miniature subway system.
But it’s not just animals. We’ve seen fiberglass soaked in bat guano, cellulose harboring mold from old roof leaks, and dusty, debris-filled insulation that hasn’t been touched since the Reagan administration.
The problem? Contaminated insulation can mess with your air quality, especially in homes where attic air seeps into living spaces. You don’t want to be breathing in that musty funk every time the HVAC kicks on.
And if you layer new insulation right on top? Congrats—you just sealed all that filth in and buried it deeper. That’s why removal isn’t overkill—it’s cleanup. The kind that keeps your home healthy and safe before you even think about R-values or rebates.
Moisture Damage Ruins R-Value
Insulation and moisture go together like drywall and a garden hose. Doesn’t end well.
Old insulation—especially in attics and basements—acts like a sponge when there's a roof leak, poor ventilation, or condensation from bad air sealing. It soaks it up, loses its fluff, and starts to compress under its own soggy weight. And once it’s wet? That R-value you paid for might as well be Monopoly money.
Wet or damp insulation doesn’t insulate. It clumps, it slumps, and it turns into a cozy hideout for mold spores. You might not see the mold, but it’s up there, spreading into roof sheathing, rafters, and drywall. And worse, that funky smell isn’t going away with scented candles.
When we remove old insulation, we often find the cause of the problem hiding underneath—leaky vent boots, ice dam damage, or a bathroom fan dumping humid air straight into the attic. You can’t fix what you can’t see, and you can’t see much under a foot of soggy fiberglass.
Bottom line? If your insulation’s been damp—or you even suspect it has—don’t just cover it up and hope for the best. Rip it out, fix the issue, and start fresh.
Insulation Can Settle, Shift, or Compact Over Time
Insulation’s job is to trap still air. But when it settles or gets squished, there’s no “still” and barely any “air”—just thin layers of disappointment.
This happens a lot with older homes. We see blown-in cellulose that’s dropped by half its depth over 30 years. Or fiberglass batts that were once proudly fluffy, now mashed flat like an old couch cushion. Sometimes it’s from gravity, sometimes from decades of someone crawling around up there chasing wires or squirrels.
Even if the insulation looks like it’s still covering the space, it’s probably not doing much. Gaps open up around joists, coverage becomes patchy, and suddenly your attic's a heat exchange instead of a barrier.
And no—you can’t “refluff” it. Once it’s settled or compressed, it’s done. It’s like trying to revive a pancake into a soufflé.
That’s why removing it completely is often the best move. It gives you a clean slate to air seal and re-insulate the right way—without playing guesswork with your energy bill.
New Materials Need a Clean Slate
Planning to upgrade to spray foam? Great choice. But here’s what most folks don’t realize until the crew shows up: you can’t just spray foam over old insulation and call it a day.
Closed-cell spray foam needs to bond directly to wood or masonry. If there’s dusty fiberglass or settled cellulose in the way, that foam’s not sticking—it’s peeling, cracking, or trapping moisture. Not to mention, layering new materials over old ones can create weird thermal sandwiches that hold condensation and cause rot.
Even with hybrid jobs—like combining spray foam and batts—you still need a clean surface to work from. That means removal is part of the prep, not some fancy add-on.
Most insulation contractors worth their salt (us included) won’t guarantee the job unless the space is properly cleared. And if they do offer to just “top it off,” that’s a red flag. That’s like putting new shingles over rotted roof decking.
Bottom line: the performance of your new insulation depends on what’s underneath it. If what’s underneath is dirty, damp, or unstable, you’re building on bad ground.
You Might Have Hazardous Materials Like Asbestos or Vermiculite
This is the part where we hit pause and say: don’t go poking around in old insulation unless you know what you’re looking at.
Some older homes—especially those built before 1990—used insulation that’s now considered dangerous. The big offenders?
- Vermiculite, which looks like shiny puffed gravel. Some of it (especially from the Libby, Montana mine) contains asbestos.
- Old batt insulation backed with foil or paper that may have asbestos fibers mixed in.
- And even some blown-in products that came with surprise “bonus materials” like lead dust or pest poisons.
If disturbed, these materials release microscopic particles into the air. You breathe that in? You’ve just turned a routine attic job into a health risk.
That’s why we always recommend testing before removal in older homes. It’s not overkill—it’s peace of mind. And if something dangerous is found, it has to be handled by a licensed abatement team. No shortcuts. No DIY.
So yeah, sometimes removing old insulation isn’t just about saving energy—it’s about making your home safe to live in.
Removing Old Insulation Improves Energy Efficiency
Let’s bring it home: removing old insulation isn’t just cleanup—it’s your opportunity to do the job right.
When we pull out the old stuff, we uncover gaps, cracks, and holes that were never sealed in the first place. We’re talking attic bypasses, leaky top plates, chimney gaps—basically highways for hot and cold air to sneak in and out of your house.
Here’s the deal: new insulation without air sealing is like wearing a down jacket full of holes. Sure, it looks warm, but the wind cuts right through. You’ll spend more on energy, get less comfort, and wonder why the upgrade didn’t “work.”
By removing old insulation first, we get access to air seal properly. Then we install fresh insulation that actually performs. That’s how you cut energy bills, reduce drafts, and get that sweet, quiet, temperature-stable home you were hoping for.
And let’s not forget: home buyers love a clean, energy-efficient attic. If you ever sell, having photos of a professional removal and re-insulation job can be a strong selling point.
Bonus: DIY vs Professional Insulation Removal
Look, I love a good DIY project as much as the next guy—but insulation removal isn’t for the faint of heart.
It’s hot. It’s filthy. It’s usually full of fiberglass, mouse droppings, nails, and 40 years of dust that’s been marinating in your attic. And unless you’ve got commercial vacuums, proper PPE, and somewhere to legally dump the material, you’ll wish you’d hired it out by hour two.
We’ve had homeowners call us halfway through the job—sweaty, itchy, and covered in mystery fluff—begging us to take over. No shame in that. Professionals have the tools, the safety protocols, and the systems to get it done fast, clean, and right.

What Equipment Do You Need to Remove Insulation? (DIY vs Pro)
Thinking about tackling insulation removal yourself? Let’s talk gear—because a shop vac and a dust mask aren’t going to cut it.
DIY Insulation Removal Gear
If you’re set on going the DIY route, here’s the bare minimum of what you’ll need:
- Full-body disposable coveralls – Fiberglass itch is no joke. You’ll want to toss these when you’re done.
- Gloves and safety goggles – Eye and skin protection is non-negotiable.
- Tight-fitting respirator (N95 or better) – Old insulation kicks up dust, rodent droppings, mold spores—you don’t want that in your lungs.
- Contractor-grade garbage bags – The big 3-mil ones that can handle bulky, dusty material.
- Insulation removal bags or trash cans – Especially for blown-in insulation.
- Rake, shovel, or garden fork – For scooping out batts or compacted cellulose.
- Shop vac with HEPA filter – For final cleanup, but most shop vacs will clog fast with blown-in material.
- Headlamp or work lights – You’ll be working in dark, cramped places.
And here’s the kicker: you’re still left with the biggest headache—disposing of the insulation legally, which many local dumps won’t accept without special permits.
What the Pros Use
Now here’s how we do it on the professional side:
- Commercial-grade insulation vacuum system – A gas-powered beast with 100–150 feet of hose, designed to suck up blown-in insulation and debris without clogging. It pulls everything into sealed filter bags outside the home.
- HEPA air scrubbers – These clean the air while we work, keeping your home’s air quality safe.
- Heavy-duty containment gear – Zipwalls, floor protection, attic hatches—so dust and debris don’t travel into living spaces.
- Proper PPE for the crew – Full Tyvek suits, half-mask respirators, and eye/ear protection.
- Licensed disposal access – We haul off the old insulation and dispose of it at an approved facility—no guesswork or “which dumpster will take this?”
The Bottom Line
DIY removal can be done—but it’s messy, exhausting, and potentially hazardous if you’re dealing with rodent waste, mold, or outdated materials. Pros have the equipment to remove insulation faster, cleaner, and safer—with less risk to your home or your lungs.
If you're still on the fence, just ask yourself this: Would I rather spend a weekend sweating in an itchy attic—or let a team handle it in half the time and haul the mess away for me?
Conclusion
Insulation is one of the best ways to make your home more efficient, comfortable, and healthy—but only if it’s installed over the right foundation. If your current insulation is dirty, wet, settled, contaminated, or just plain old—it’s working against you, not for you.
Removing old insulation might not be the sexiest home project, but it’s one of the smartest. It gives you a chance to air seal, identify hidden issues, and build back better with materials that actually perform.
Common FAQ's about Insulation Removal
Do I need to remove old insulation before getting an energy audit?
No, removing old insulation isn’t required before an energy audit, but it can help. If the insulation is damaged or contaminated, removal may reveal hidden air leaks or moisture issues. Auditors may recommend removal if it obstructs accurate evaluation.
Can I leave old insulation in place if I'm only adding insulation to a different area of the home?
Yes, you can leave old insulation in place if it’s in good condition and separate from the new area. However, in connected spaces like attics and knee walls, poor insulation in one area can reduce overall energy performance. Inspect both before proceeding.
How long does professional insulation removal take?
Professional insulation removal typically takes 1 to 2 days for most attics or crawlspaces. The timeline depends on the size of the area, insulation type, and access difficulty. Jobs involving tight spaces or hazardous materials may require additional time.
Is there a best season to remove and replace insulation?
Yes, spring and fall are the best seasons to remove and replace insulation due to mild weather and better contractor availability. However, if insulation is wet, moldy, or contaminated, removal should happen immediately to prevent further structural or health damage.
What happens to the insulation after it’s removed?
After removal, old insulation is bagged and taken to a licensed disposal site. Clean materials like cellulose may be recycled, but most contaminated or degraded insulation is sent to a landfill to protect health and safety.
Related Articles


Let's Work Together
Ready to transform your home into an energy-efficient haven? Schedule your free energy assessment today and experience the Nealon difference for yourself.